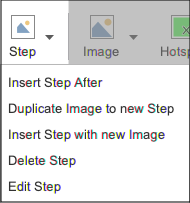
Steps List
The steps are shown as numbered thumbnails on the left side of the Edit Panel.
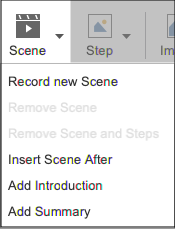
You can add an Introduction (Default as well as Testing) and a Summary for the lesson by selecting the respective button in the left-side menu. The Introduction is shown in a modal window over the lesson before the learner starts, and the Summary is shown when the lesson is completed.
Selecting a Specific Frame for a Step Image
Many software applications have transitions between steps such as fading from one screen to the next. To help with this, Capture records a series of frames for each step.
If you're a Mac user or a Windows user with the OpenH264 Video Codec installed, you can select the best frame by using the slider or by using the < and > controls to go through each frame individually.
If you are a Windows user and don't have the OpenH264 Video Codec installed, you will see three dots under each thumbnail and can select from the three images that were captured.
Re-ordering Steps
You can rearrange the order of the steps by dragging and dropping however once you move a step you can no longer choose a different frame.
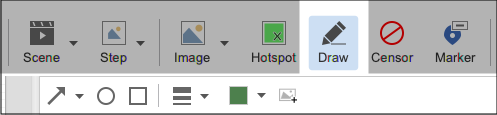
Hotspots
Hotspots are added to each step at a default size at the location where you clicked during the capture process.
You can move the hotspot with your cursor as well as resize it in any direction by dragging at one of its edges or corners.
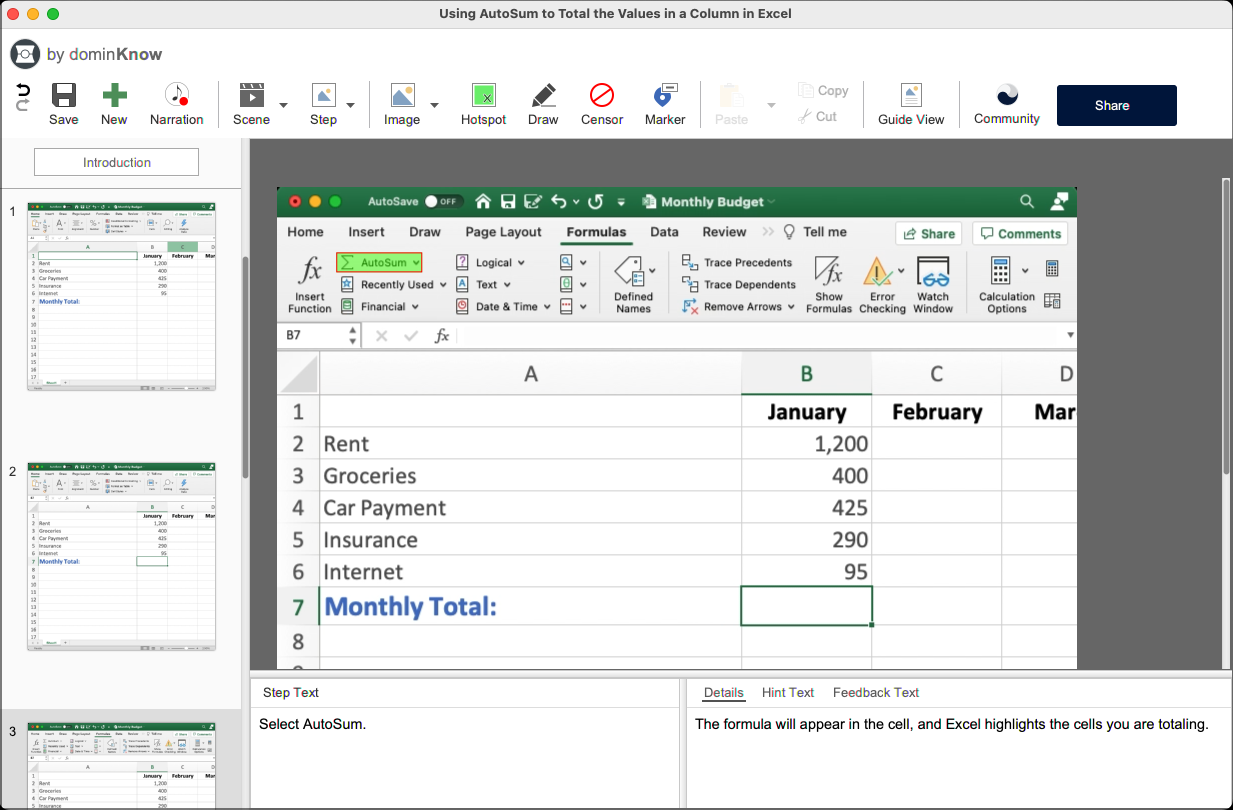
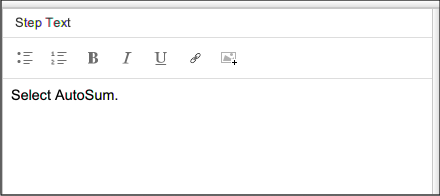
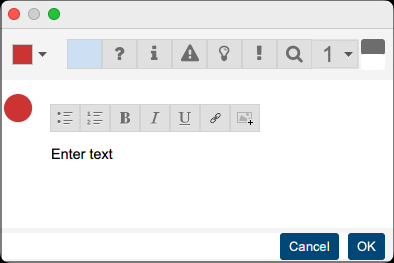
Step Text
You can edit the Step Text for each step just by clicking into the edit pane. Capture will provide basic text here based on the interaction for the step (click, double-click, etc.) what the tool or browser allows Capture to detect about the button such as its name, etc.
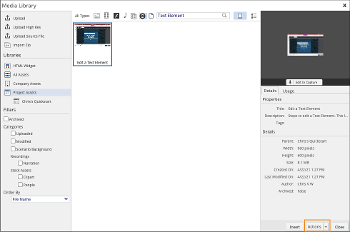
You can also format the text with bold, italics, underlining and bullet and numbered lists as well as add image and hyperlinks within the text.


Comments ( 0 )
Sign in to join the discussion.