
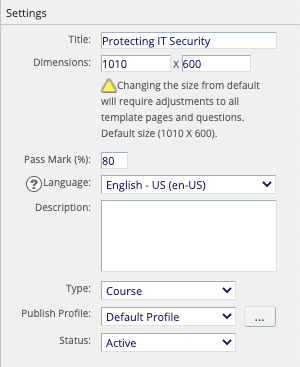
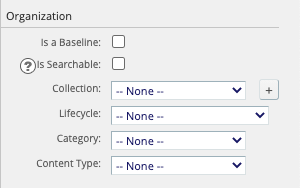
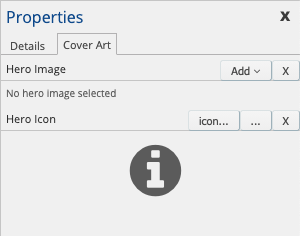
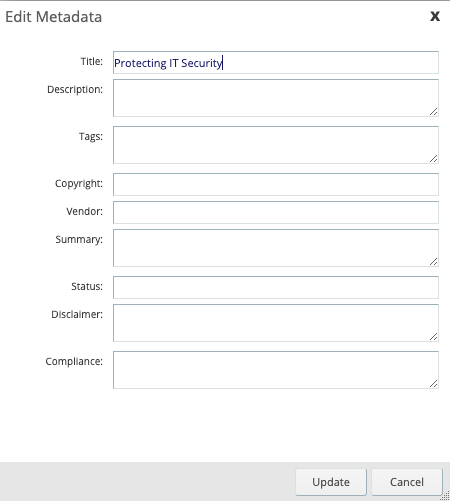
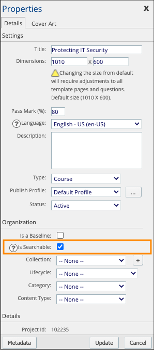
Every Project you create has a set of Properties, some of which are set by your dominKnow | ONE site but most of which you can edit to meet your needs.
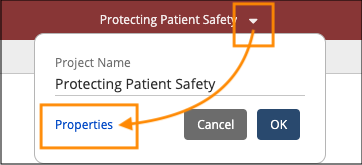
You can open the Project Properties panel by:
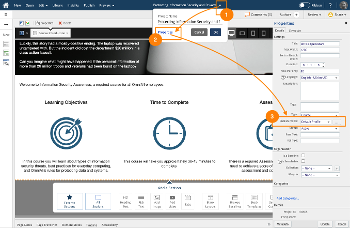
- Double-clicking the Project name on the Project Outline to the left of the Stage, or
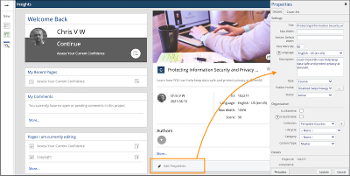
- Selecting the Course in the breadcrumb above the Stage then selecting Properties.


Comments ( 0 )
Sign in to join the discussion.