
To create a timed test the first step is setting the time:
- Tests are tied to modules, so each test in a project can have a different timing.
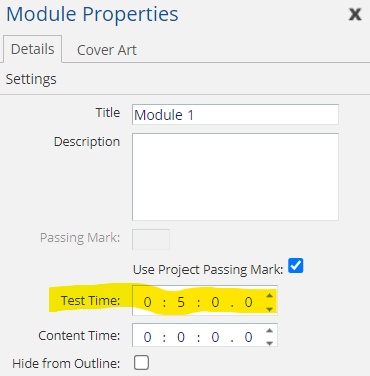
- Open the module properties and set the Test Time in hours, minutes, seconds and milliseconds.
To create a timed test the first step is setting the time:
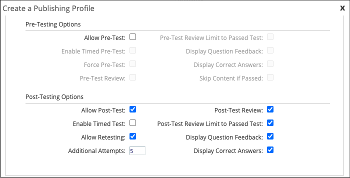
The next step is to turn on the timer option.
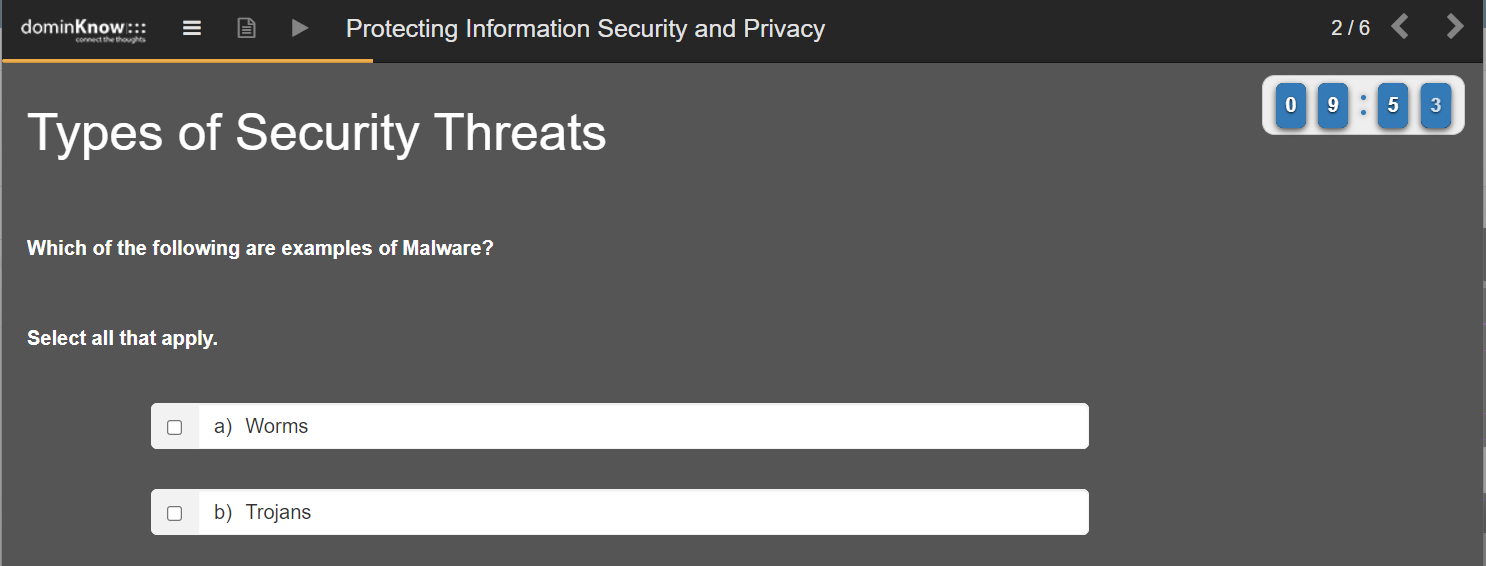
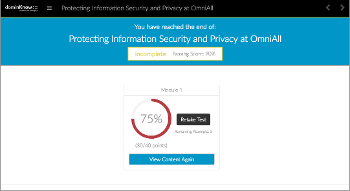
Now when a user takes the test it will automatically have a timer based on your settings. If a learner runs out of time, the test will automatically score the test based on the questions answered, with all questions not answered marked incorrect.
NOTE: Timing is set at the Module level so you could have multiple tests in a single project with different timings.
Learn about using timers so you can:

In some cases you need to create a timer for the content as a user may need to remain in a course for a certain amount of time before they can obtain credit.
1 Project with Multiple Randomized Quizzes & Final Test Using Same Questions
Easily allow learners to test-out of content or set up reporting to compare pre-and post-test scores

Disable Endscreens and other Options
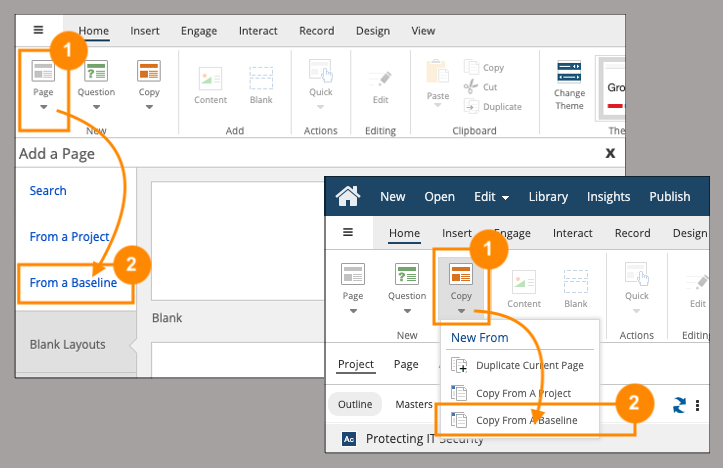
Speed up development time by using Baseline Projects as your own template library
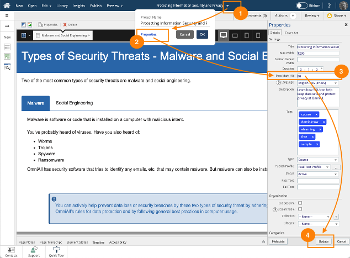
Update the pass mark (test score) in four easy steps
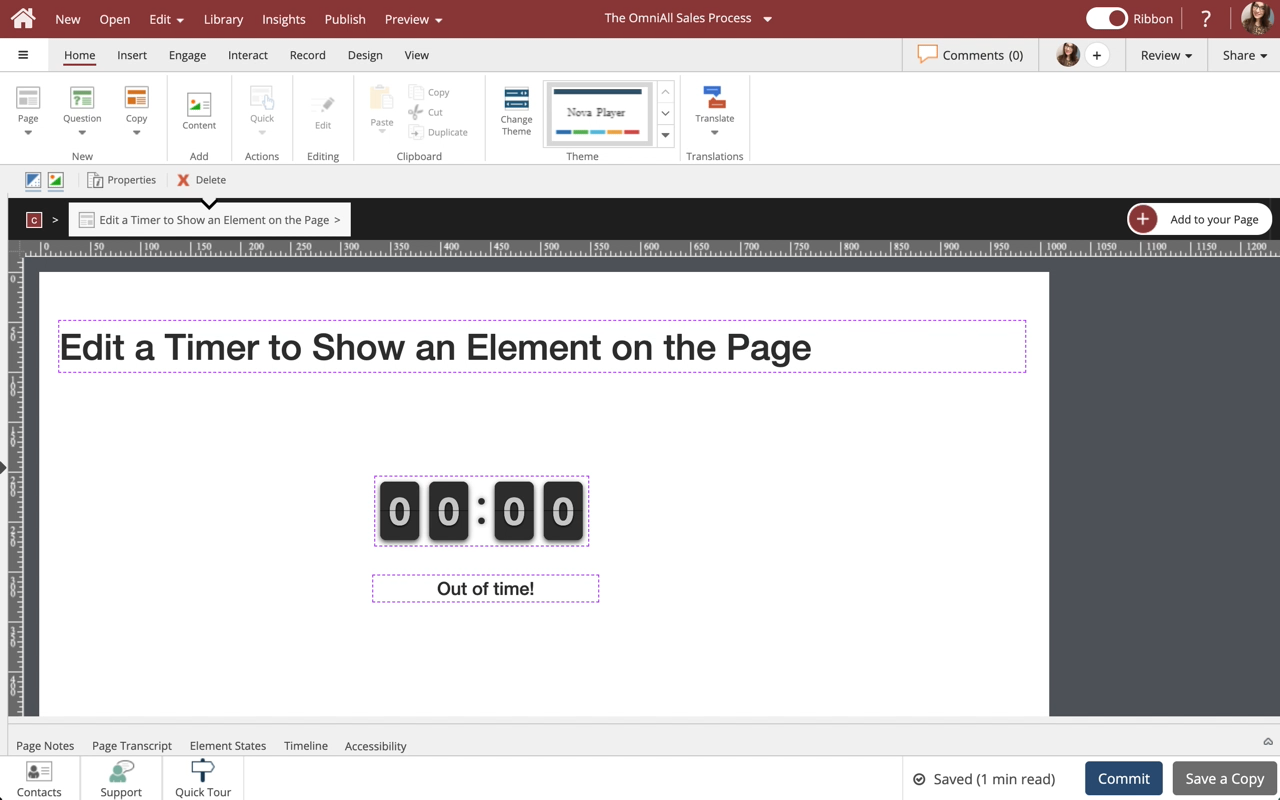
Steps to edit a Timer to Show and Element on the Page.
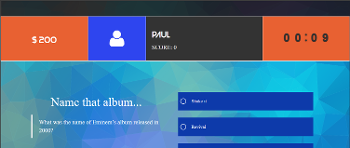
A Timer can be added to a page to time a user, apply timed actions to elements, create a timed quiz and much more!


Comments ( 0 )
Sign in to join the discussion.