This article provides a starting point for many aspects of working with images.
Be sure to check out any linked articles for additional information.

This article provides a starting point for many aspects of working with images.
Be sure to check out any linked articles for additional information.
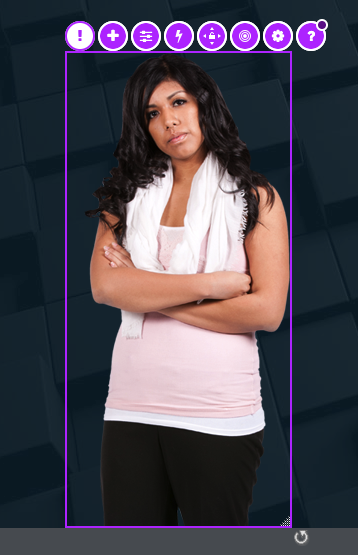
When you select an Image element the purple Element Controls become available.
When you have an image element selected you'll see context tabs for Options, Styles and FX added above the Stage.
Options (in Designer mode):
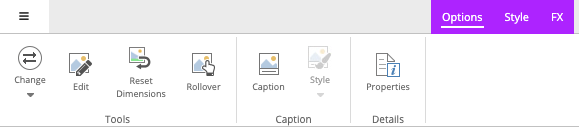
In Designer mode the image Options include:
Essentials mode users do not have acccess to the Reset Dimensions nor Properties.
Style (in Designer mode):

You can apply a display Variation to the image element, such as color or blurring filters.
Picture Styles are framing shapes and effects you can apply to the image element.
The options under the Styles tab are only applied to the image element on the page, they are not applied to the image itself in the Media Library. If the image is used on multiple pages, the Style options will only be shown on pages where they have been applied - the styles do not cascade to all uses of the image in dominKnow | ONE.
Essentials users do not have access to the Picture Styles.
Fx (in all modes):
The FX tab lets you set effects for the Image Element. The tab is the same for both Designer and Essentials modes.

The Image Fx tab in a Claro Project.
In Claro you can:

The Image FX tab in a Flow project.
In Flow you can:
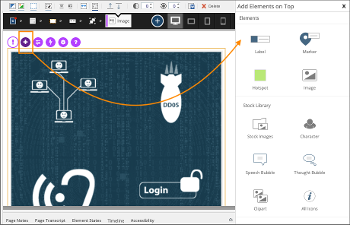
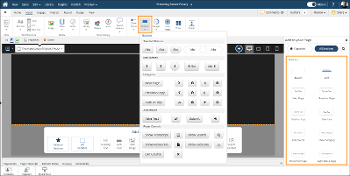
When you select an image element on the Page you can use the + icon to add items to the image element as layers.
This opens the Add Elements on Top panel to the right of the stage:
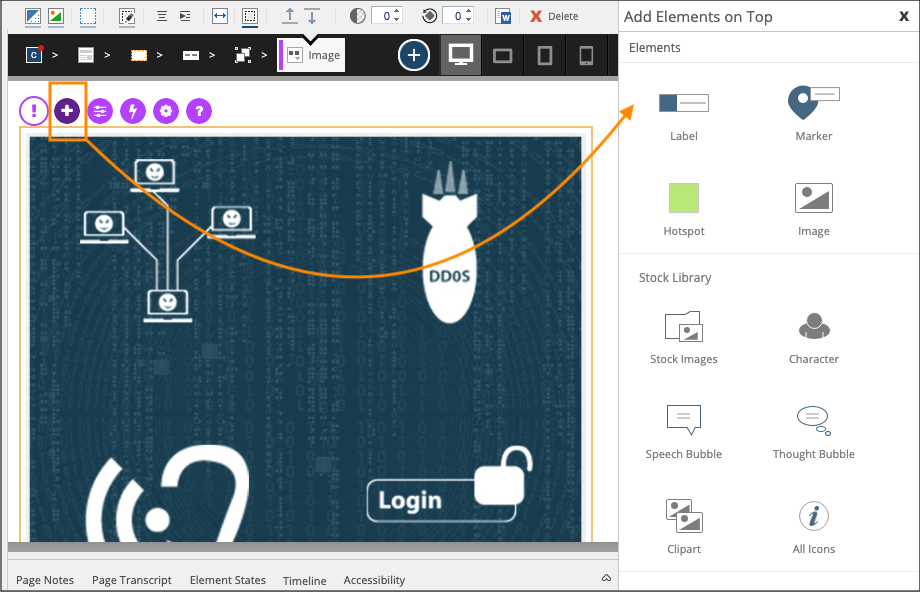
You can add:
When you add an item over an Image element, it can be positioned anywhere over the image or even outside of the image.
In Claro if you move the Image Element to a new location on the Page these added items retain their spatial relationship to the Image Element.
In Flow, the spatial relationship adjusts if the Image Element changes size due to responsive behavior.
Adding elements over an image offers a lot of creative and interactive potential:
Any text added to these items (e.g., on Labels, Markers and Speech Bubbles) is included in dominKnow | ONE's translation export options. A good way to use this strategy is to have an image of a chart or diagram without any text and use the Labels option to add text over the image. When it comes time to translate you don't have to replace the image, and the label text will be exported out to provide to your translation team or vendor and then automatically updated when you import the translation file back into your dominKnow | ONE site.
You can make quick changes to an image, such as cropping or resizing it or applying filters and effects by using dominKnow | ONE's built-in Image Editor.
To access the Image Editor:

When you add an image to a Page it is also automatically added to the Media Library in your dominKnow | ONE site, which allows you to re-use image across pages and keep the image synchronized for updates and changes across all pages where it is used.
Learn more about the Media Browser, the Media Library and Media Properties panel >>
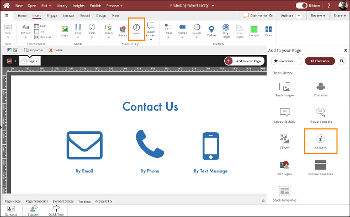
Great ways to provide interactivity and visual design and improve translation

Quick access to add elements over the image, formatting, editing, actions and more
Use inline quiz elements to quickly add questions to your existing content pages.
Hi,
I'm trying to make a simple activity, where I want the learners to drag and image into the correct bin.
Something like the sorting activity that's there but using images to sort. Is there a way to add images to the sorting activity?
This is only meant to be a low stakes, light interactive, so I would like for it to be inline, with imediate feedback as the person drags each card.
Is this possible?
Thanks
The Icon collection is a great option for buttons and concept illustrations
Create meaningful and engaging custom interactions in any elearning project
How to change size and color as well as work with features like Glossary definitions, Tooltips and more
Easily integrate new experiences or extend our authoring capabilities on any dominKnow | ONE page
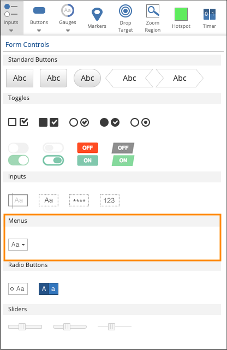
A quick and easy way to provide a list of choices to a learner


Comments ( 0 )
Sign in to join the discussion.