You can add Shapes as elements on any Page in Claro or Flow.
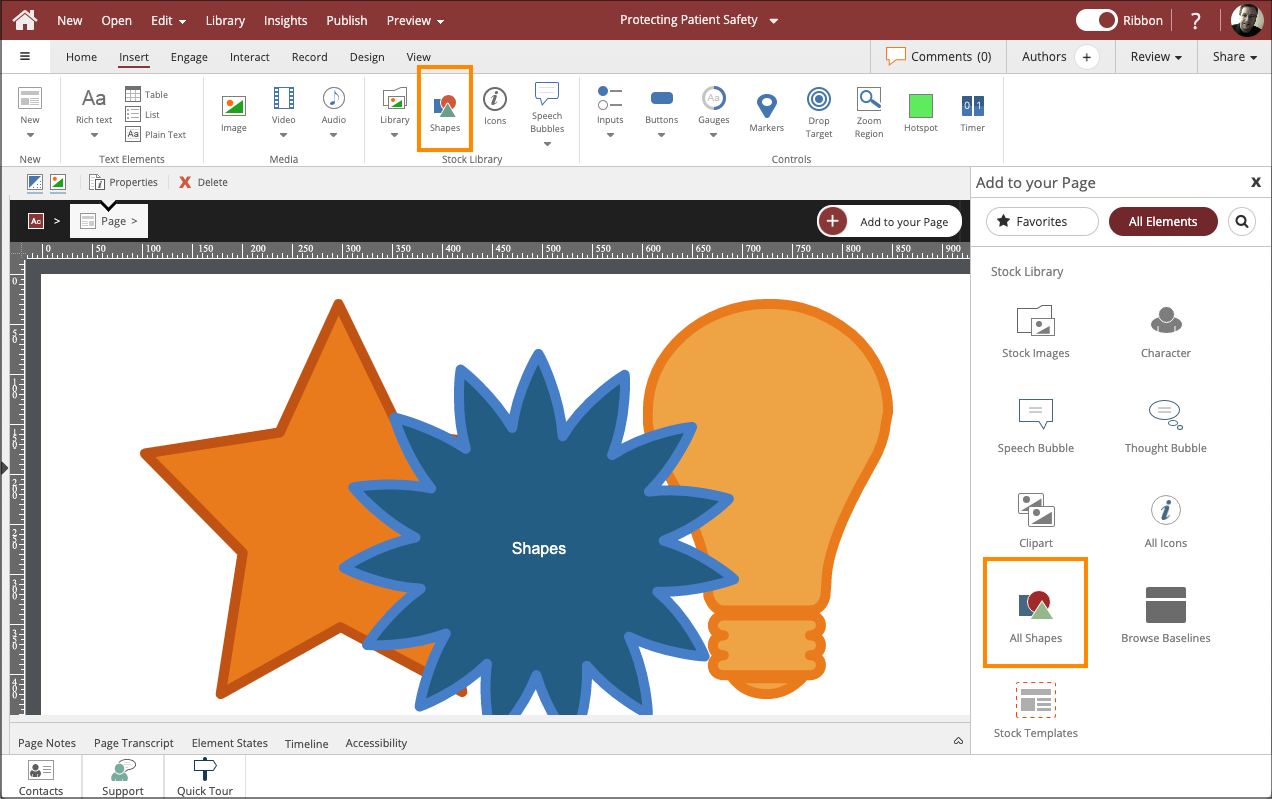
In Claro you can add them from the Stock Library section of the Add to Your Page panel, or from the Insert tab on the Ribbon.

You can add Shapes as elements on any Page in Claro or Flow.
In Claro you can add them from the Stock Library section of the Add to Your Page panel, or from the Insert tab on the Ribbon.
In Flow you can add them from the Insert Tab on the Ribbon.
You can also add Shapes as layered elements over an Image or Video element.
There are two different types of Shapes available:
The Draw shapes are only available to add as elements on a Claro page.
The Pick shapes are available to add as elements on the page in both Claro and Flow, and also to add as layered elements over an Image or Video element.
The two types of shapes have different features.
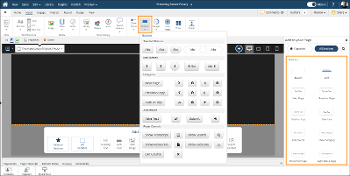
When you add a Shape as an element on a Claro Page, you see the Shapes panel:
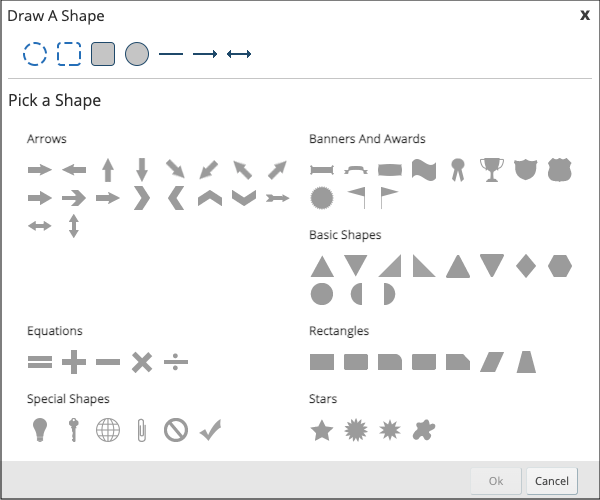
The top set of shapes are referred to as the Draw shapes.
When you select one then select Ok, the panel closes and the authoring Stage goes grey.
You can click and hold to place the upper left corner of the shape then drag with your mouse cursor to set the size of the shape.
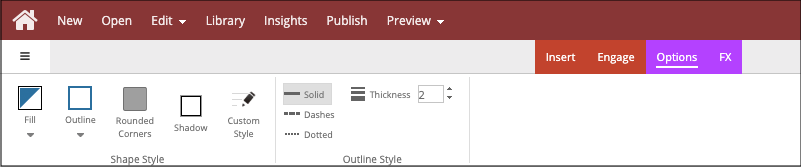
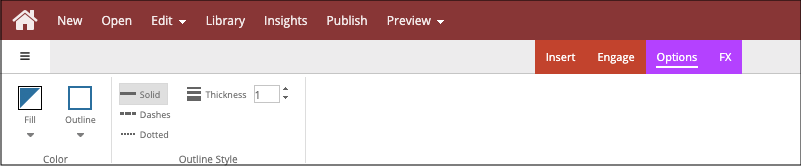
For Draw shapes, the options tab lets you set a Fill and Outline color based on the Theme color settings or by adding a custom color.
You can set the Draw shape to have Rounded Corners as well as a Drop Shadow.
On the options tab you can also set the Outline Style to a Solid, Dashed or Dotted line, as well as set its Thickness.
The Custom Style option opens the Customize Your Shape panel, where you can set custom color or CSS values for the Default and Hover states for the shape.
This is helpful if you want to use the shape as a button on your page.

In Claro and Flow you can add Pick shapes as elements on a Page.
The Pick shapes are a library of SVG shapes.
They don’t have as many Options tab settings available as the Draw shapes.
But they do support text labels within the shape itself, which is not available for Draw shapes.
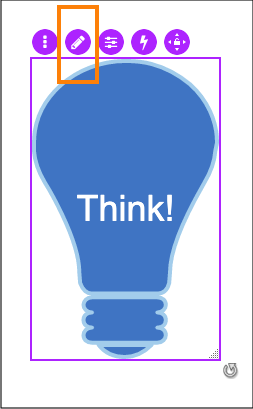
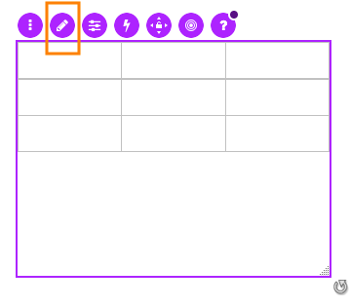
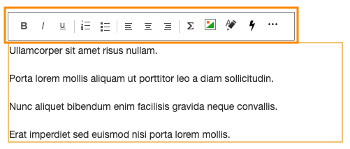
The Pick Shapes support adding a text label.
To add a text label, select the Shape element then select the Edit (Pencil) icon.
The text edit field will open within the Shape and you can type in any needed text.
You can use the Edit button to make changes to the text when needed.
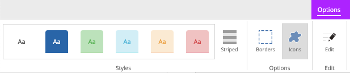
For Pick shapes, the options tab lets you set a Fill and Outline color based on the Theme color settings or by adding a custom color.
On the options tab you can also set the Outline Style to a Solid, Dashed or Dotted line, as well as set its Thickness.
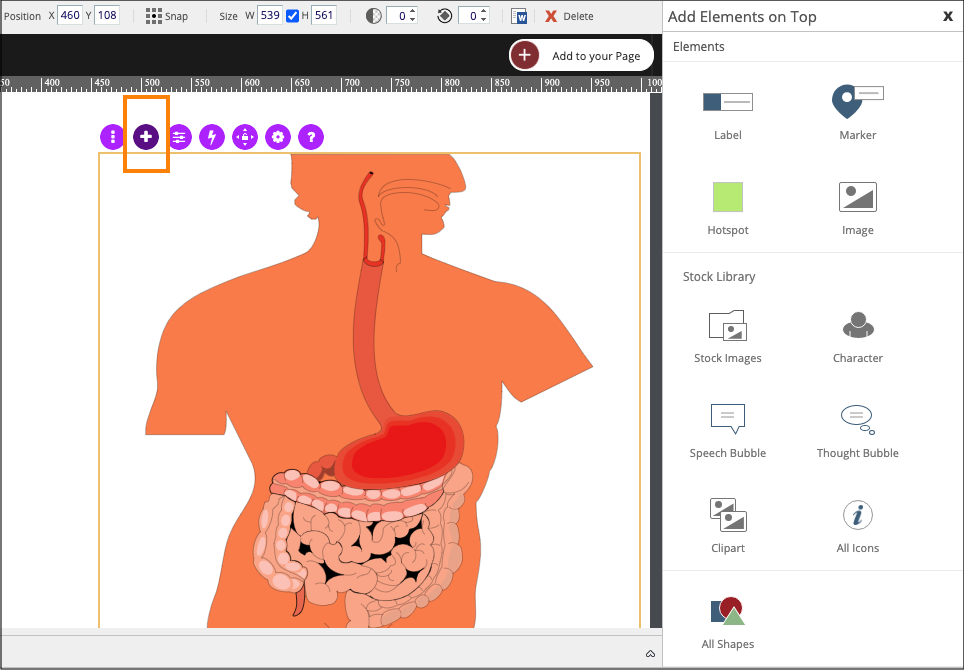
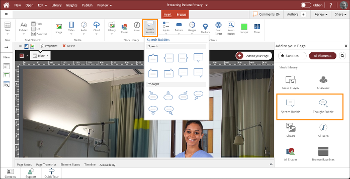
In both Claro and Flow you can add Pick shapes as an element layered over an Image or Video element.
For example, you can add rectangular or circular shapes without a fill color to highlight portions of a diagram or use arrow shapes to draw the learner’s eye to a specific location in an image.
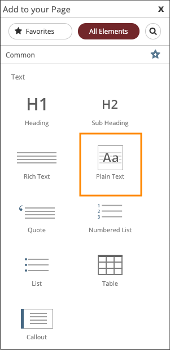
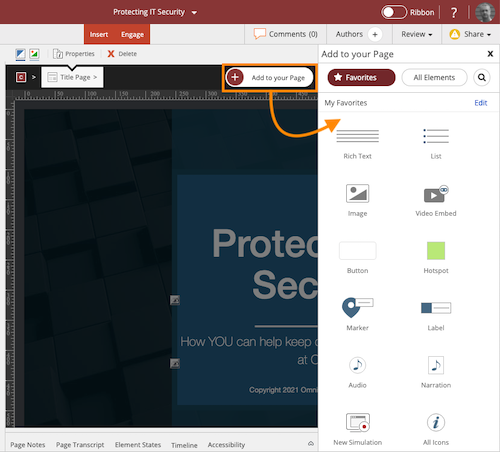
To add a Pick shape as an element Layered over an Image or Video element, select the Image or Video element on the Page then select the + icon. This opens the Add Elements on Top panel, where you can select the Shape option.
List elements offer more visual design and animation options than simple bullet text lists
Add fun special effects to text using Plain Text Elements
Create meaningful and engaging custom interactions in any elearning project
Work with Options, Styles and FX, add Markers and Hotspots over an image, use the Image Editor and more
Tables are a great way to organize data or information, especially for comparison purposes.
Bring characters to life and create engaging conversation-based learning experiences
A simple design element to control vertical spacing
Inline Styling can help you add emphasis or visual design to text
Quickly and easily add Elements to a Claro page or Sections to a Flow page
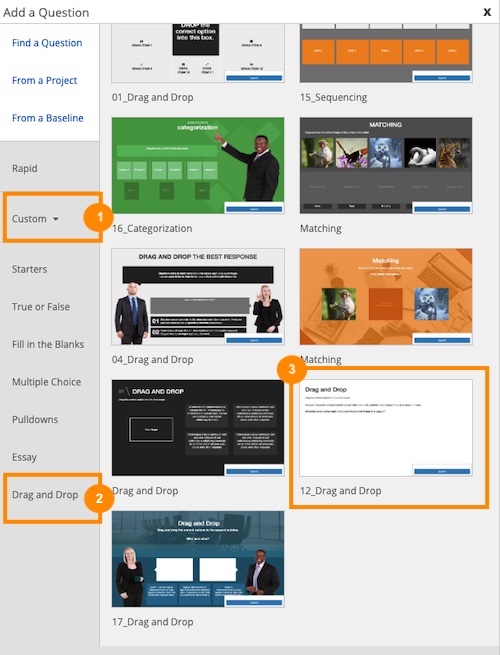
Create engaging Test or Practice questions for rich learning experiences

Comments ( 0 )
Sign in to join the discussion.