General Timer Control Options

dominKnow | ONE provides a number of different timer controls you can utilize in the development of your training content. The types of timers can be divided into three main types:

  1. Timed Course 
  2. Timed Test
  3. Custom Timer Control

dominKnow | ONE provides a built in Timer Control.  This can be utilized for a timer on a single page or one that times an activity over multiple pages. The first step in using the Timer Control is adding it to your desired page.
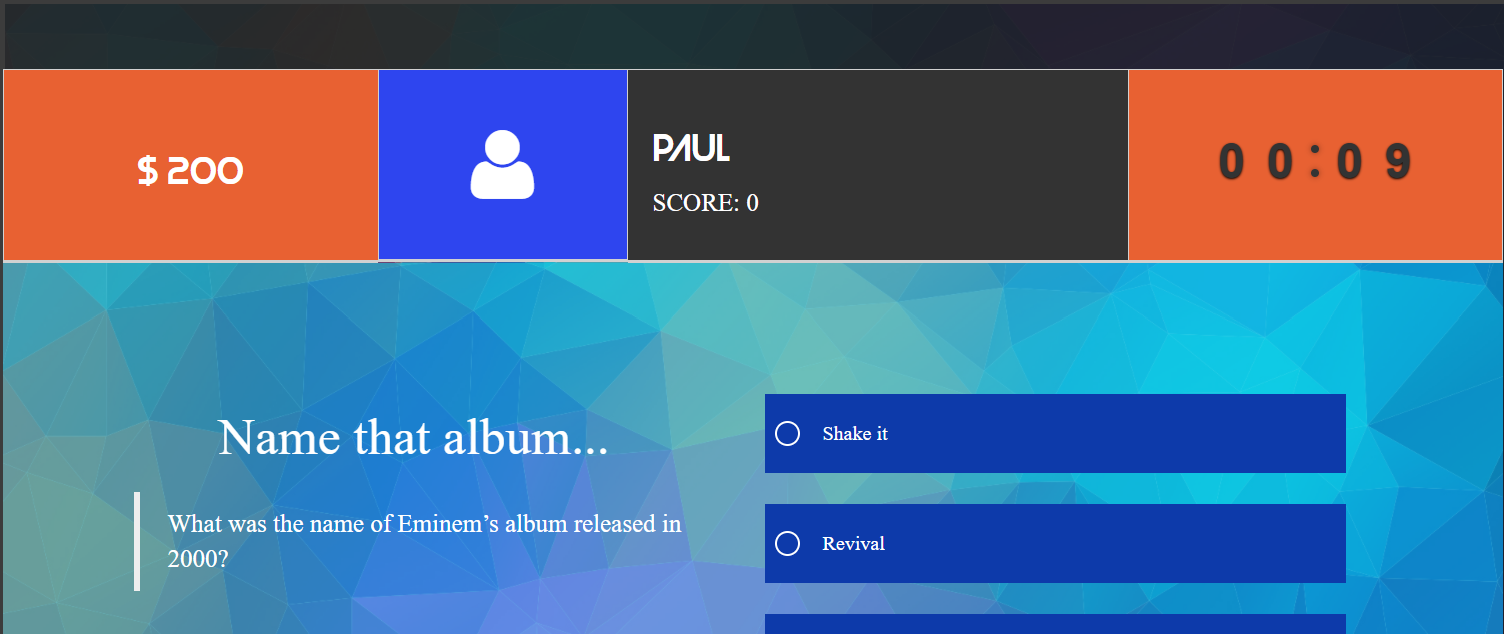


Once you have a timer on your page. You can utilize this timer to trigger events and can even tie the timer to a variable. Use the following steps to trigger a show action based on the timer. This same approach can be used for any action type.


Timer Control Design

The Options Tab provides a number of options to help you select an appropriate design including:

  • Design Variations
  • Size Settings
  • Count Direction
  • Auto Start
  • Set Time
  • Variable settings


In the Styles Tab you can make additional design choices:

  • Color: These choices are based on your theme settings.
  • Style: Choices on how the numbers are displayed and change


Custom Continuous Timer over Multiple Pages

In some cases, you may wish to add a Timer Control that will appear on multiple pages and retain the countdown (or up) across the selected pages. To set up the Timer Control you need to perform a few key steps.

Setup Initial Timer

  1. On the first page you want the timer to appear select Insert -> Timer.
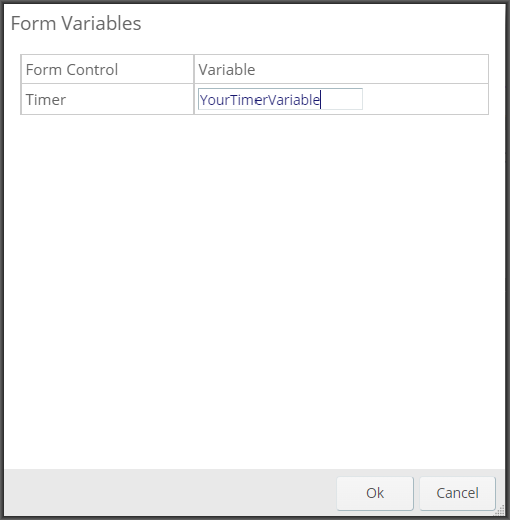
  2. Under the Options tab select Variable -> New Variable and enter the name of your variable timer and select that variable.


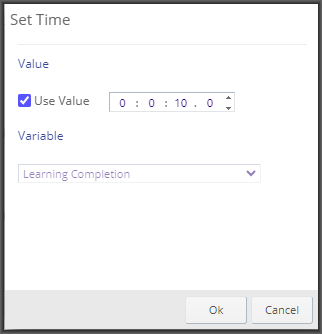
3. Under the Options tab select Set Time. Leave the "Use Value" checked and enter the Start time of our timer in the selection box.

4. Under the Options Tab leave the Auto Start option on.


Subsequent Pages: Adding a Timer

On your subsequent pages you need to make some slight adjustments when adding the timer.

  1. On the subsequent pages with you want the timer to appear select Insert -> Timer.
  2. Under the Options tab select Variable -> New Variable and select the variable name you previously set to the timer.
  3. Under the Options tab select Set Time. Un check the "Use Value" option. From the drop down under "Variable", select the variable name you previously set to the timer.
  4. Under the Options Tab leave the Auto Start option on.
  5. Optional: Set the timer widget to Show with the Fade effect with a trigger of on page load. This will eliminate any visual irregularities as the variable is udpated to the timer.

Using Headers or Footers with a Timer

You may also choose to take advantage of Headers or Footers for the display of your timer across multiple pages.  The process is the same as if adding a timer to multiple pages with the following changes:

  1. For your initial timer, add this to the Alternate Header (or Footer)
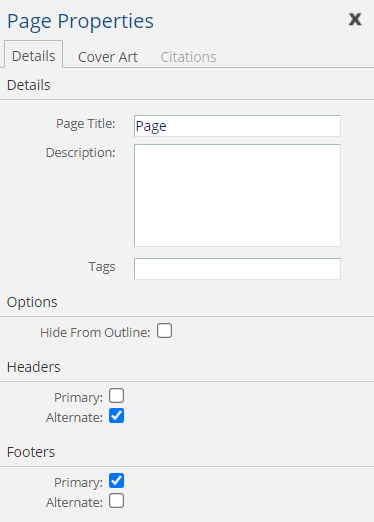
  2. On the first page you want the timer to appear, edit the Page Properties and under Header (or Footer) select Alternate and select Update.
  3. For you subsequent timer pages, add the timer to the Primary Header (or Footer).
  4. On any pages you do not wish the Timer to appear, edit the Page Properties and under Header (or Footer) deselect both Primary and Alternate and select Update.

More Timer Options

Adjust Current Time with Actions

In some cases you may wish to have an action adjust the current time, increasing or decreasing the time value. This can be accomplished by targetting the variable with actions.

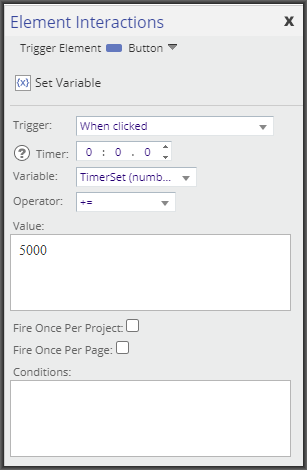
An example of this would be:


In this case the action (clicking on a button) fires a set Variable action. The variable set is the one already tied to the timer. In this case it is using the operator to add to the existing value 5,000 milliseconds. 

  0     0

Similar Projects

Questions  ( 0 )