Embed
Embed: preview
Embed size:
Maintain aspect ratio
Show steps
Embed code
Create a Collection
Update Collections
Create a
Collection
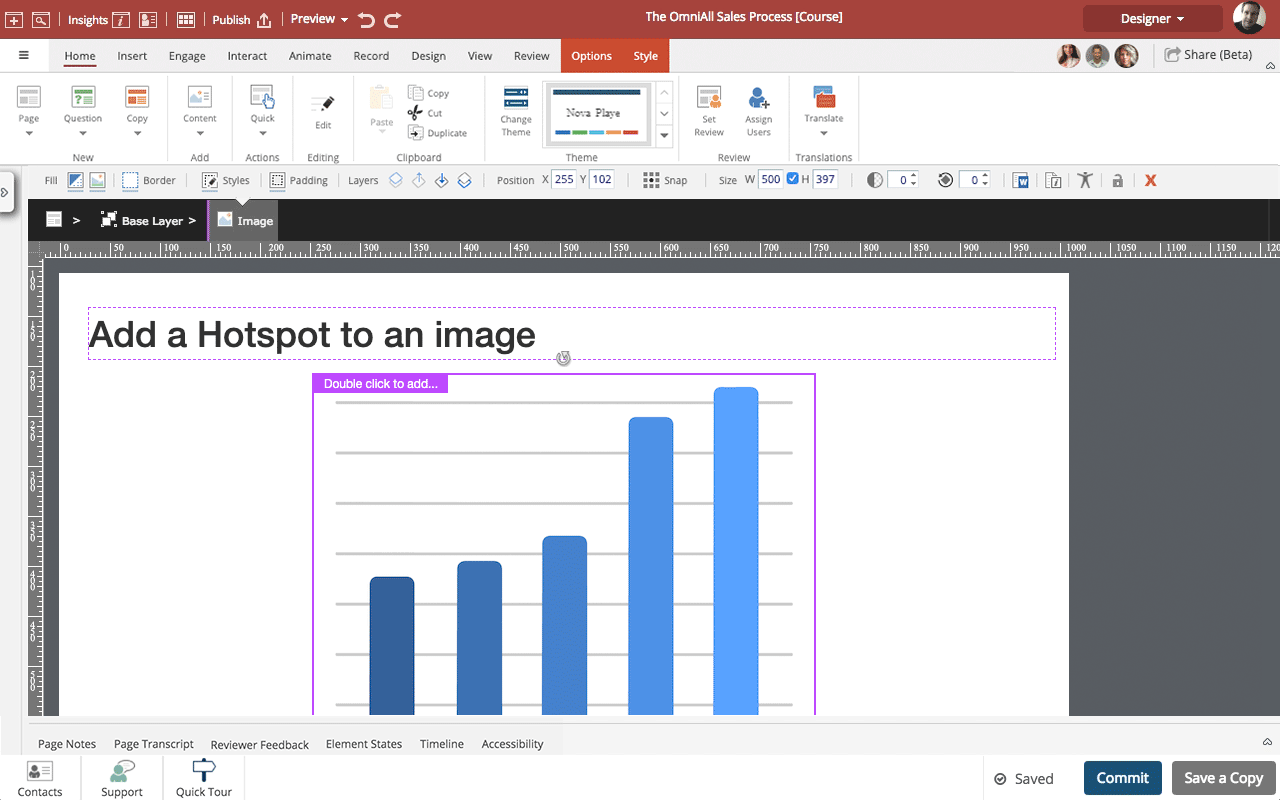
Steps to add a Hotspot to an image.
You can add hotspots as a layer over an image. If you move the image the hotspot will remain in the same location in relation to the image.
Once you have added a hotspot you can use it as a trigger for a wide range of Actions such as showing or hiding content.
NOTE: If you have an action with an on-click trigger set on an element layered over an image (for example, a hotspot) plus an action with an on-click trigger set on the image element as a whole, both actions will be fired when the learner clicks on the layered element.
Product: dominKnow | ONE | Version: 7.4
Applies to: Flow, Claro
Applies to: Flow, Claro
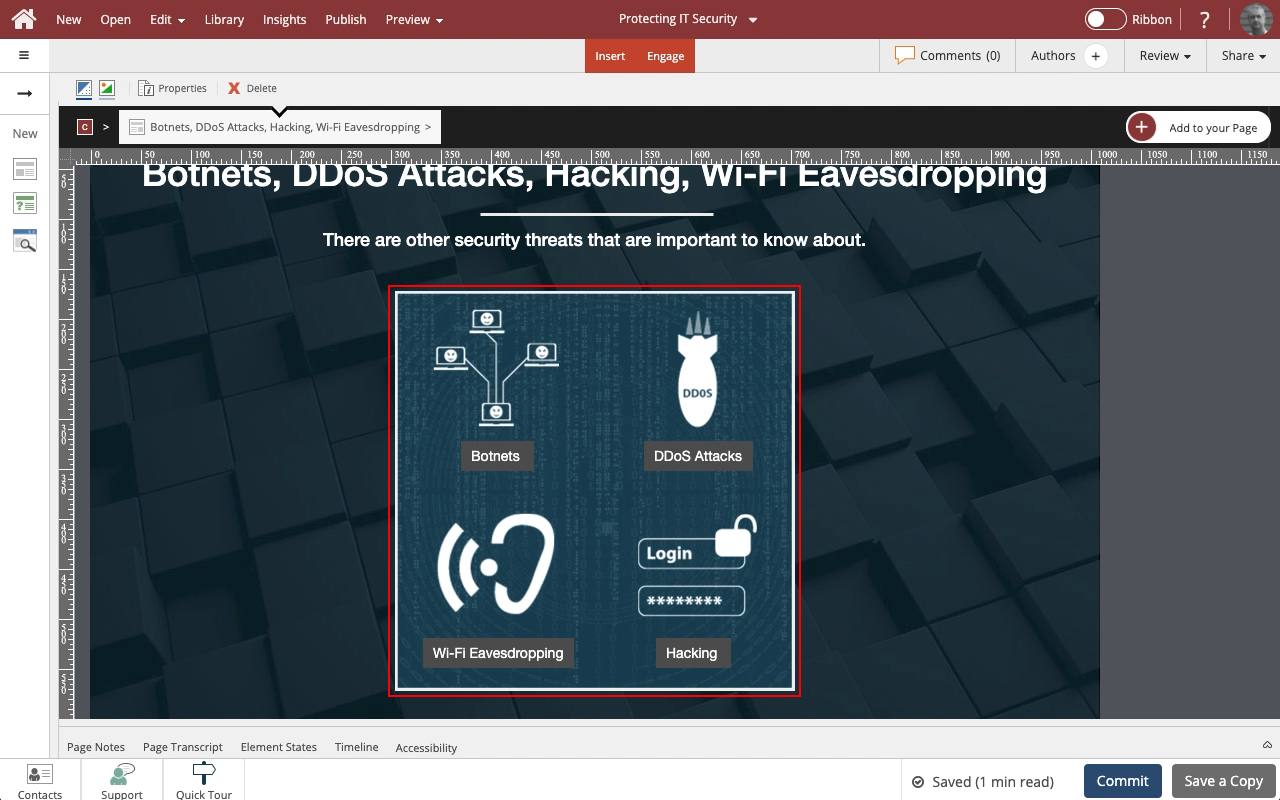
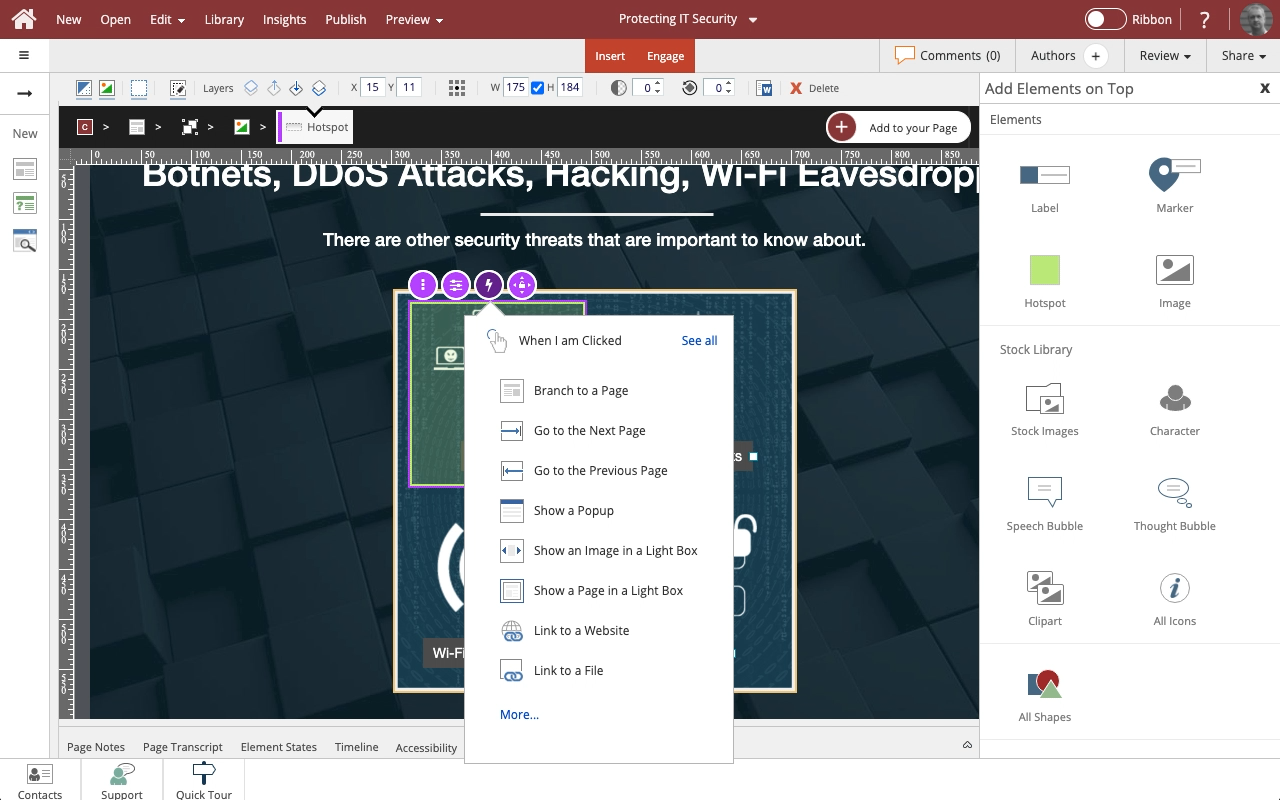
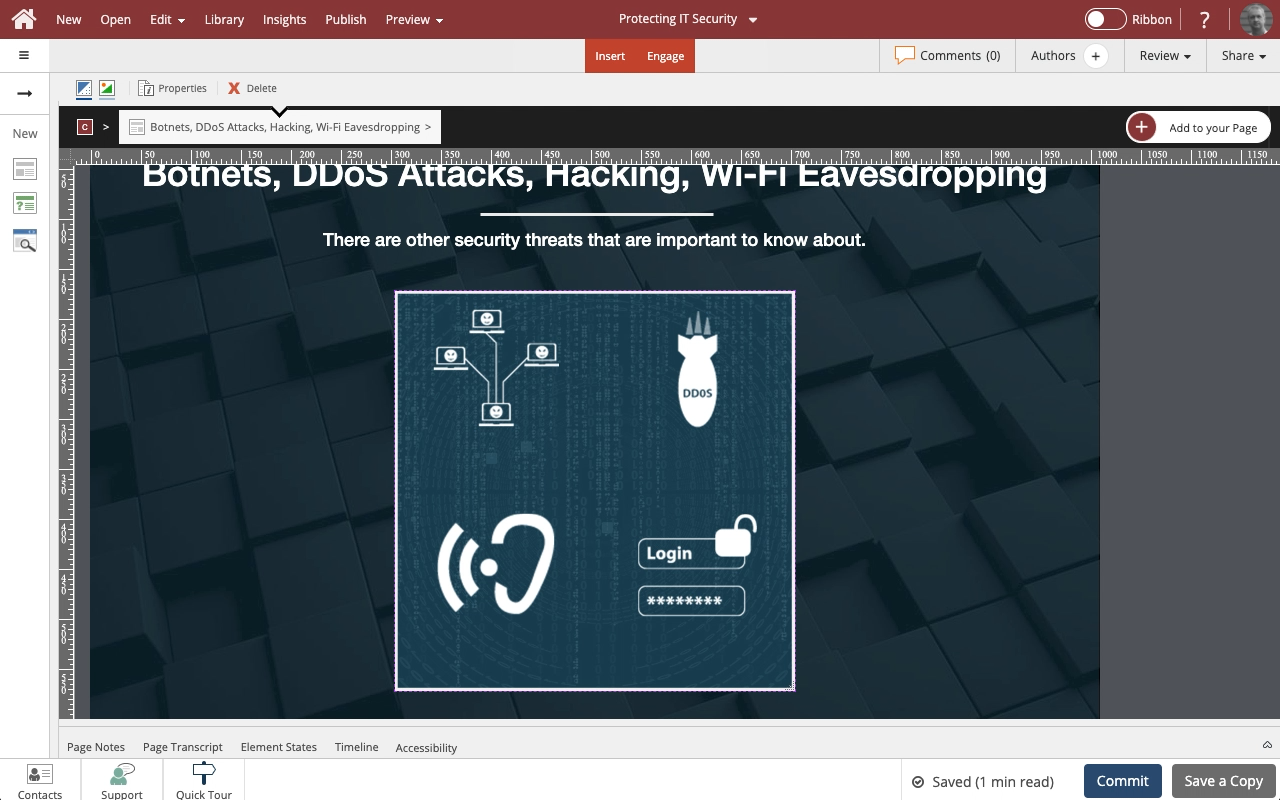
00:00 Select the image on the page.
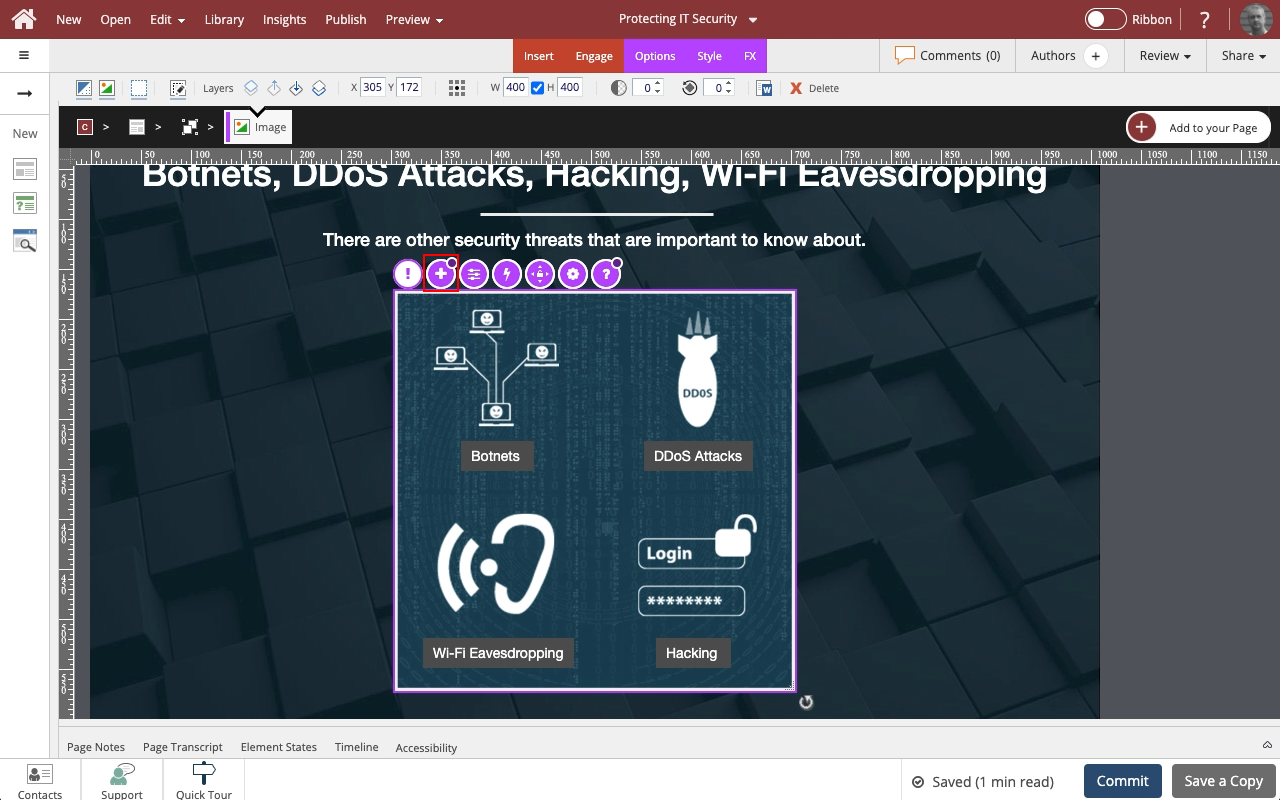
00:04 It will be boxed in purple, and the element control icons will be shown.
Select the + icon.
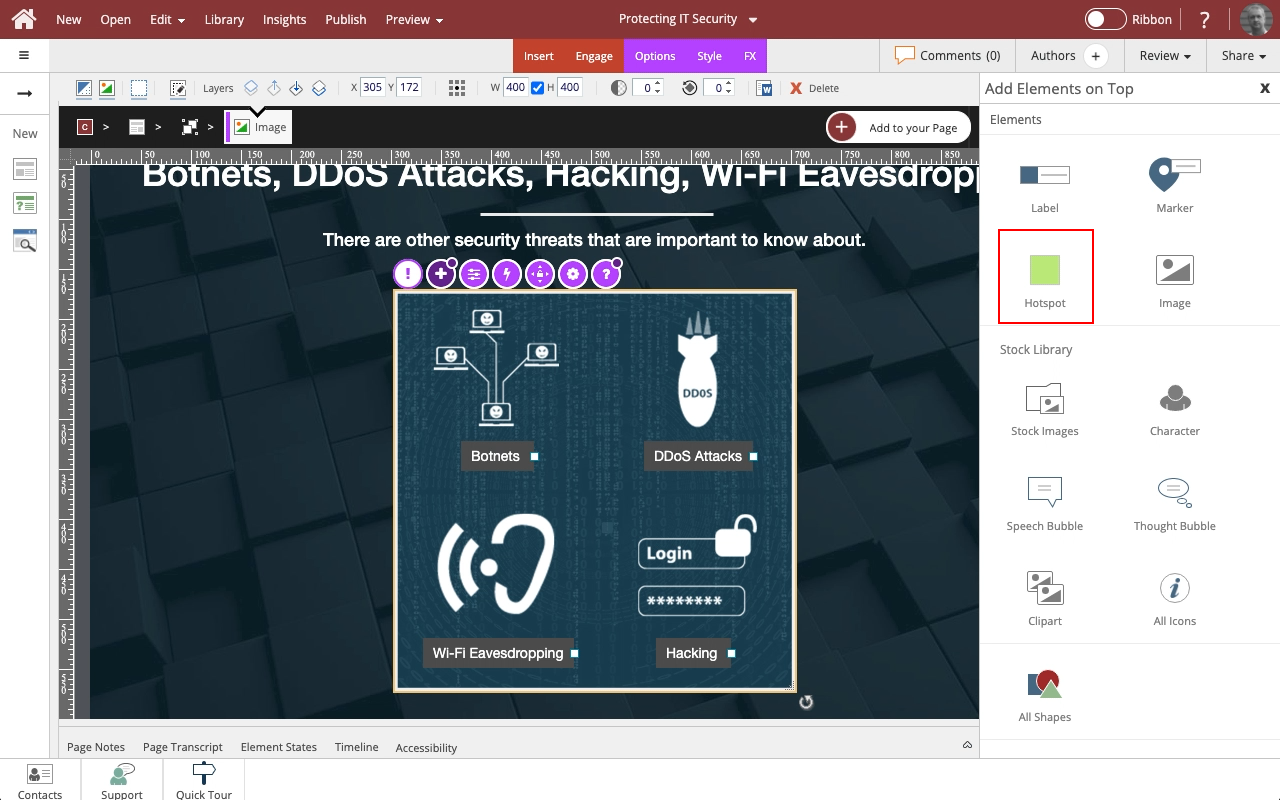
00:08 The Add Elements on Top panel will open.
Select Hotspot.
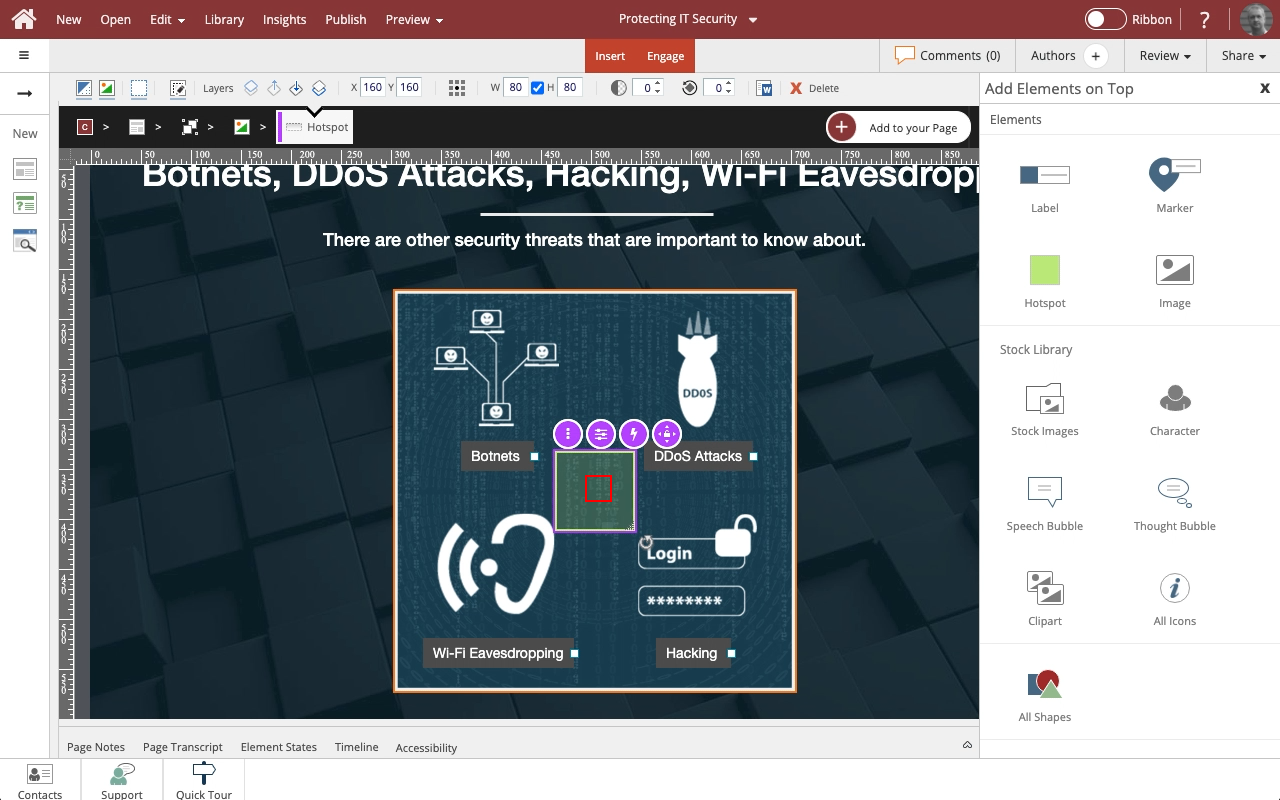
00:12 A hotspot will be added to the image.
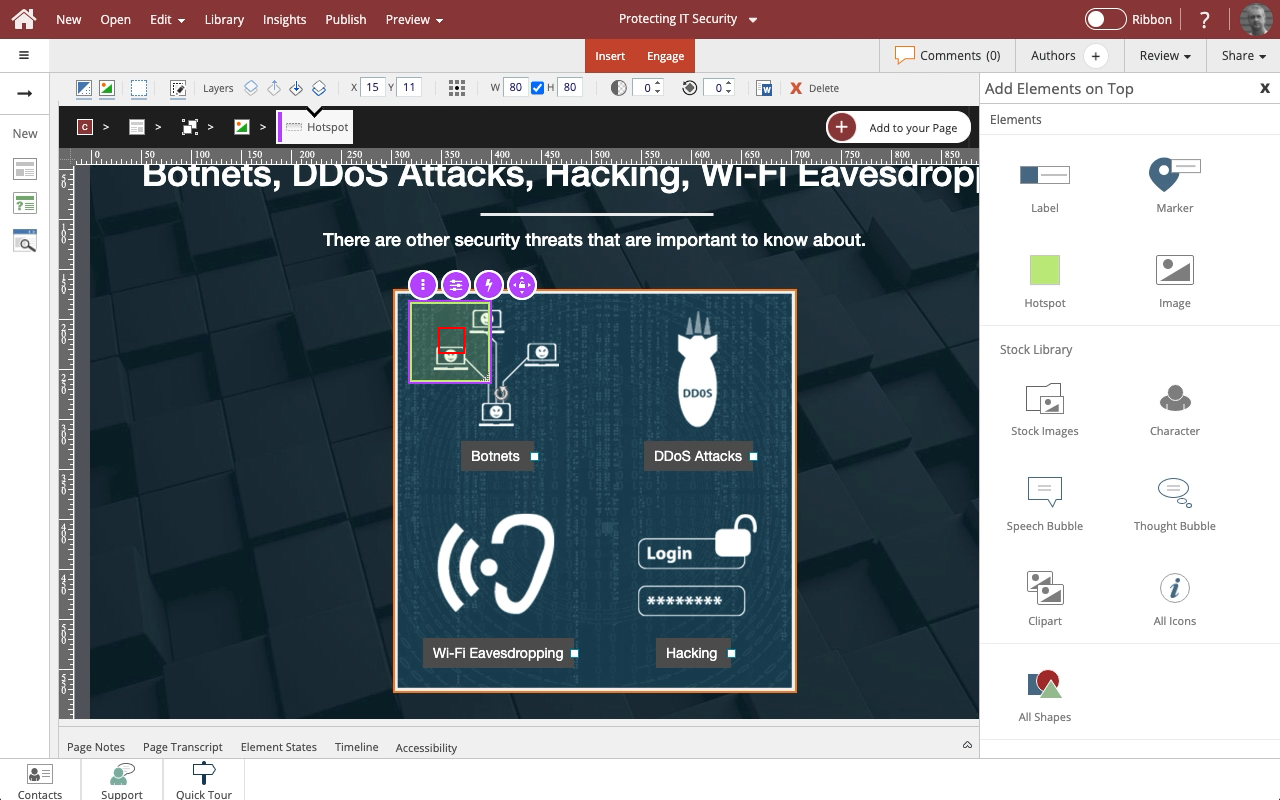
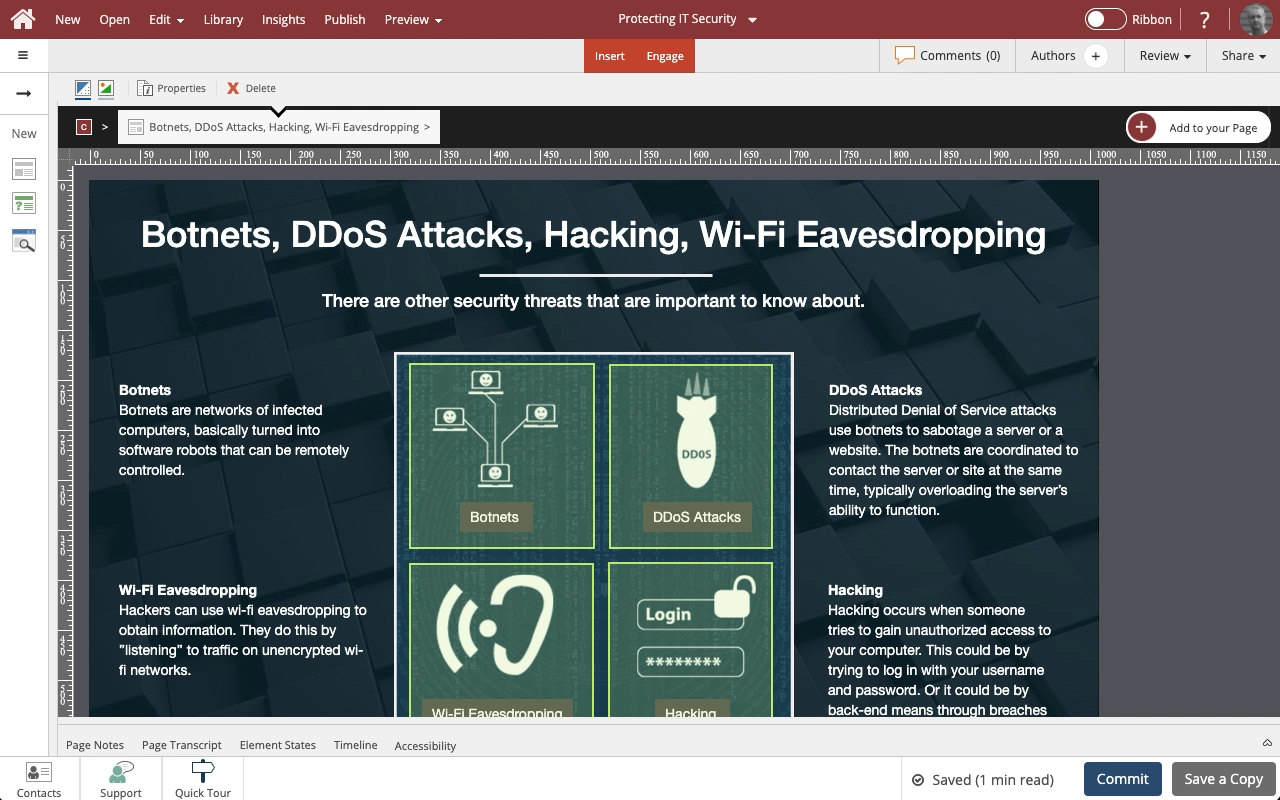
Select the hotspot and drag it so its upper left corner is in the upper left area above the Botnets portion of the image.
00:16 Releasing the hotspot sets it in the new location.
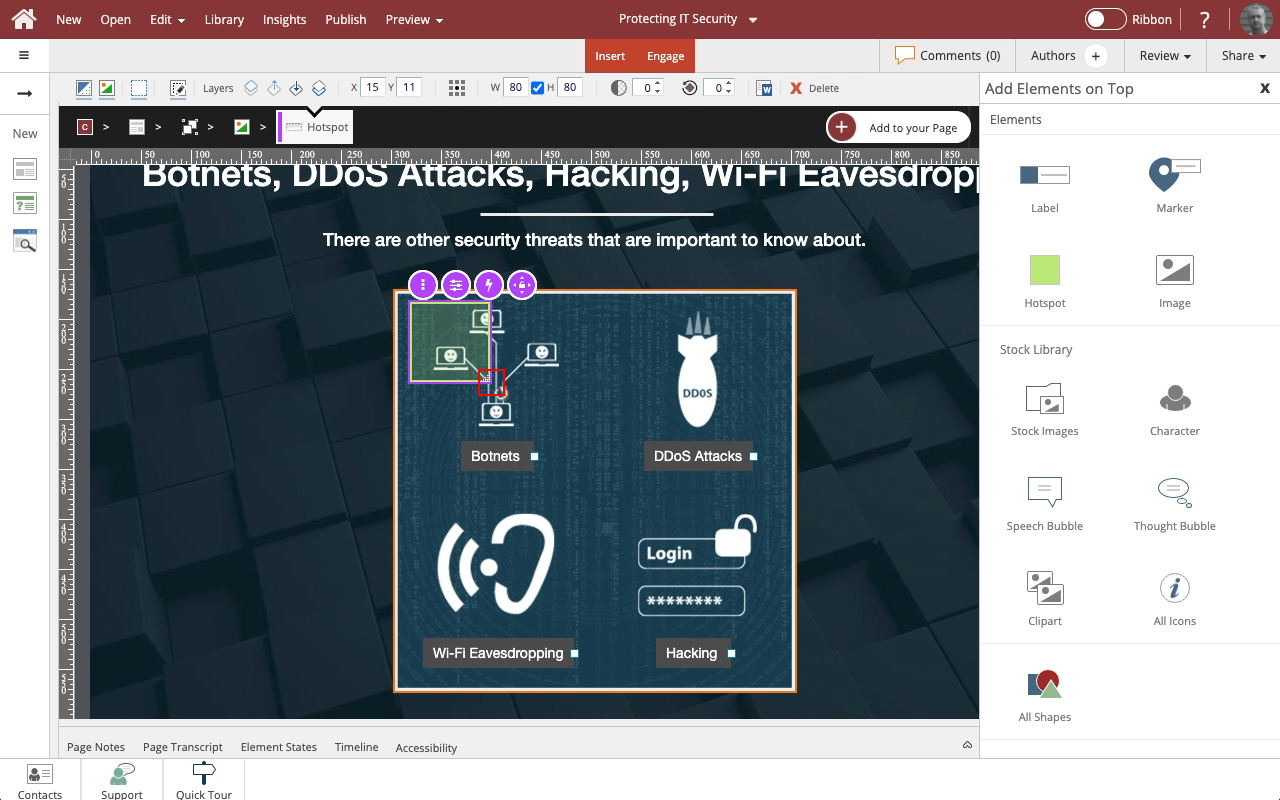
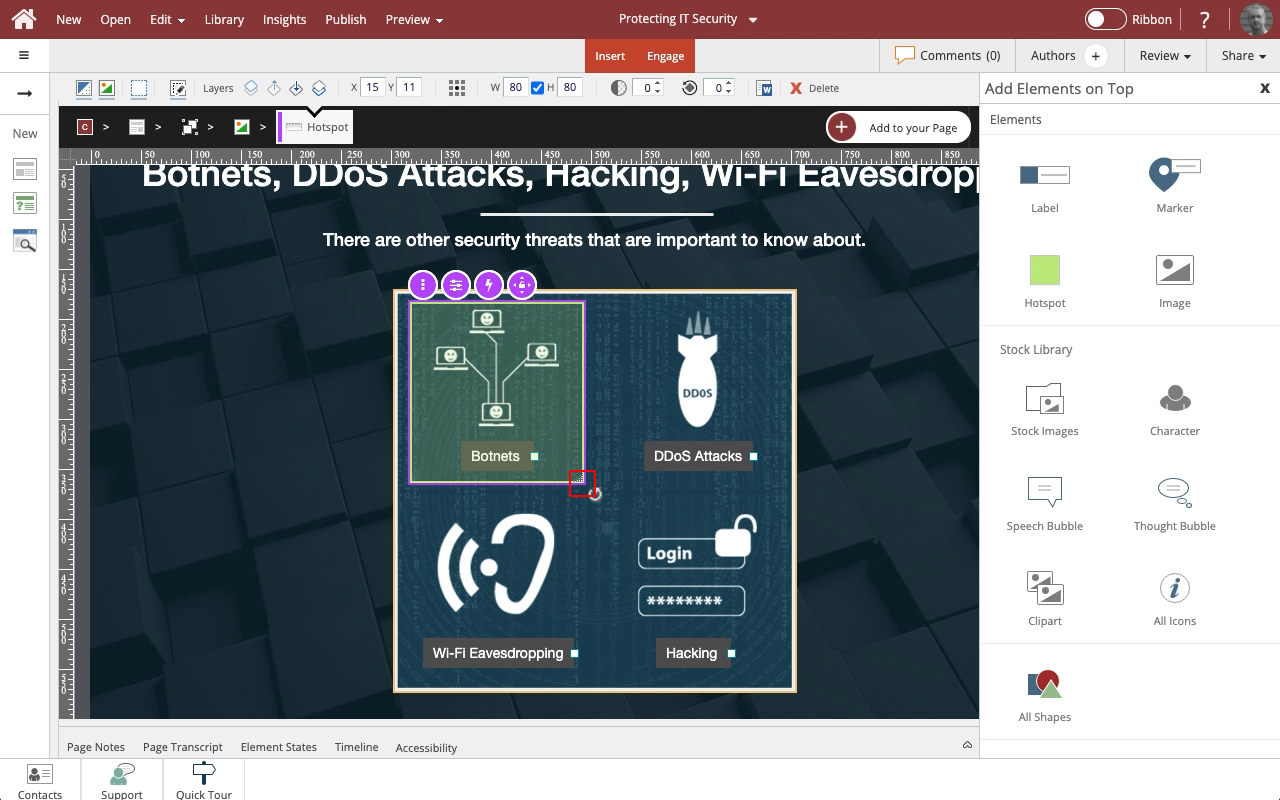
00:20 You can drag the handle in the lower right corner of the hotspot to adjust the size.
00:24 Releasing the handle sets the new size.
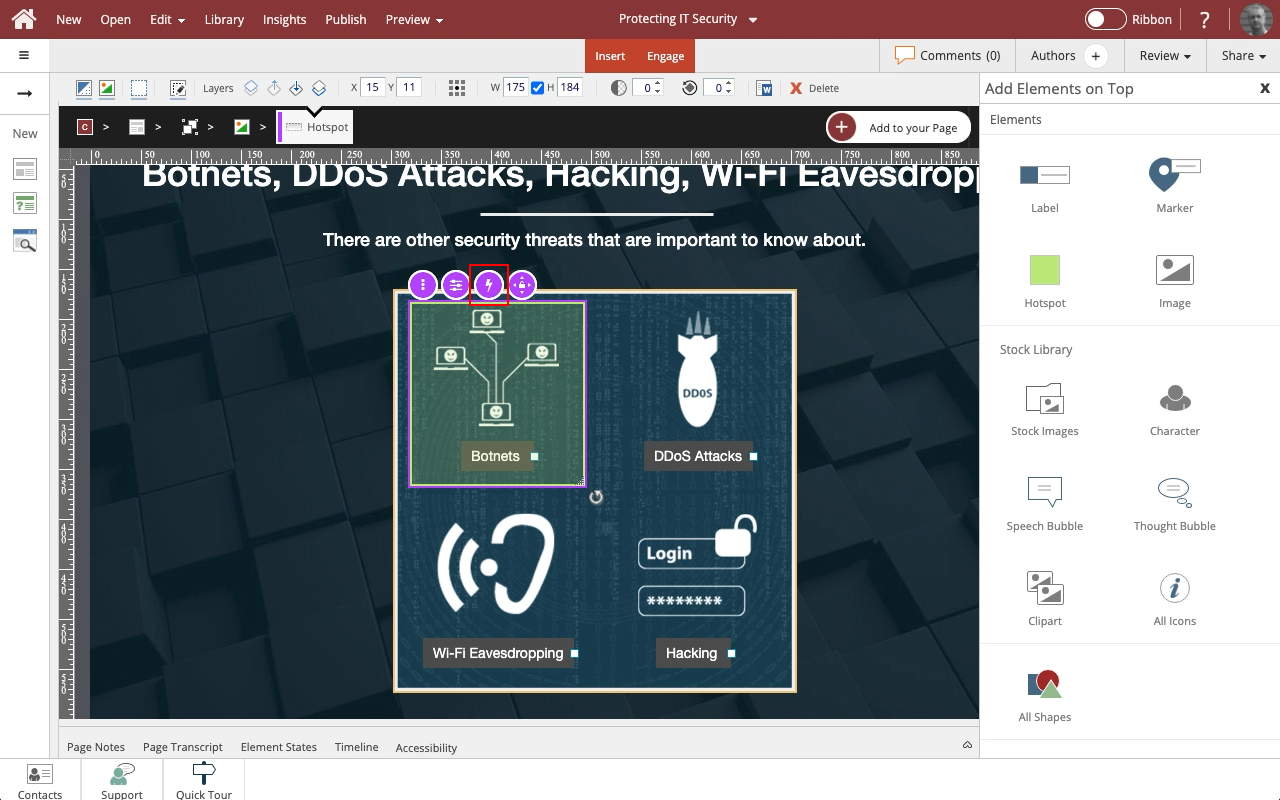
00:28 Select the Actions icon (the lightning bolt).
00:32 The panel shows some of the actions you can set up when the learner clicks on the hotpost.
There are more Actions available if you select More...
To set an action for a trigger other than clicking, select See all.


Comments ( 0 )
Sign in to join the discussion.