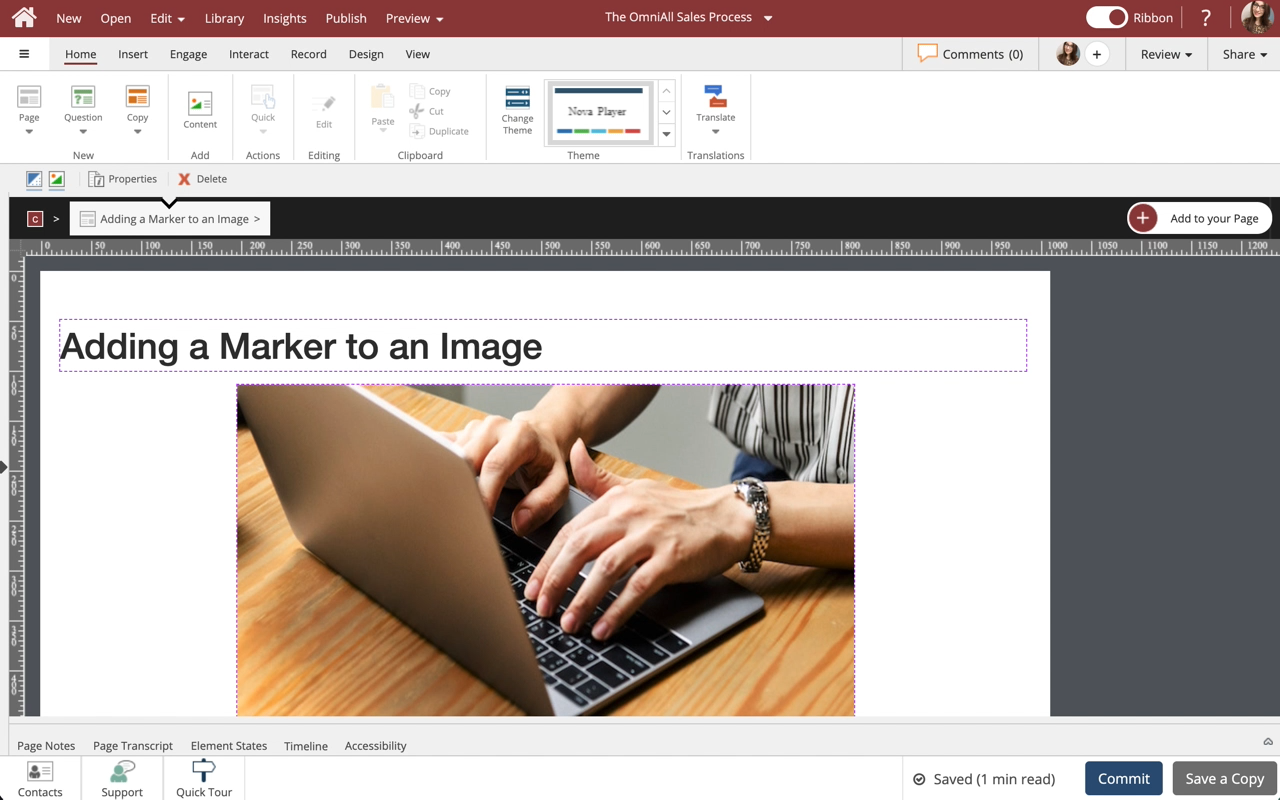
Embed
Embed: preview
Embed size:
Maintain aspect ratio
Show steps
Embed code
Create a Collection
Update Collections
Create a
Collection
Steps to add a Label to an image.
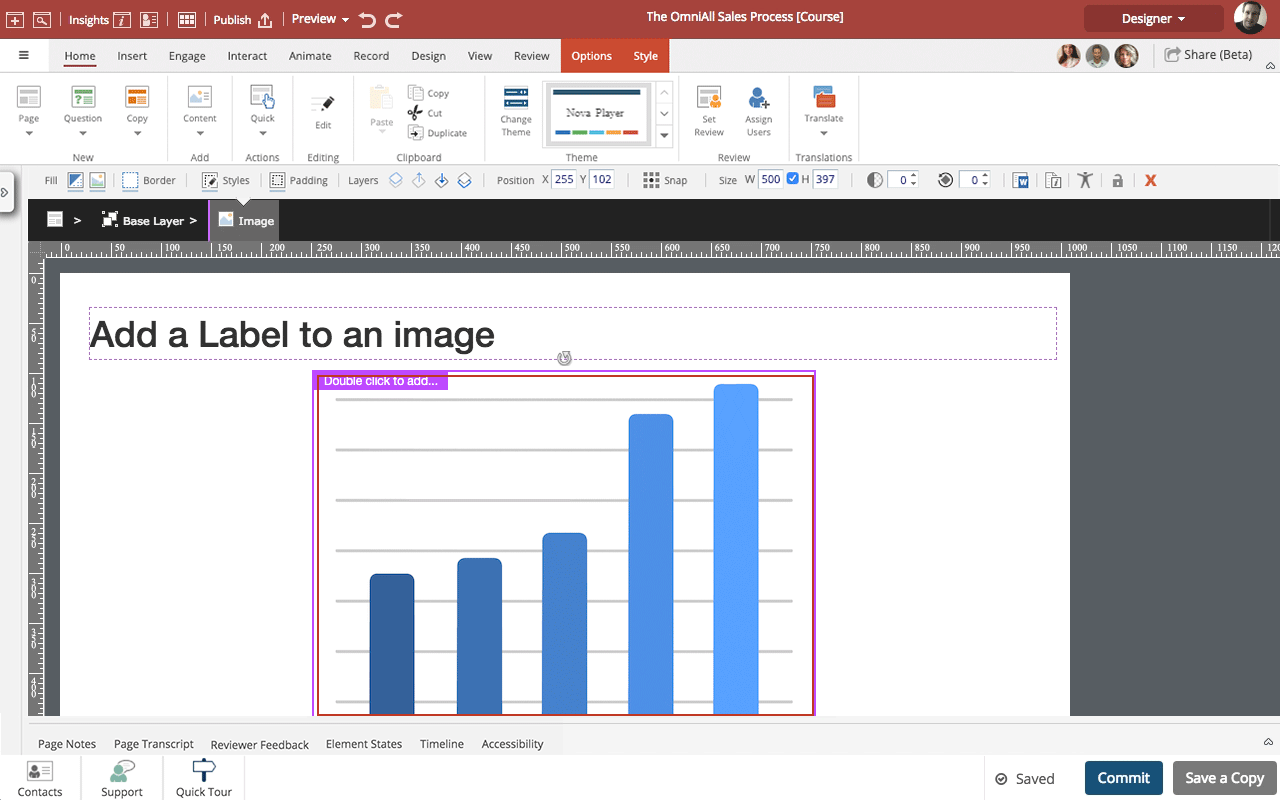
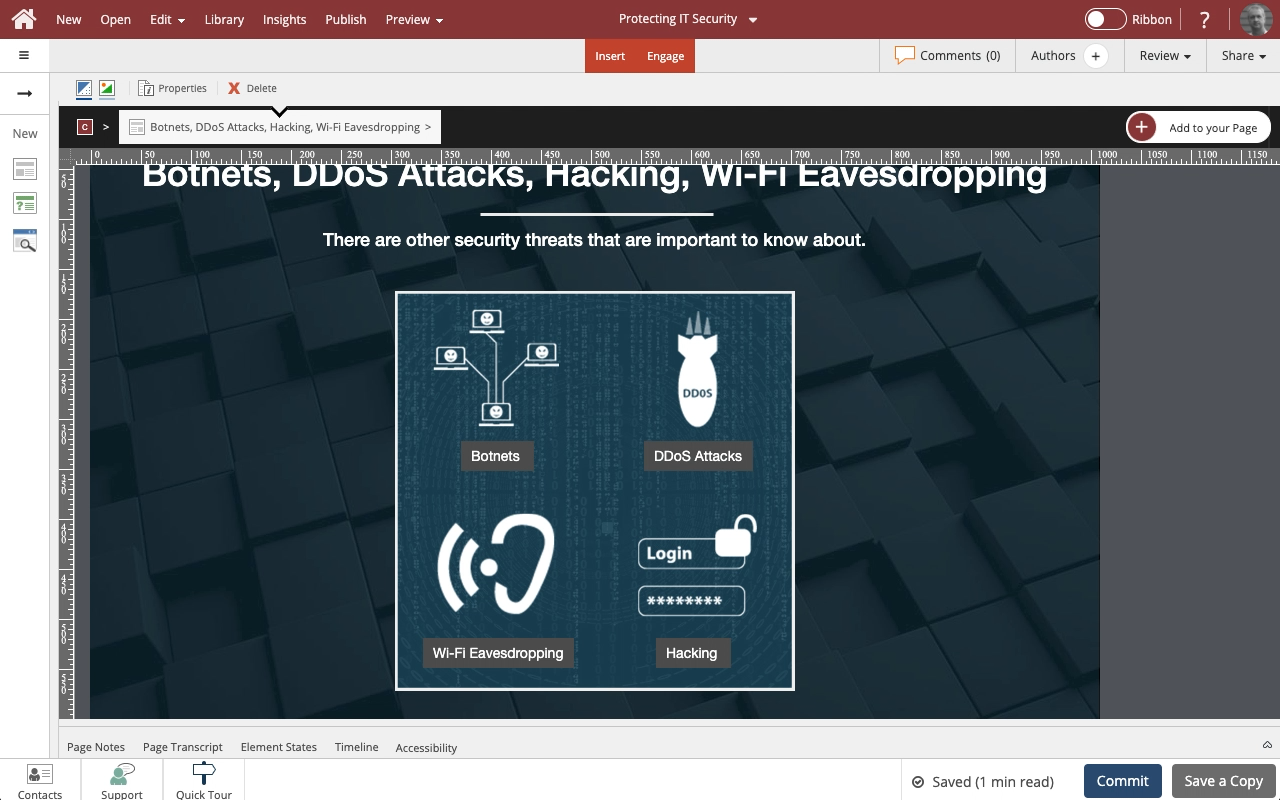
Instead of adding text within an image file you can add Labels when authoring. This is great for identifying or naming parts of a diagram, for example.
If you move the image on a Claro page or if it moves or resizes in a Flow page the labels will stay in position in relation to the image.
The text in the labels is also included in Translation export files, making it easy to translate the text (much easier than editing the image in another application to change the text.)
Product: dominKnow | ONE | Version: 7.3


00:00 / 00:00
00:00 Double click the image to enter Edit mode.
00:04 The breadcrumb now shows an Exit button.
A menu is also added over the image.
Select Label.
00:08 Select (click) where you want to add the label on the image.
00:12 The label has a text area to add or edit text.
Double click that area and we'll add text for this example.
00:16 By default labels are added with an icon. You can control this in the Variations section of the Options tab.
Select the no-icon variation.
00:20 You can resize the label by selecting and dragging the handle.
00:24 Release the handle to complete the resizing.
00:28 You can change the label background color using the Fill option on the Options Tab.
Select Fill.
00:32 The Pick a Fill panel will open.
For this example we'll use the Theme's default blue.
Select the blue option in the top row.
00:36 Click anywhere on the image to close the Pick a Fill panel.
00:40 Select Exit in the breadcrumb to leave Edit mode.
00:44 The label can be seen on the image. If you move the image it will remain in place in relation to the image.
Comments ( 0 )
Sign in to join the discussion.