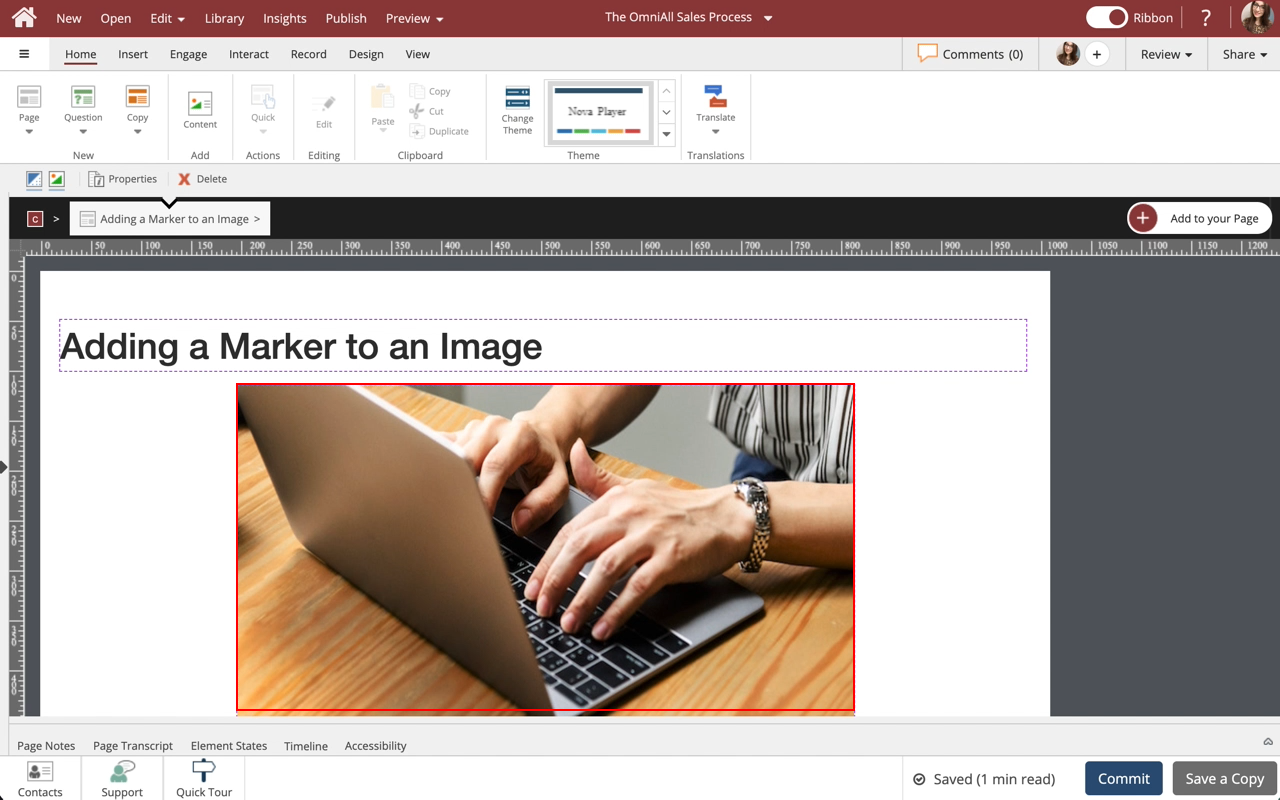
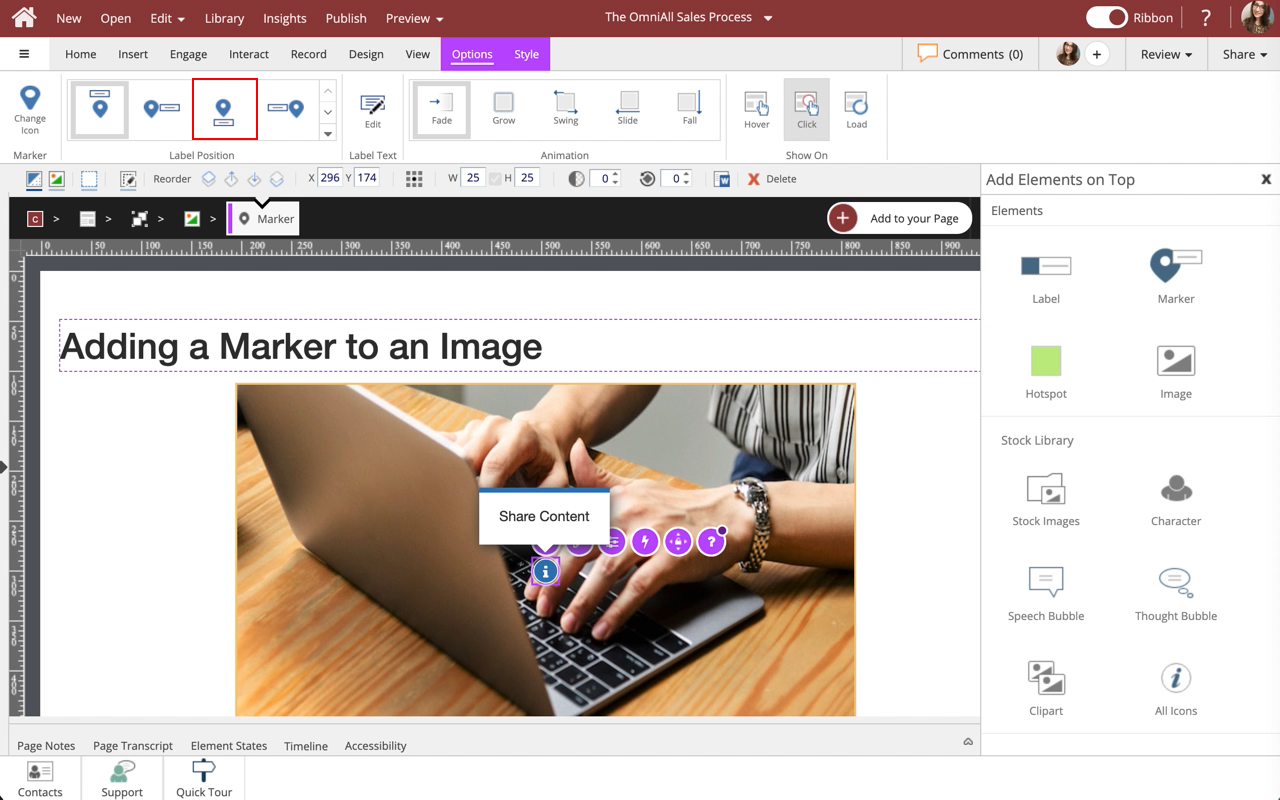
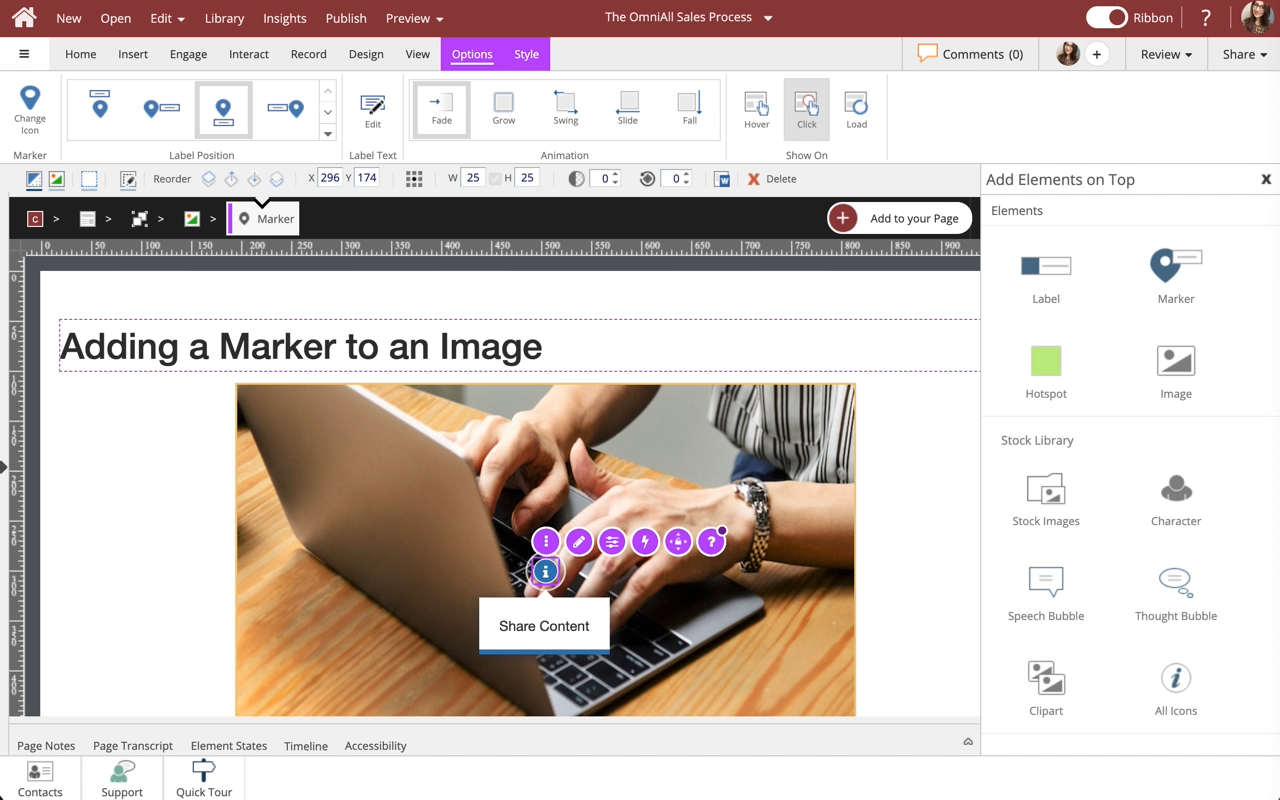
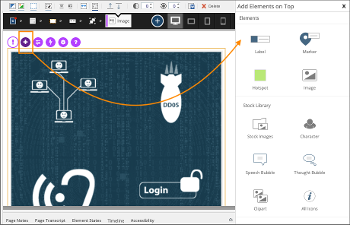
Adding a Marker to an Image
Steps to add a Marker within an Image.
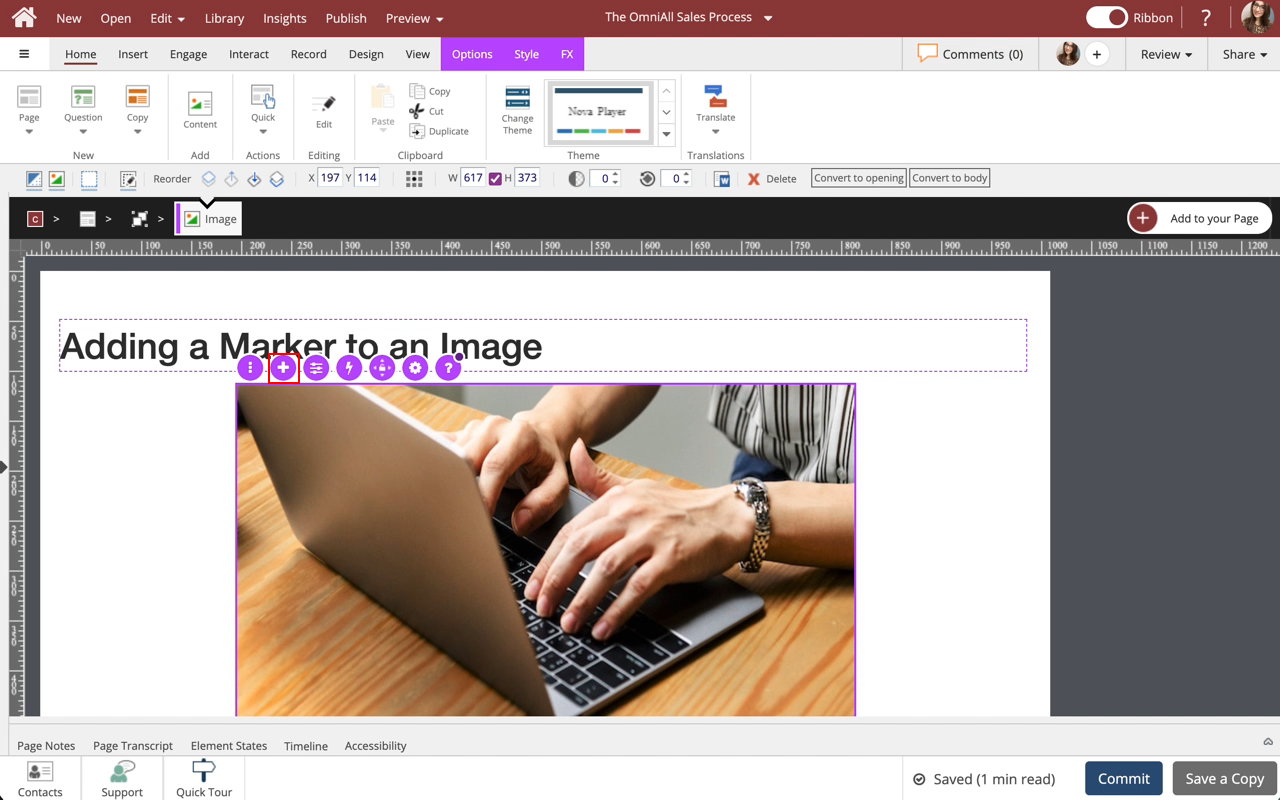
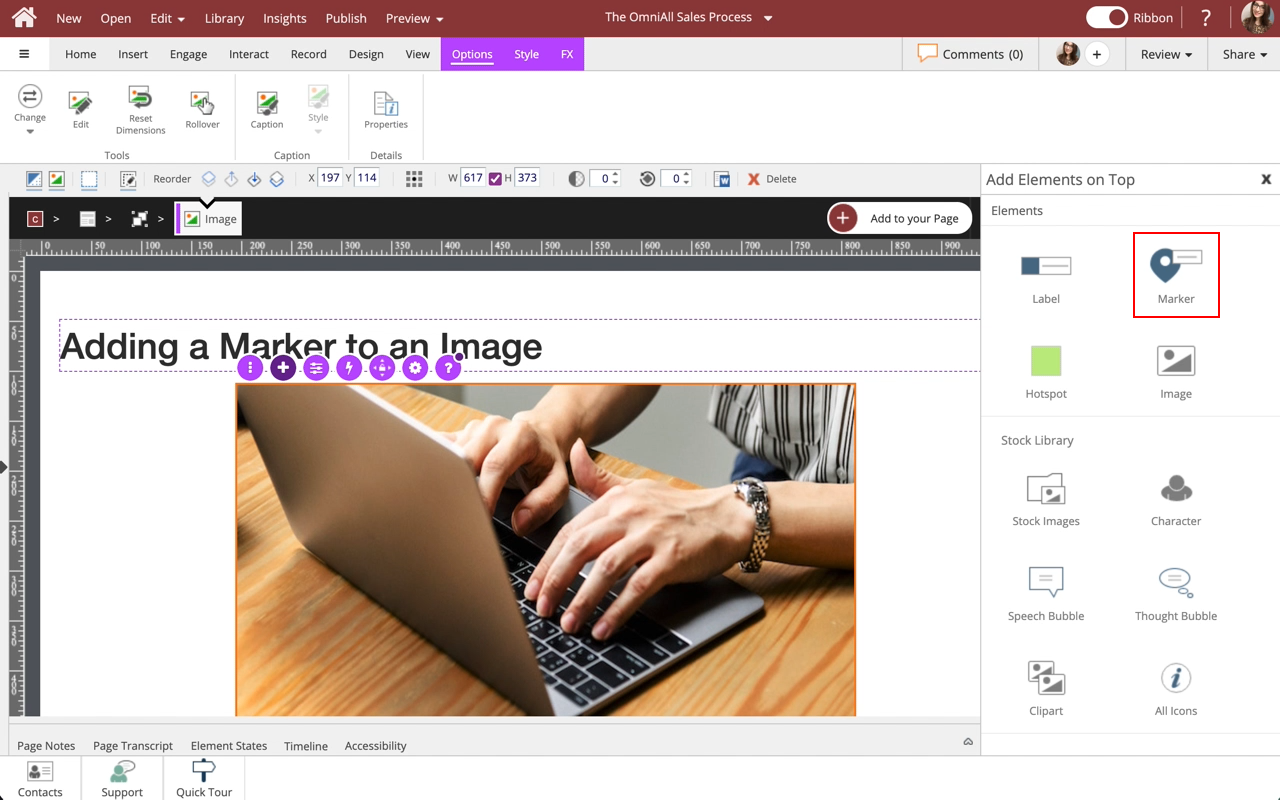
You can add the following elements within an Image: Label, Marker, Hotspot, Image, Stock Images, Character, Speech Bubble, Thought Bubble, Clipart, Icons, and shapes.
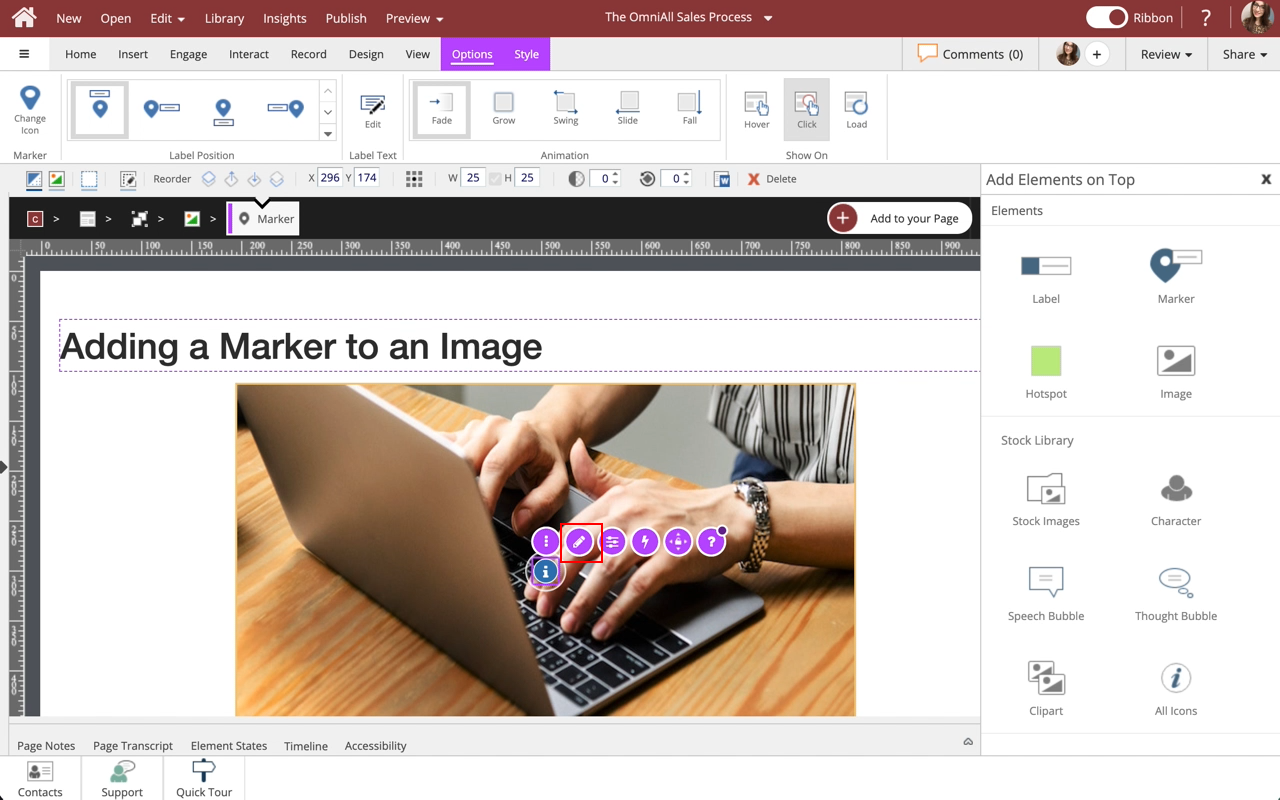
NOTE: If you have an action with an on-click trigger set on an element layered over an image (for example, a hotspot) plus an action with an on-click trigger set on the image element as a whole, both actions will be fired when the learner clicks on the layered element.

Product: dominKnow | ONE | Version: 7.4
Applies to: Flow, Claro | Edition: Solo, Team, Business, Business Plus, Enterprise
Applies to: Flow, Claro | Edition: Solo, Team, Business, Business Plus, Enterprise