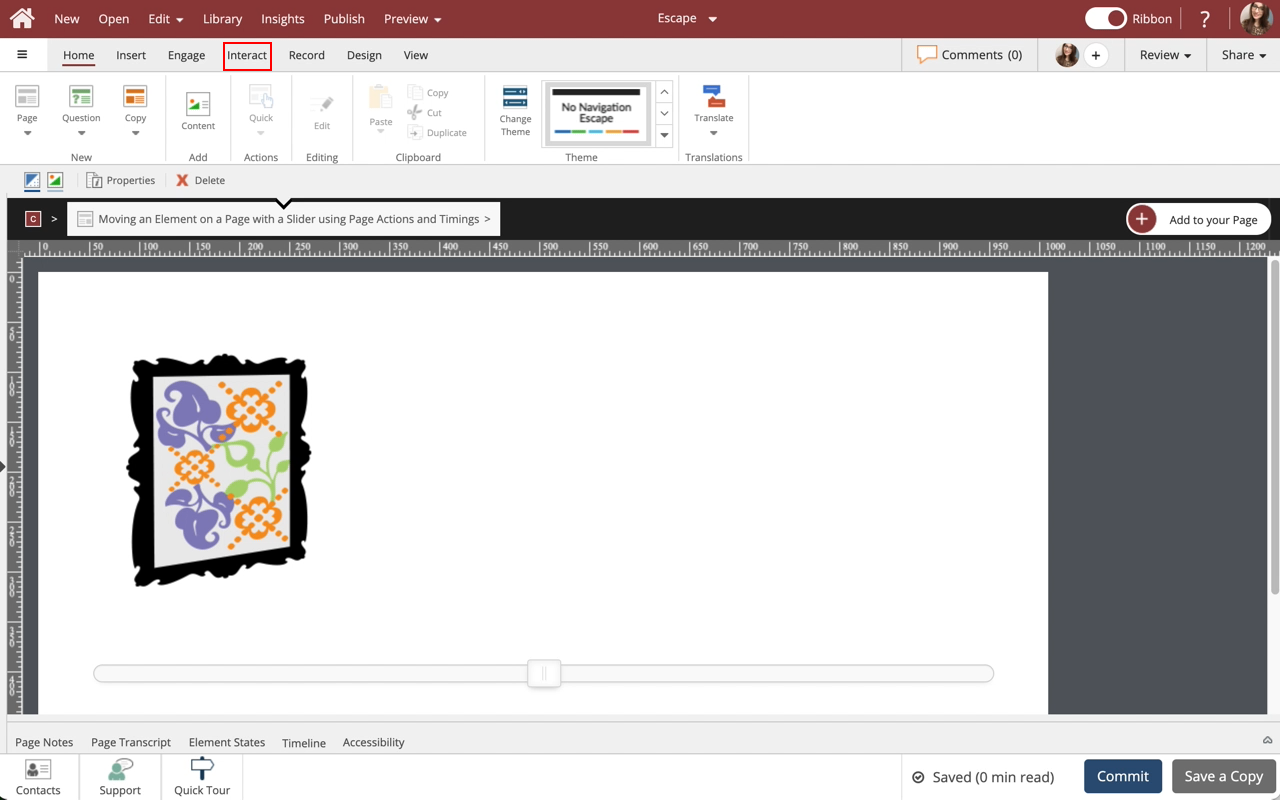
00:00 There are two ways that you can setup the animation, let's take a look at the first way. Select Interact.
00:12 Select Is Changed under Variables.
00:18 The Pick a Trigger Popup shows with Variables open.
Select the Select a Variable dropdown.
00:24 From the list, select Slider01(number).
00:36 Select Equal to under Number.
00:42 Select Enter Value.
We'll add 1 for you. (For slider position 1)
00:54 Select Animations and Effects in the side menu.
01:00 Select Move to under Motion.
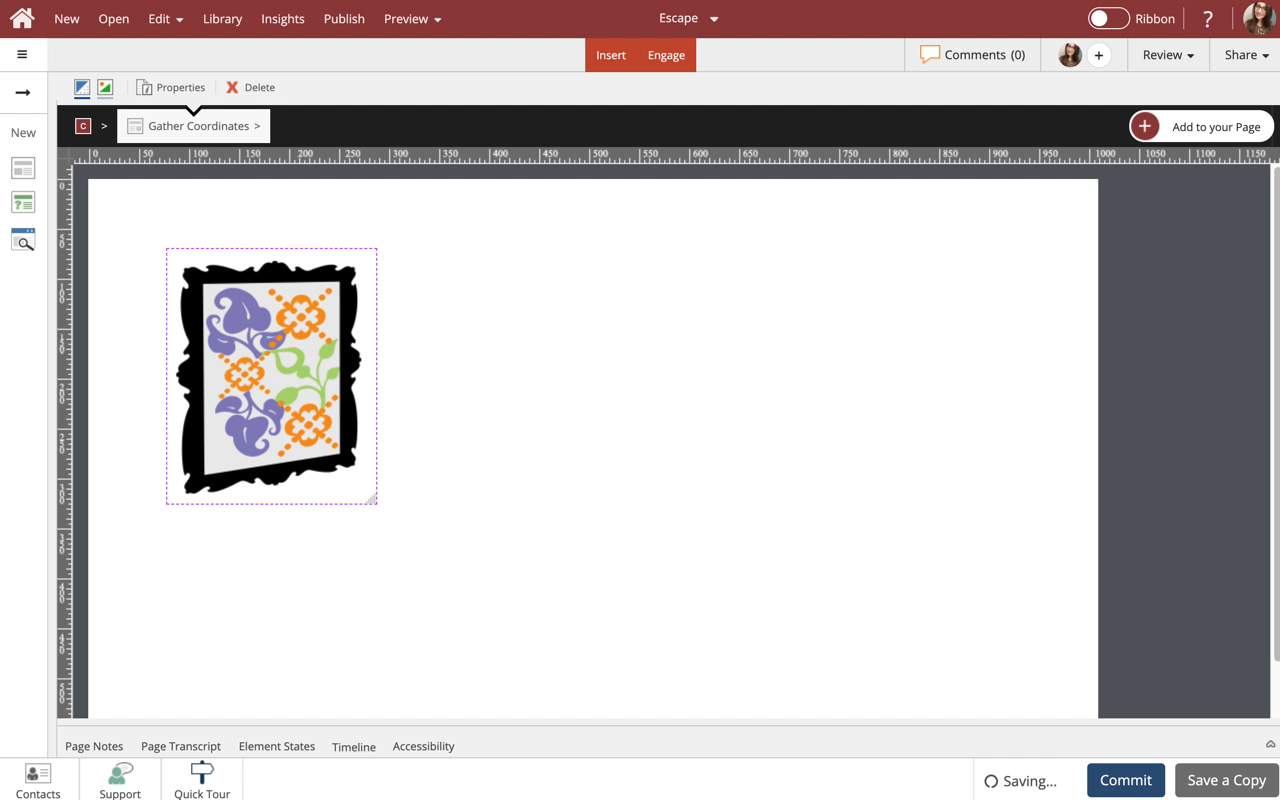
01:12 The Page Actions and Timings Panel comes up, to finish setting up the positition 1 action select the Artwork element under Targets.
01:18 Under Coordinates select X input.
We'll add 79 for you. (Or position 1 X value)
01:24 Select Y input.
We'll add 70 for you. (Or position 1 Y value)
01:36 Position 1 is now set.
Next, we are going to setup position 2 using the second way to setup an animation.
With the Page Actions and Timings panel open.
Select Add.
01:42 Select Animations and Effects in the side menu.
02:00 The Page Actions and Timings panel shows.
Under Targets select the Artwork element.
02:06 Under Trigger select the dropdown.
02:12 Select When Variable is...
02:18 Under Variable select the dropdown.
02:24 Select the variable Slider01(number).
02:30 Operator will stay the same (==).
Select the input for Value, and we'll add 2 for you. (For slider position 2)
02:36 Under Coordinates select the X input.
We'll add 400 for you. (Or position 2 X value)
02:42 Select the Y input.
We'll add 70 for you. (Or position 2 Y value)
02:54 Select Add, and we'll repeat the steps used above for position 2.
03:00 Select Animations and Effects in the side menu.
03:18 The Page Actions and Timings panel shows.
Under Targets select the Artwork element.
03:24 Under Trigger select the dropdown.
03:30 Select When Variable is...
03:36 Under Variable select the dropdown.
03:42 Select the variable Slider01(number).
03:48 Operator will stay the same (==).
Select the input for Value, and we'll add 3 for you. (For slider position 3)
03:54 Under Coordinates select the X input.
We'll add 700 for you. (Or position 3 X value)
04:00 Select the Y input.
We'll add 70 for you. (Or position 3 Y value)
04:12 Position 3 is now set.
Select Preview.
04:18 The element starts at position 1.
Select the middle of the slider.
04:24 The element moved to position 2.
Select the end of the slider.
04:30 The element moved to position 3.
Select the Red Circle in the top left corner of the preview window to close it.
04:36 The element now moves when the slider is moved to positions 1, 2, or 3.


Comments ( 0 )
Sign in to join the discussion.