Add a Custom Character Set & Custom Background Image in the Scenario Builder
A walk-through on how to add a Custom Character Set and a Custom Background to the Scenario Builder widget.

Product: dominKnow | ONE | Version: 7.4
Applies to: Flow, Claro
Applies to: Flow, Claro


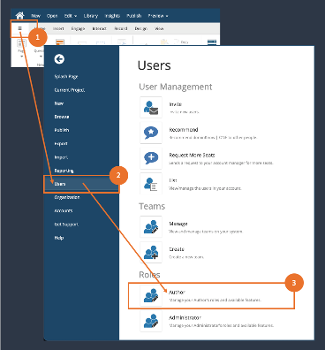
Step 3
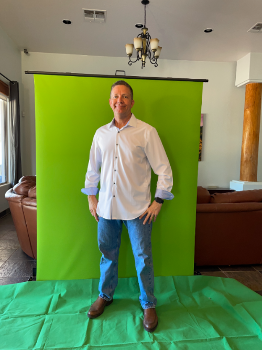
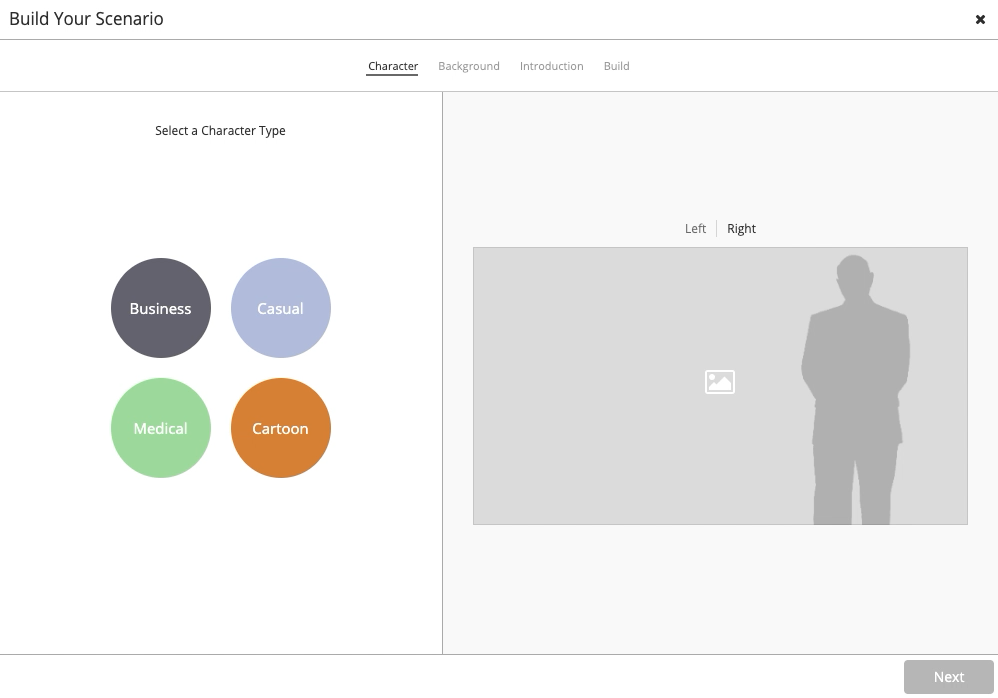
The Add a Custom Character Set window opens. From here you can download the Templates and add your own Character.
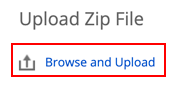
After you have finished updating the png files and created a ZIP file, you can upload it.
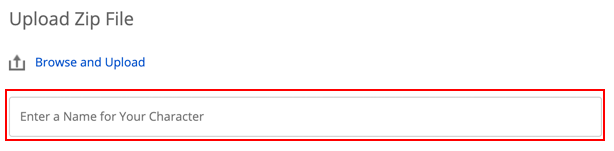
Select the text entry area for the "Enter a Name for Your Character" and we'll add text for this example.
Step 5
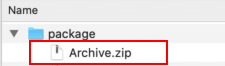
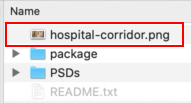
Locate your ZIP file containing your png images.
Note: all the PNG files in the Package folder must be zipped at the root of the zip file. To zip the files to the root you must open the Package folder and select all files then Right Click on the selected files and choose "compress" on Mac or "zip" on Windows. The name of your new zip file doesn't matter so long as the PNG files in the Package folder are at the root of the zip.
For this example, select the Archive.zip.

Step 6
Once the upload is complete you will see the message telling you that your upload was successful.
Select Next.
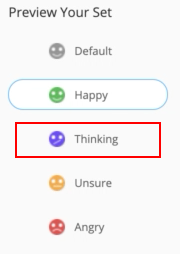
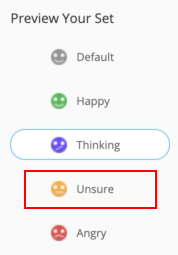
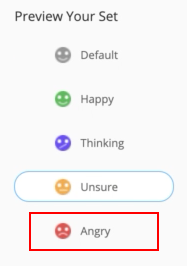
Step 11
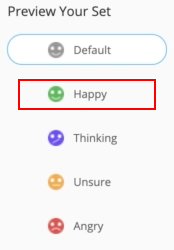
After previewing your character, if you don't like what you see you can select Retry to upload a new package.
For this example, we are happy with what we see. We will now add Metadata to our Character Set.
Select Metadata.
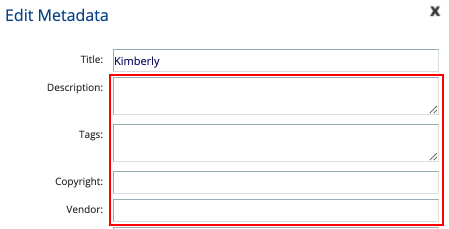

Step 16
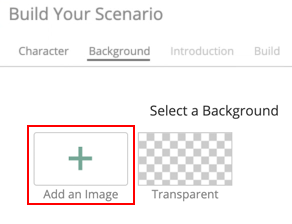
For this example, we will also upload a custom background.
For the best results we recommed uploading an image that has a 16:9 aspect ratio. For this example we will upload an image that is 1200 pixels wide by 675 pixels heigh.
Select Add an Image.
Step 18
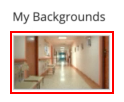
Your custom background is now visible under the My Backgrounds section.
Select the new background image to apply it to your scenario.
Step 19
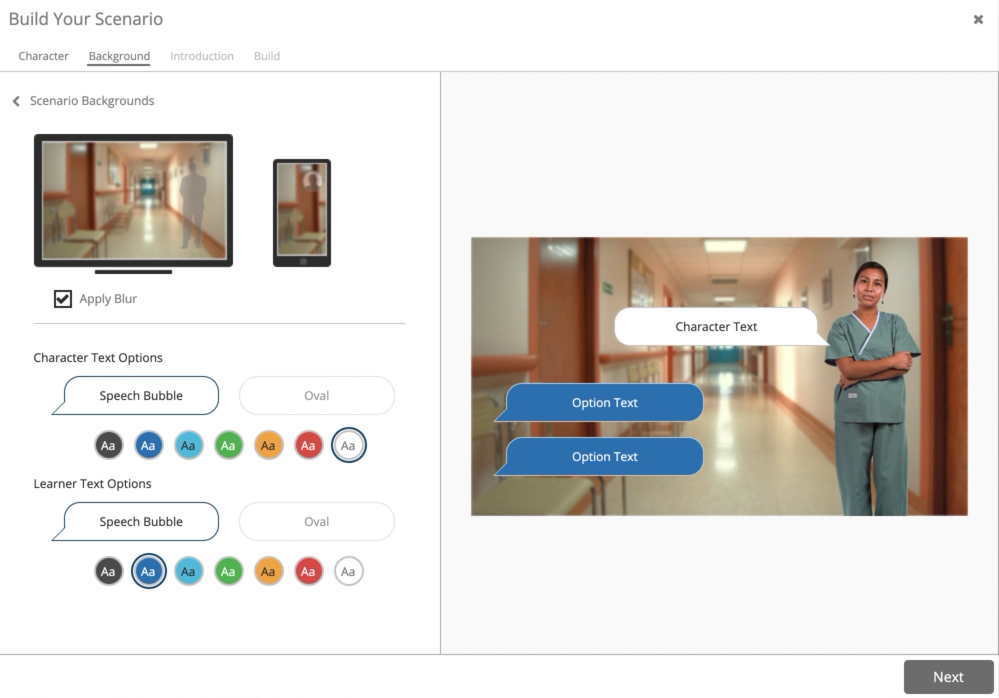
The background is added to the display area with a default blur effect applied.
You can choose to turn the background blurred off by simply unchecking the Apply Blur box.
This concludes how to add a Custom Character Set and Background Image. Now you can move on to creating the Introduction and building the scenario.


Comments ( 0 )
Sign in to join the discussion.