Edit a Node in a Timeline Component in Flow
Steps to Edit the Node in a Timeline component in Flow.

Product: dominKnow | ONE | Version: 7.4
Applies to: Flow
Applies to: Flow
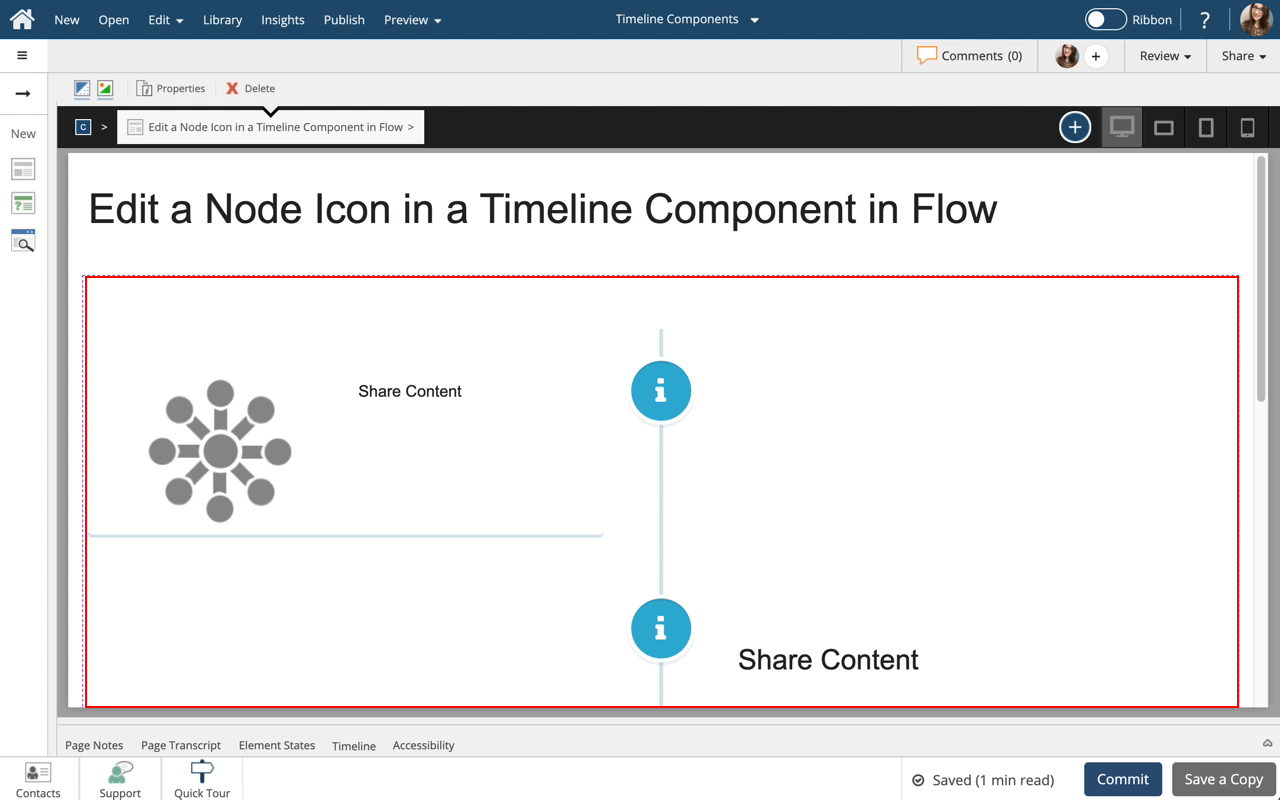
Step 2
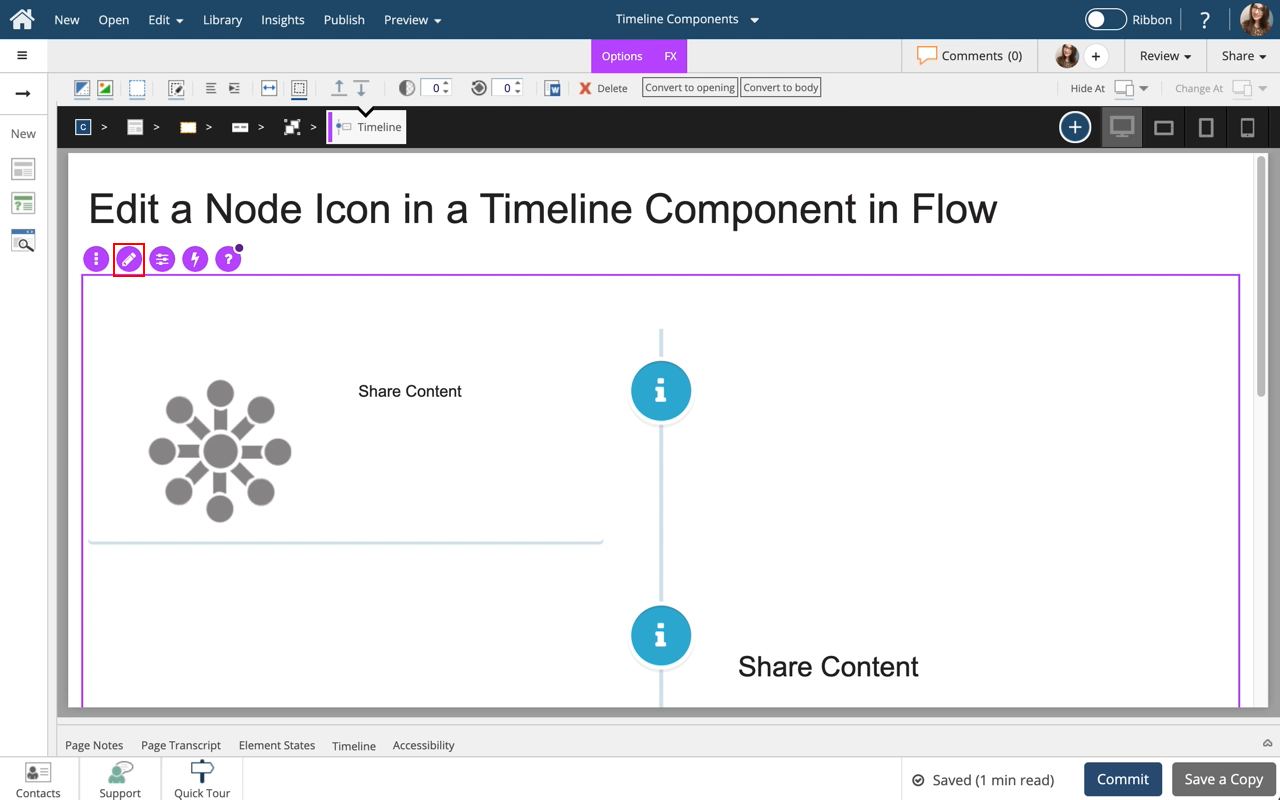
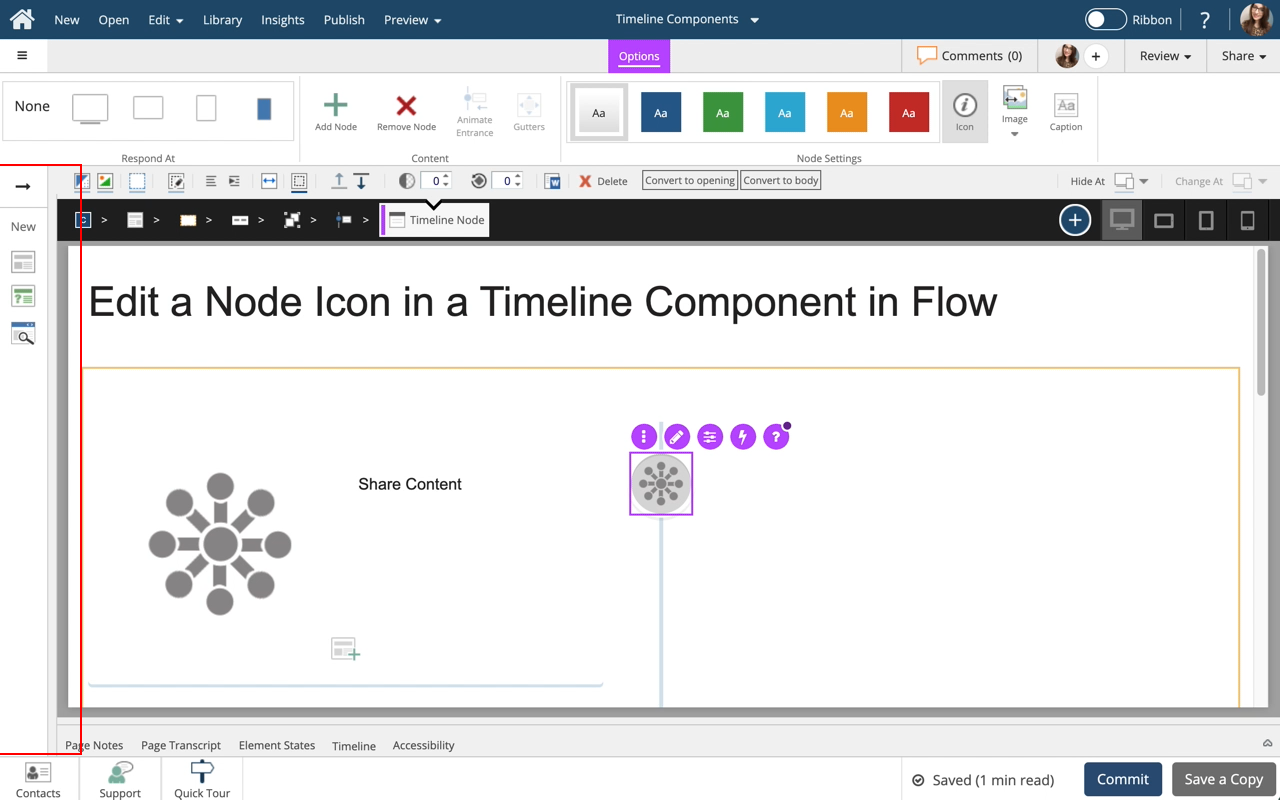
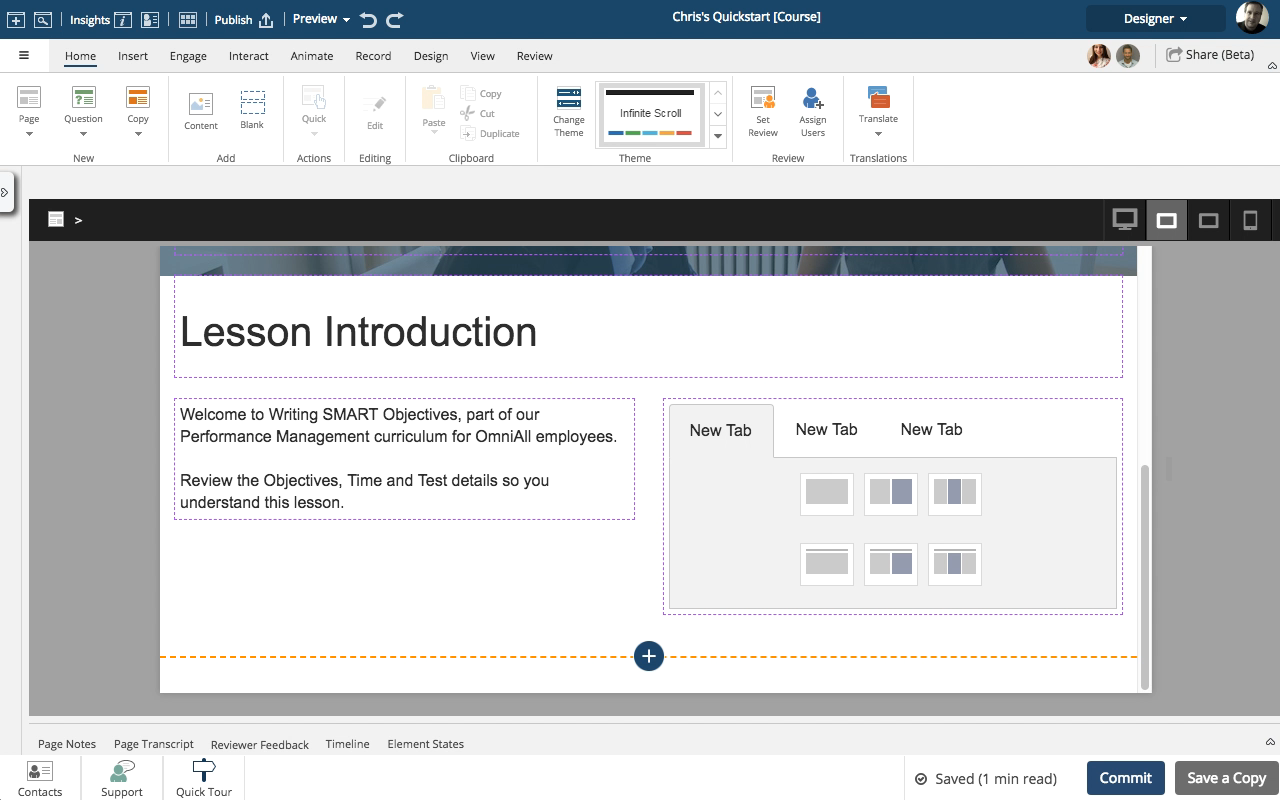
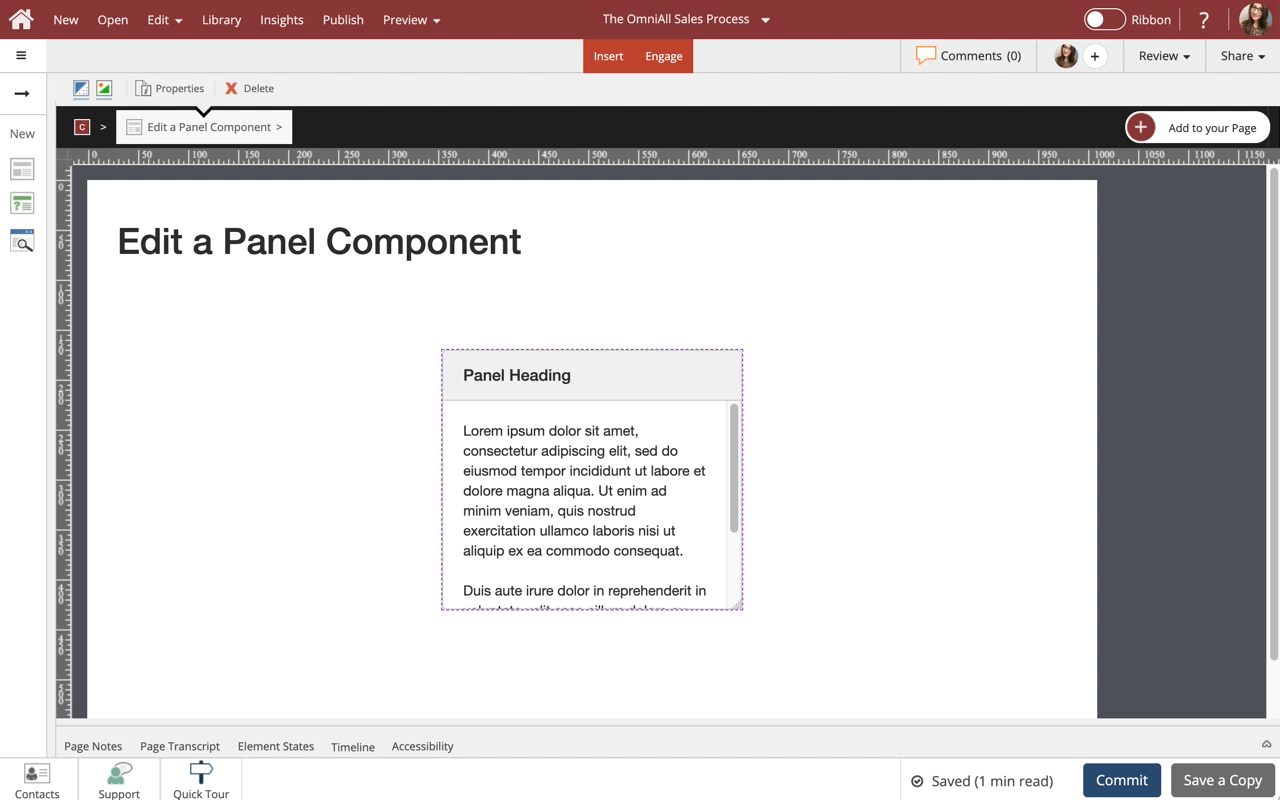
To edit the content within the Timeline, select the Edit Icon in the Inline Toolbar, or double-click the Timeline.
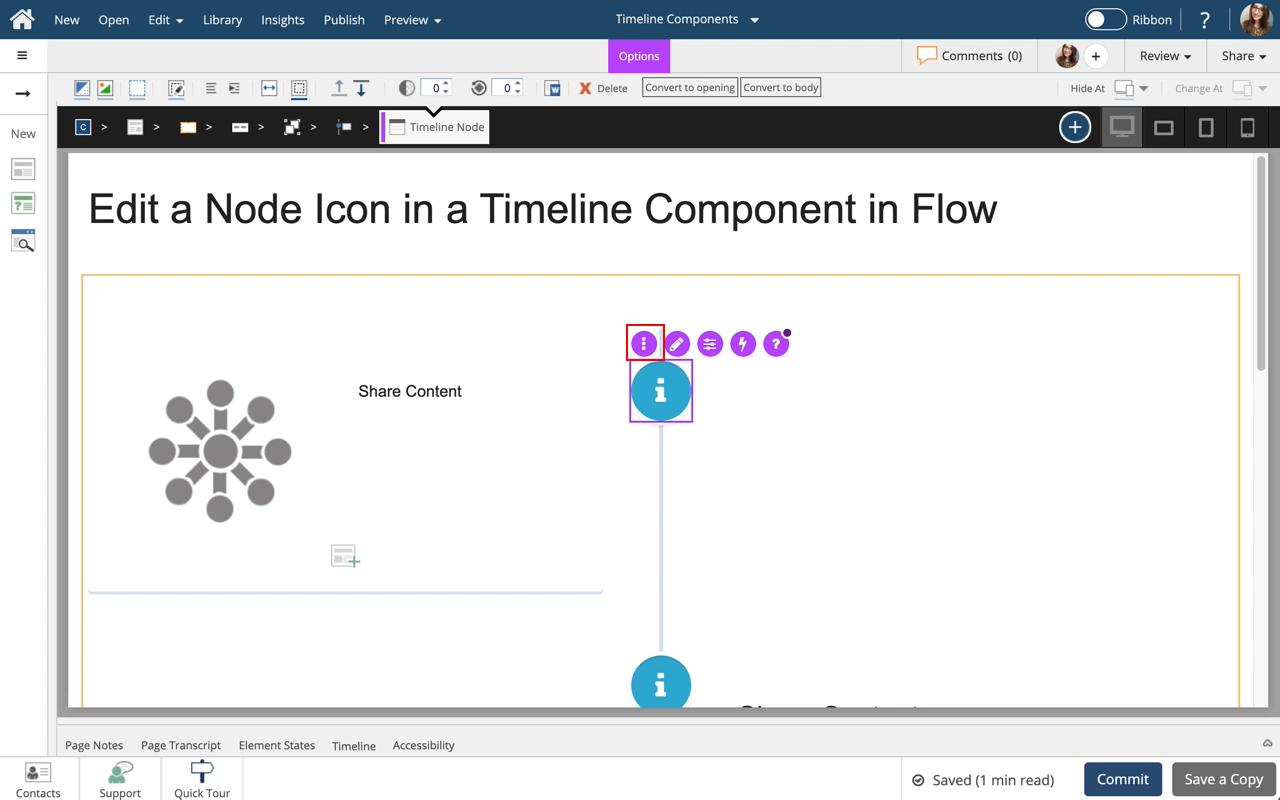

Step 6
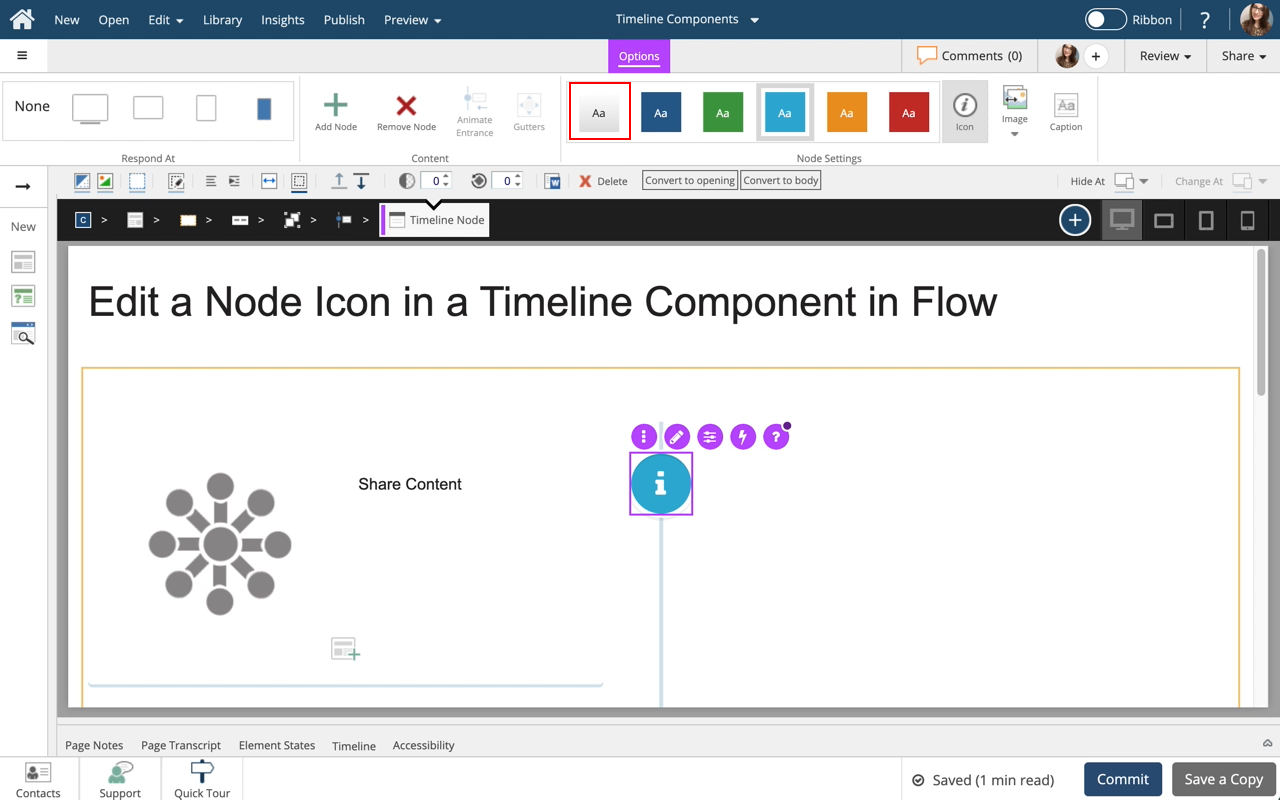
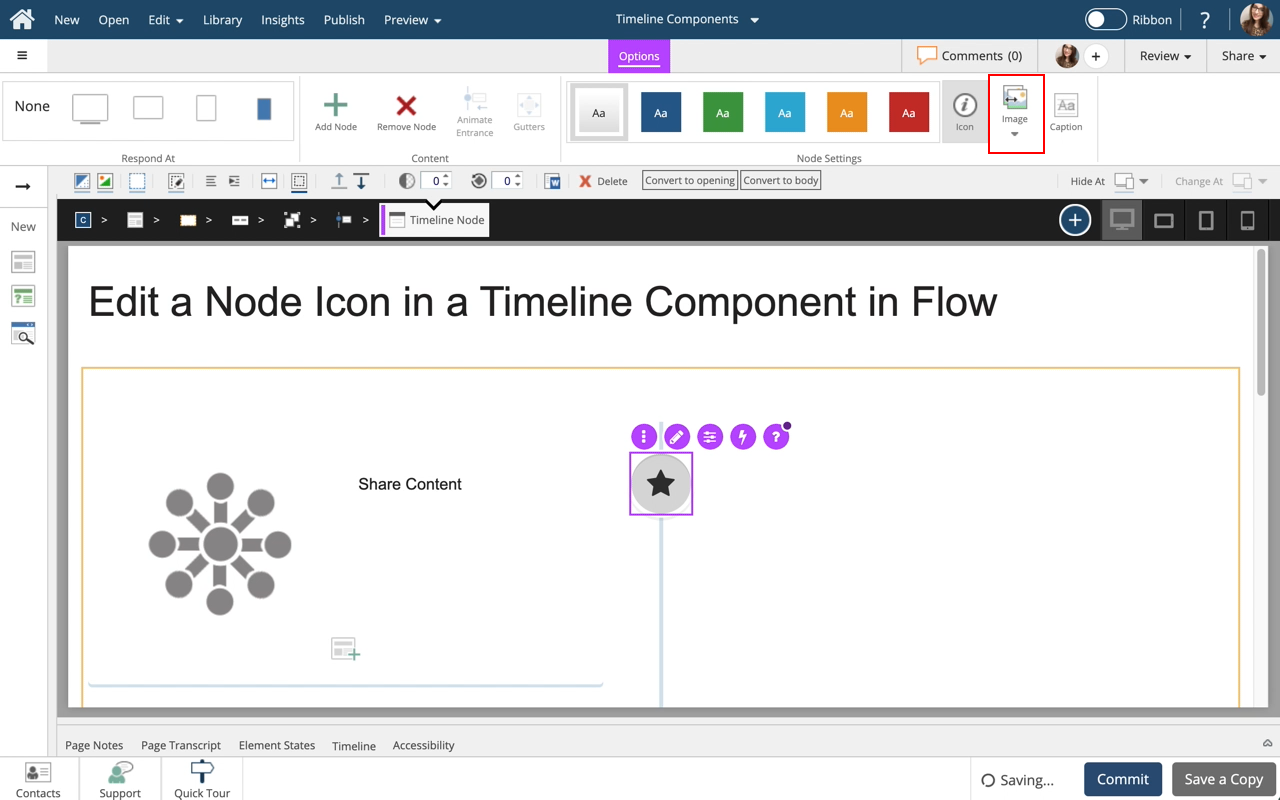
The Options tab has a number of design options for the Timeline Node. You can change the Color of the node, change the icon, or use an image for an icon.
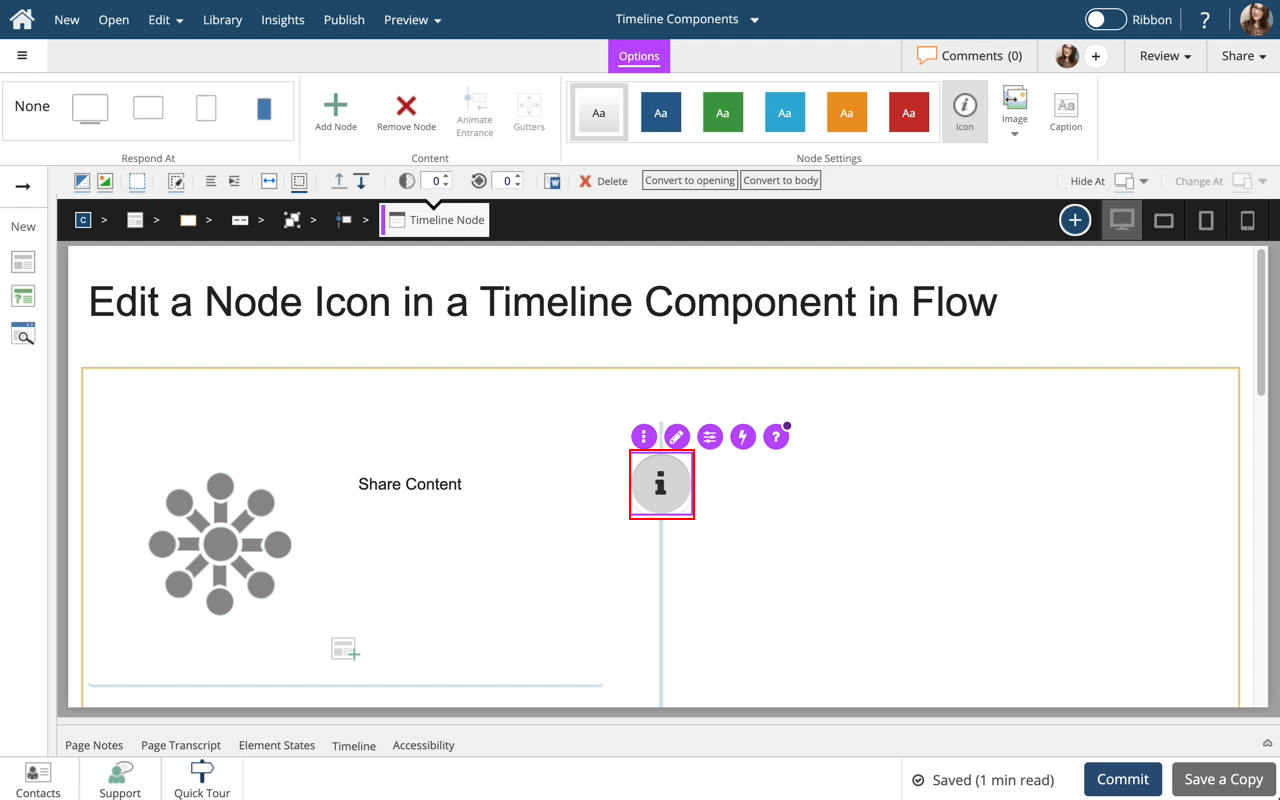
Select Grey (Option 1) for the Color of the node.
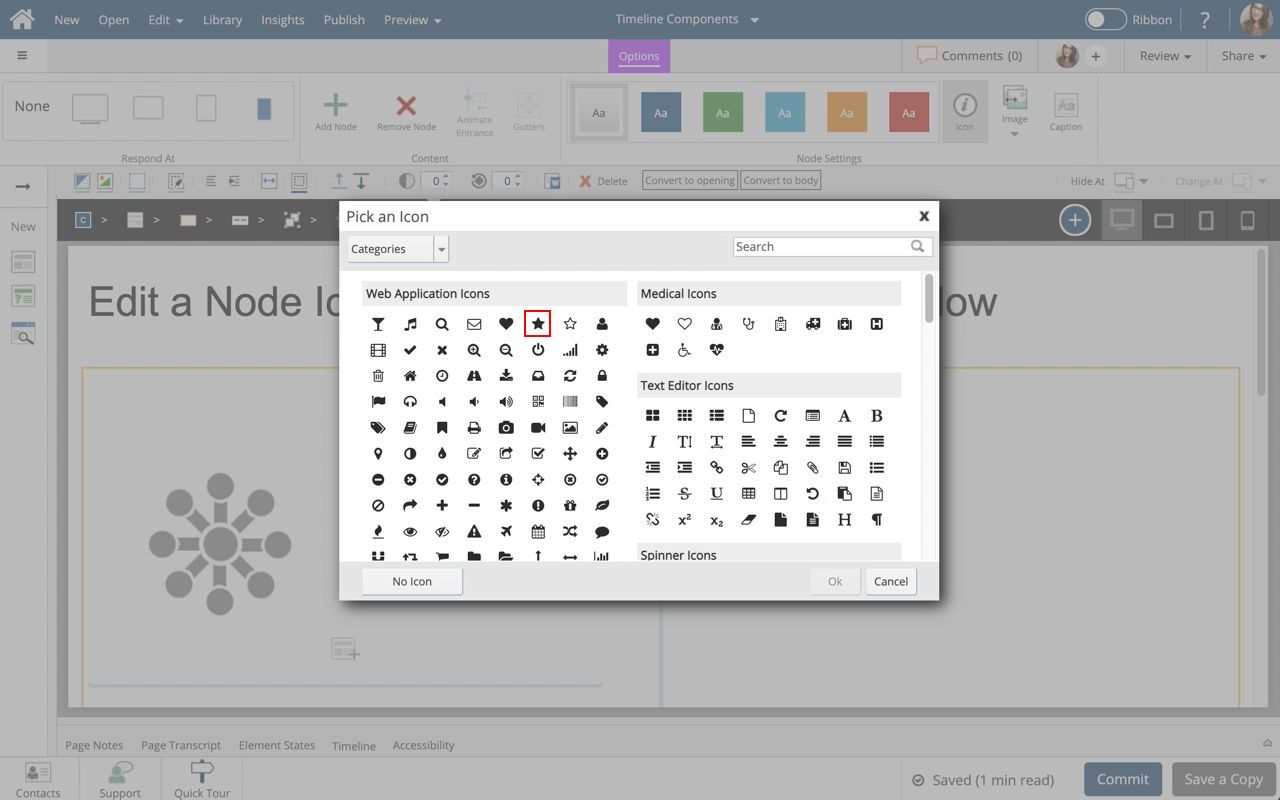
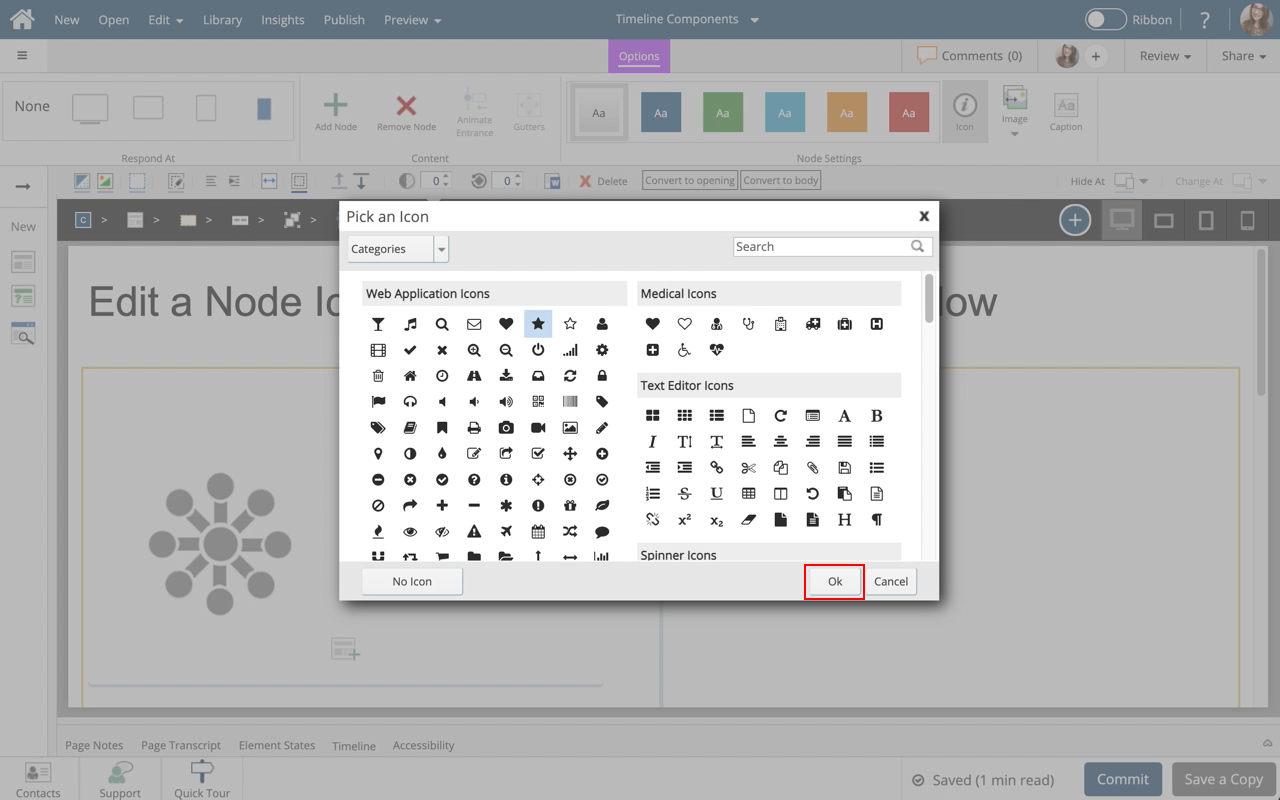
Step 10
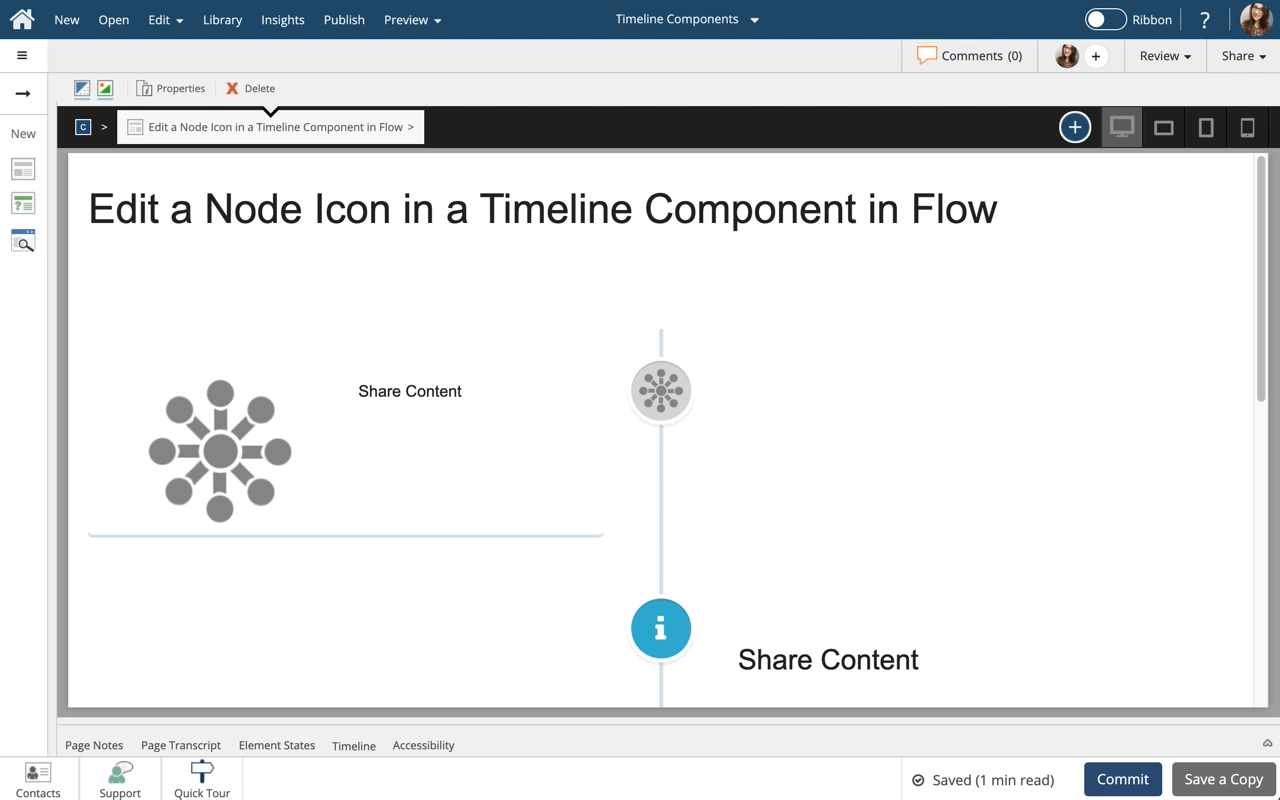
The Icon on the Node is changed.
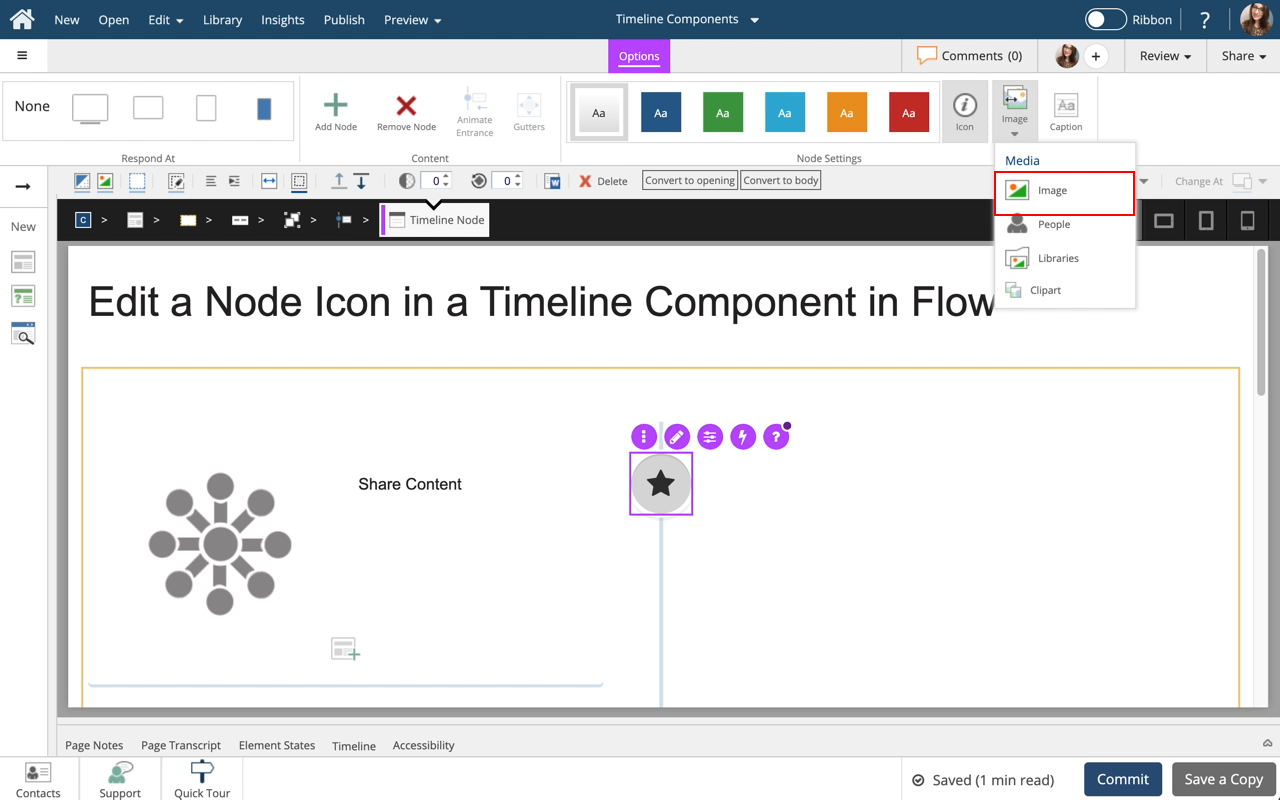
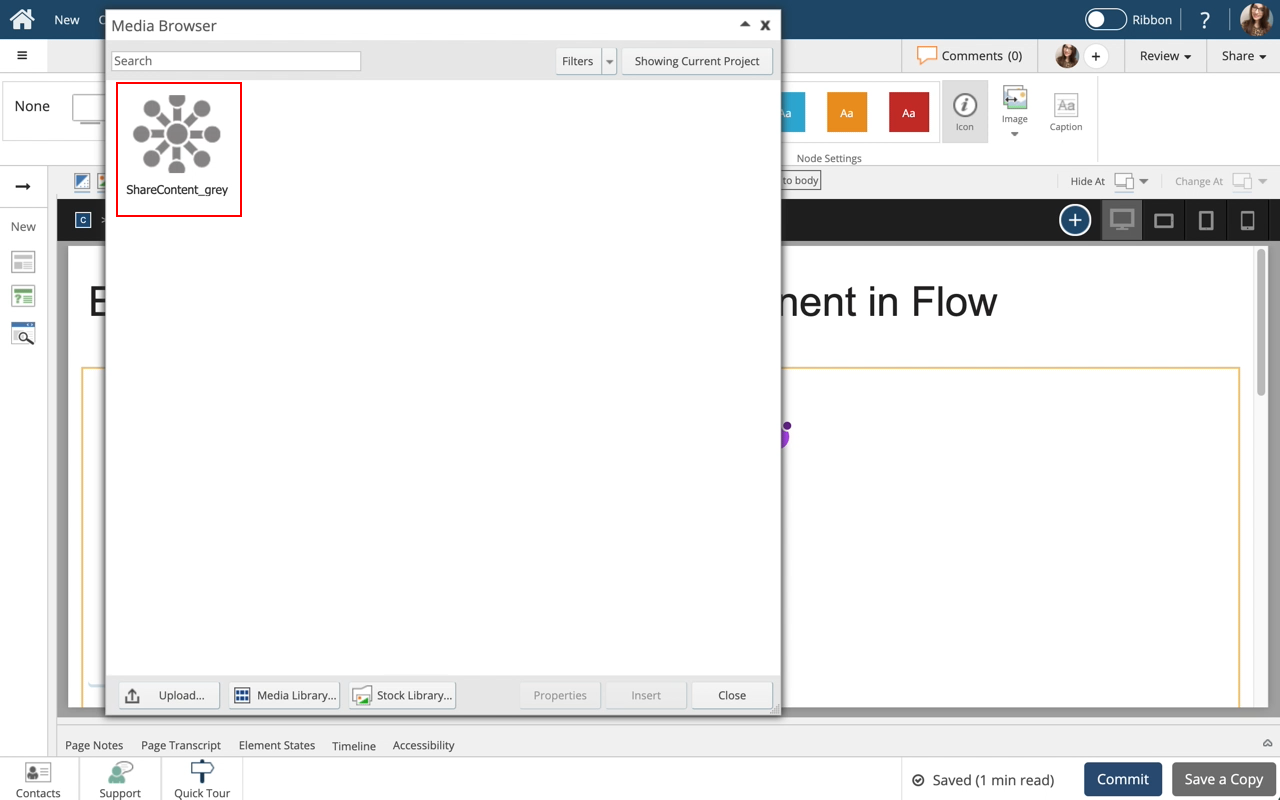
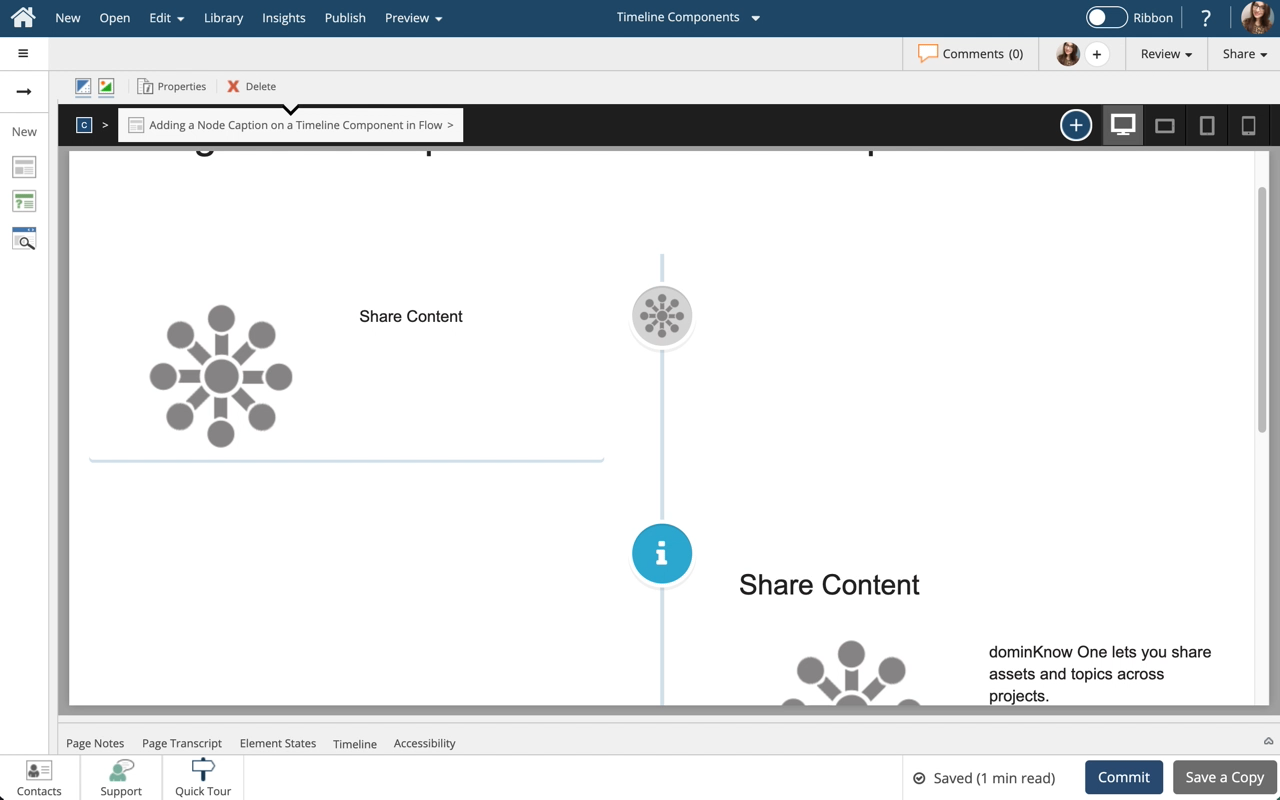
To use an Image as an Icon for the Node, select Image under Node Settings.
Step 14
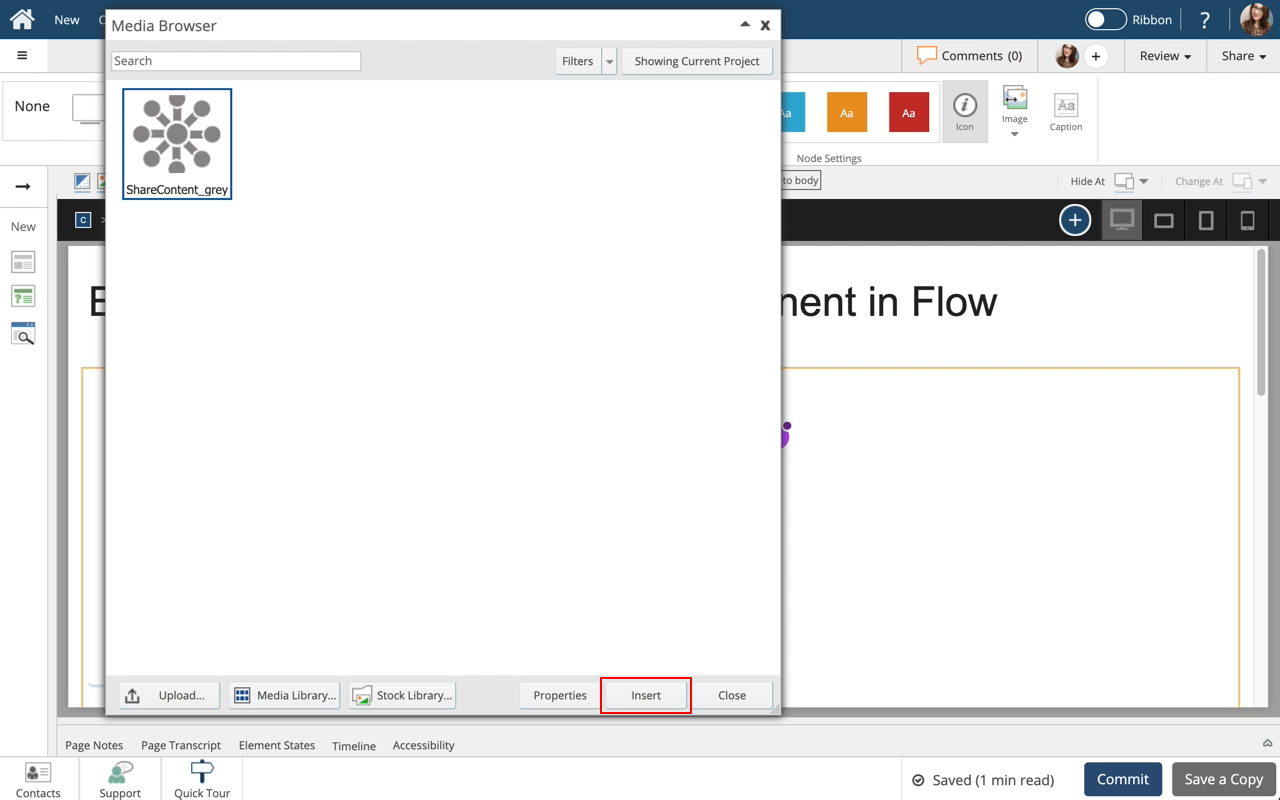
The Node now uses an Image as the Icon.
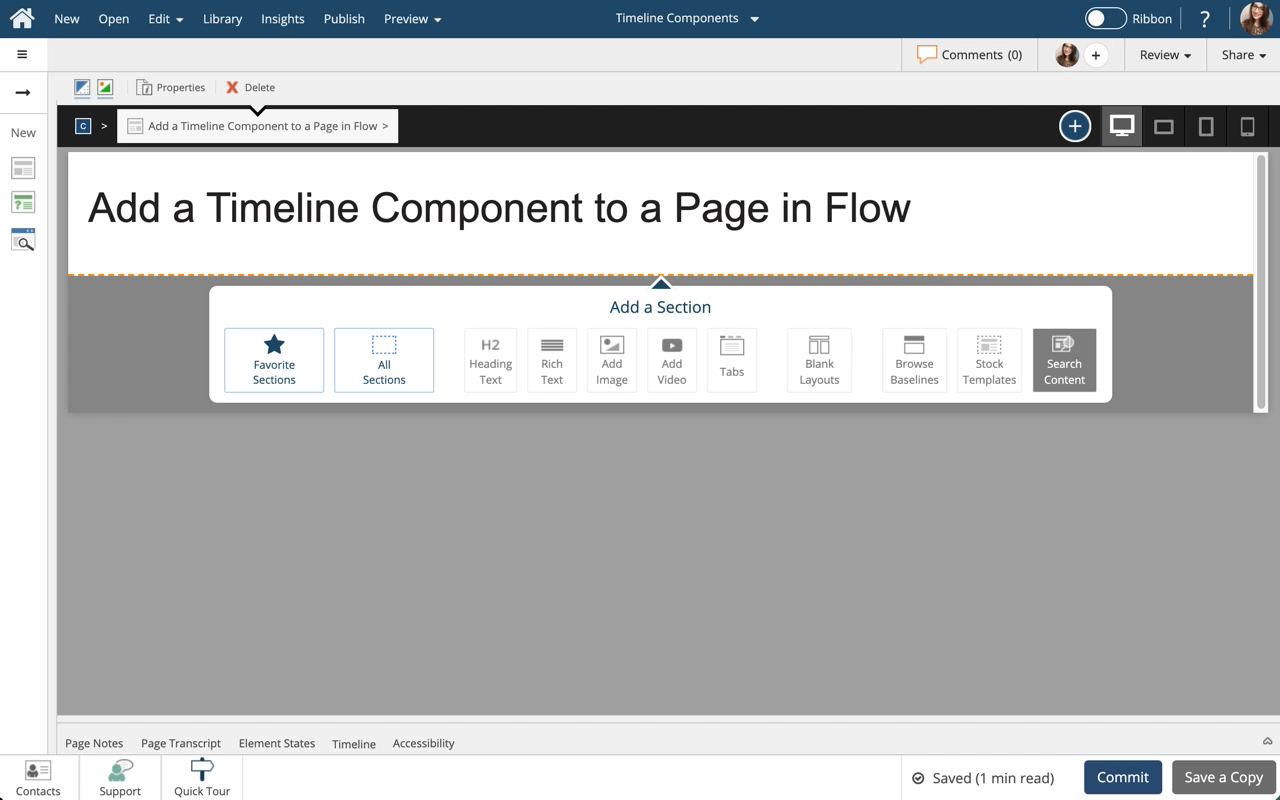
Select the Left Side of the page/Left Side Panel to return to the page content.
Step 15
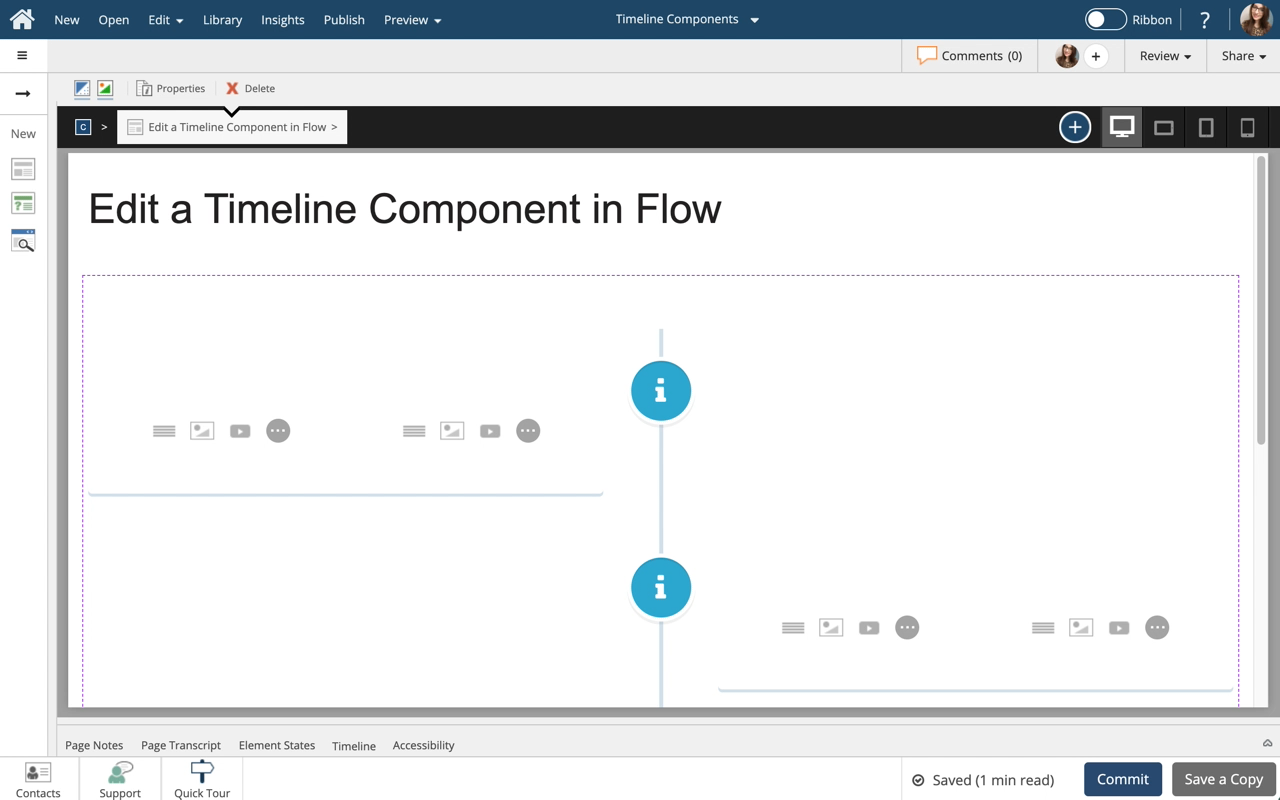
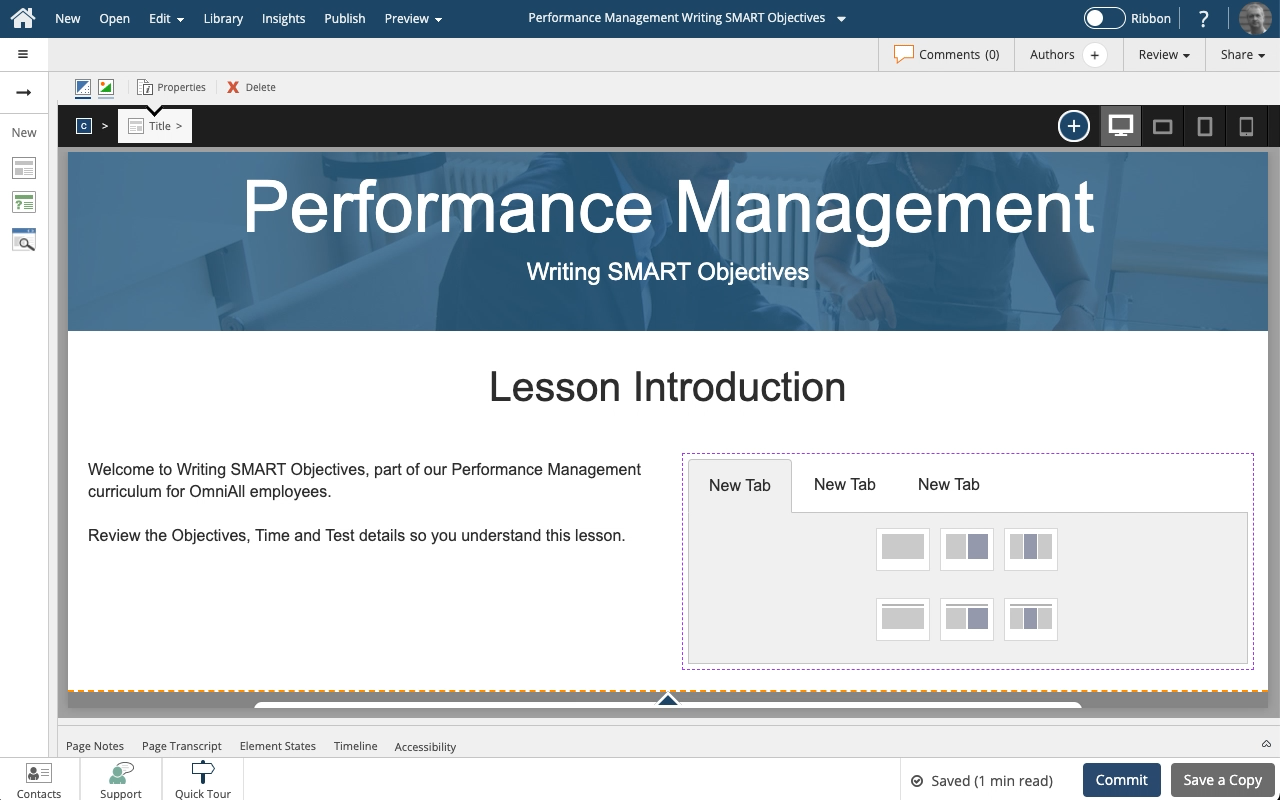
Preview the Current Page to see how the Timeline Component will look and behave for your learners.


Comments ( 0 )
Sign in to join the discussion.