Edit a Timeline Component in Flow
Steps to Edit the Timeline Component in Flow.
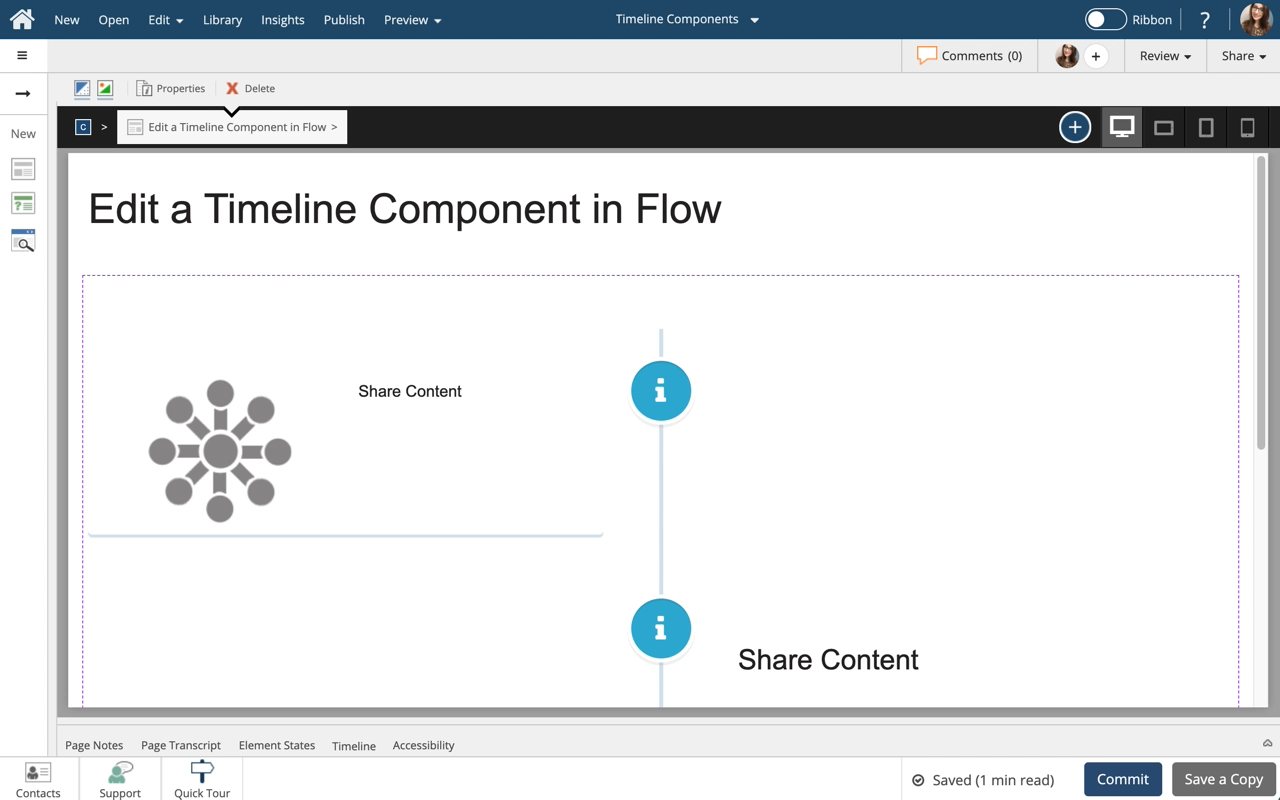
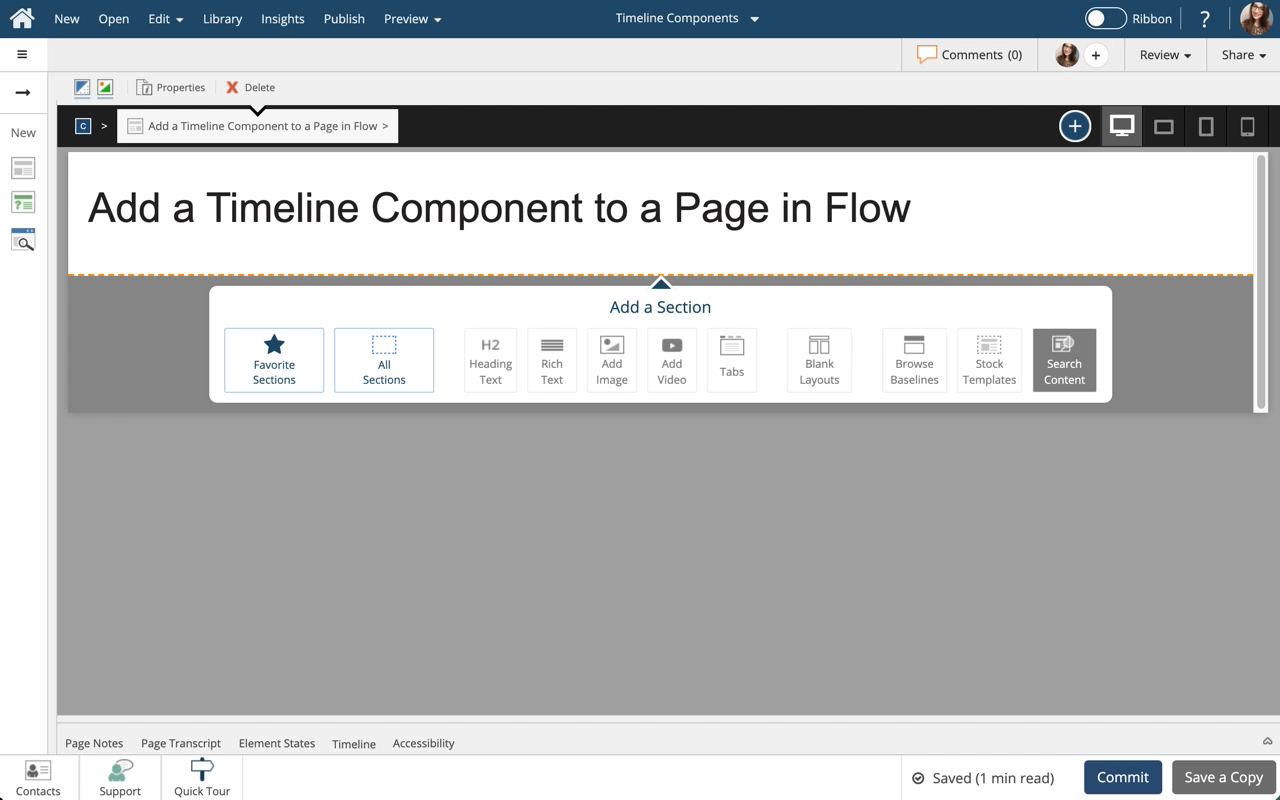
Use Timelines to create a graphical representation of information that is displayed sequentially along a vertical line. This lesson covers editing of the Timeline Component Content.
Note: Timelines are only available in Flow.

Product: dominKnow | ONE | Version: 7.4
Applies to: Flow
Applies to: Flow

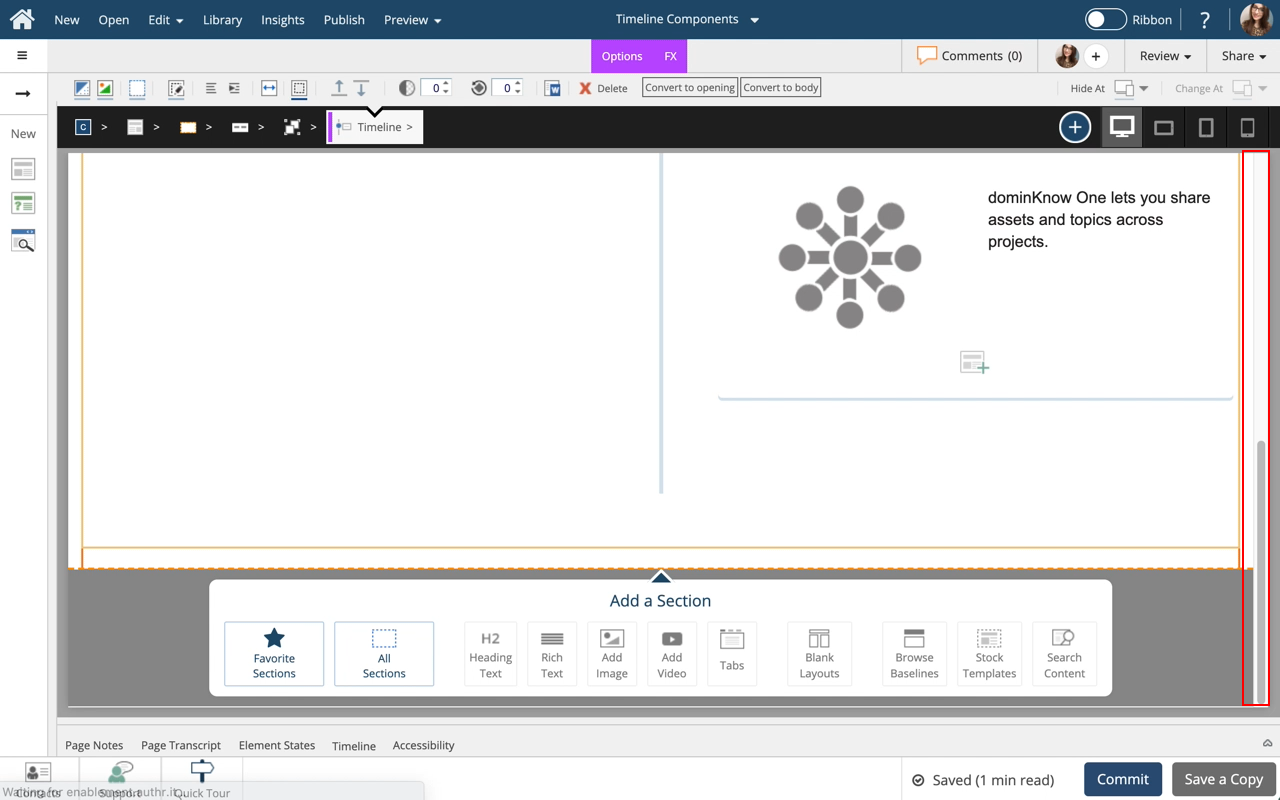
Step 2
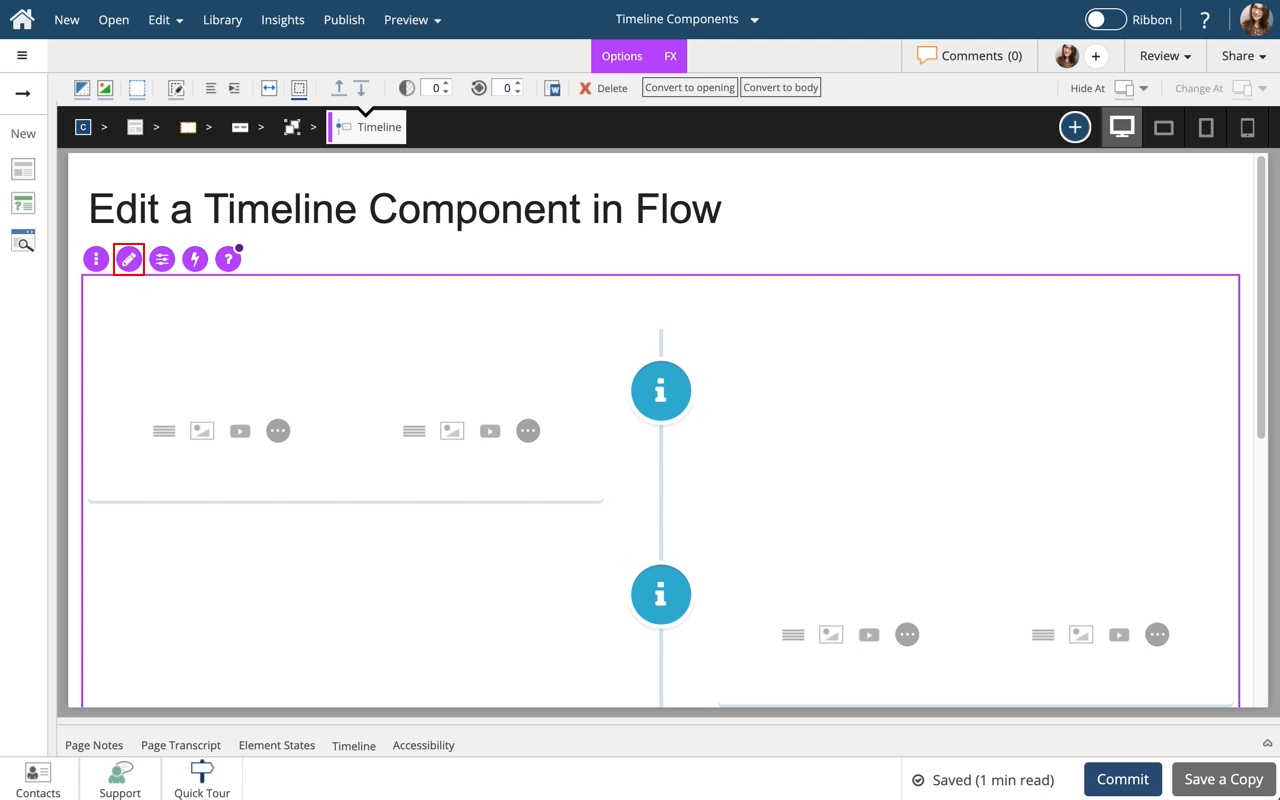
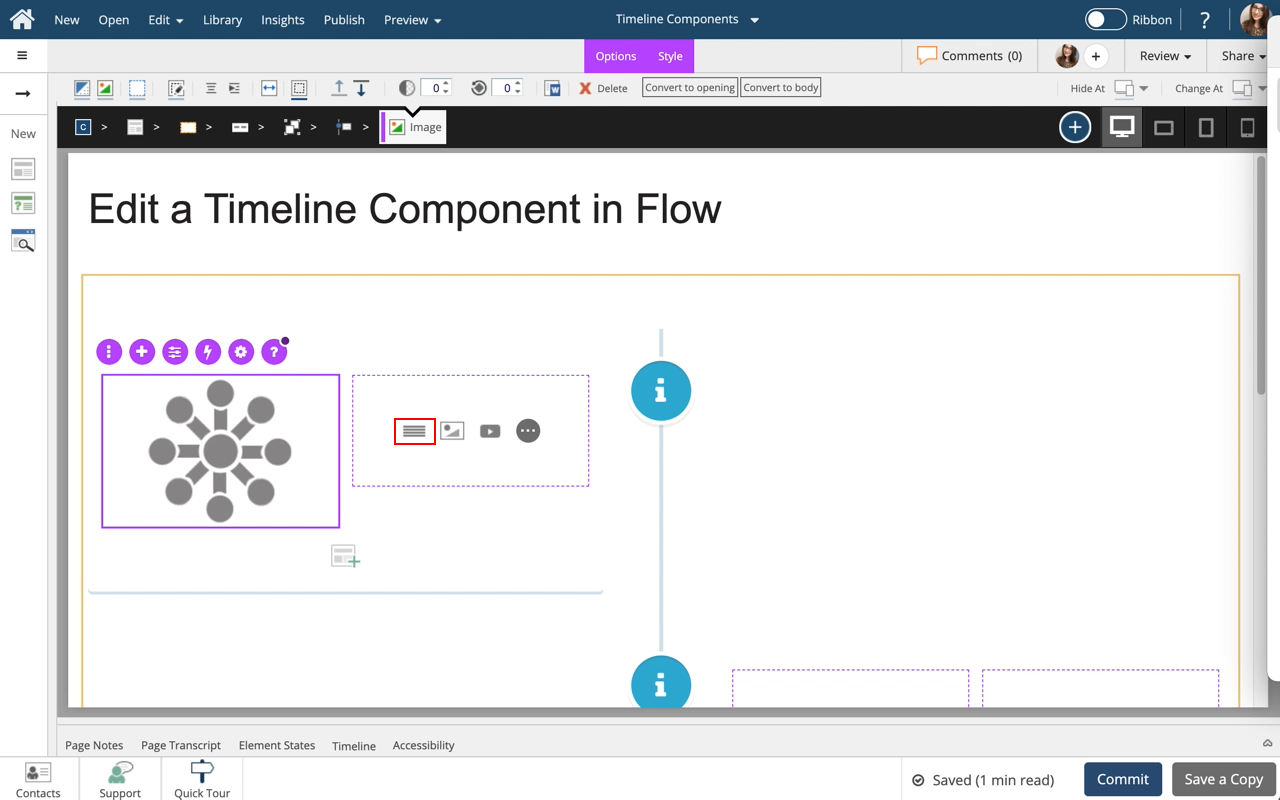
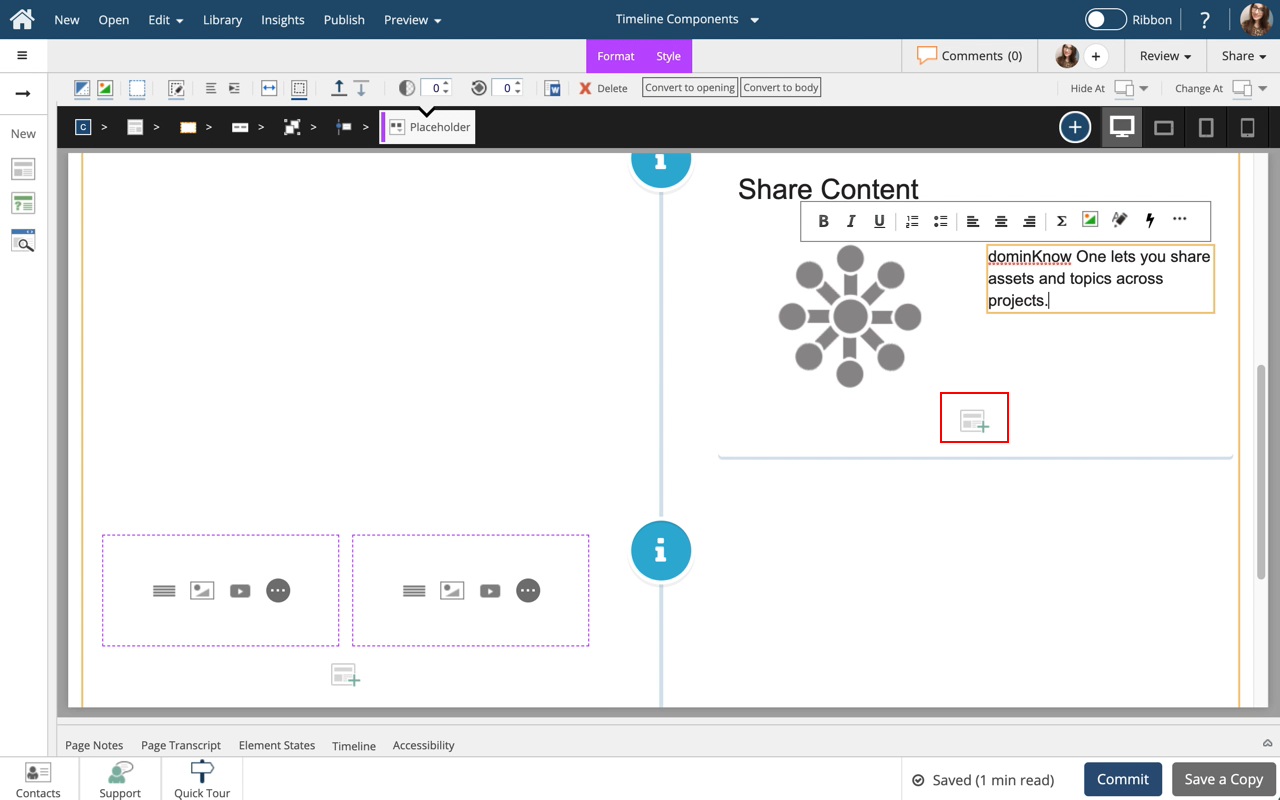
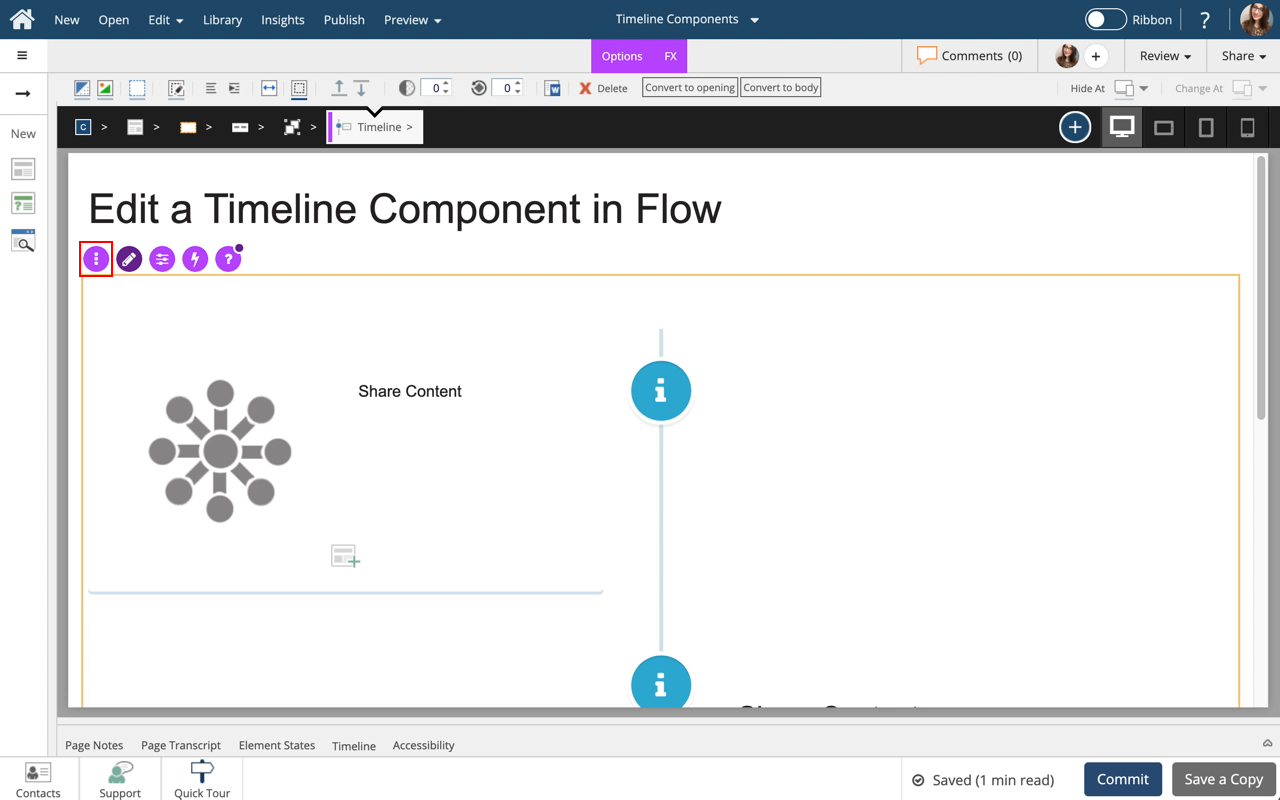
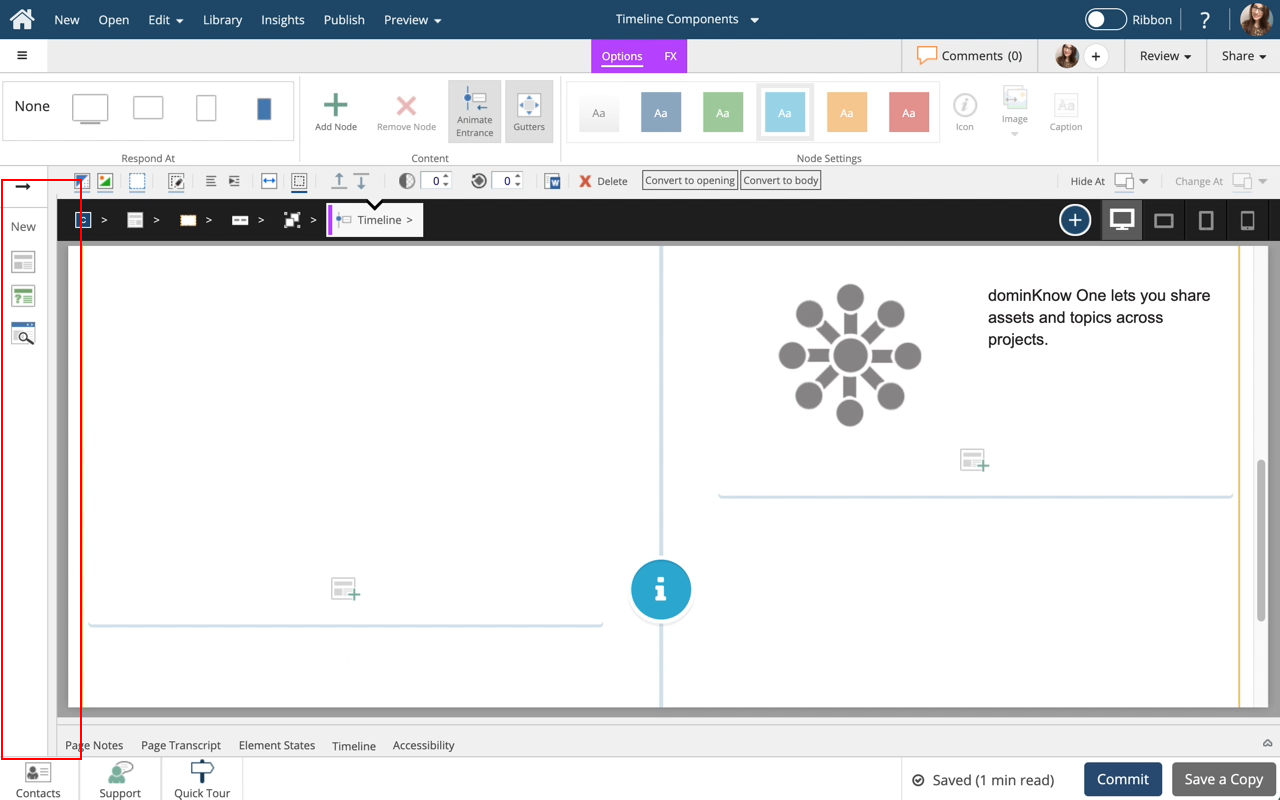
To edit the content within the Timeline, select the Edit Icon in the Inline Toolbar, or double-click the Timeline.
Step 7
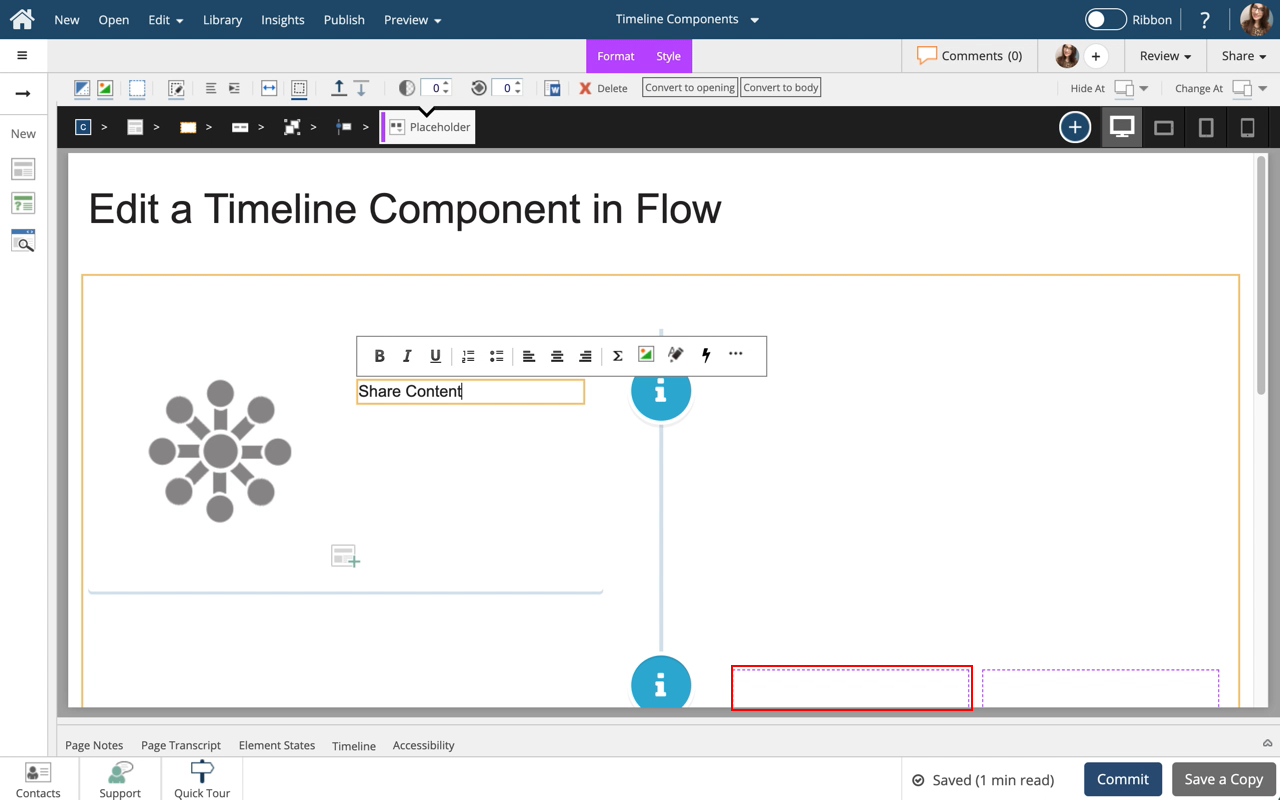
Notice that Inline styles are available for the content.
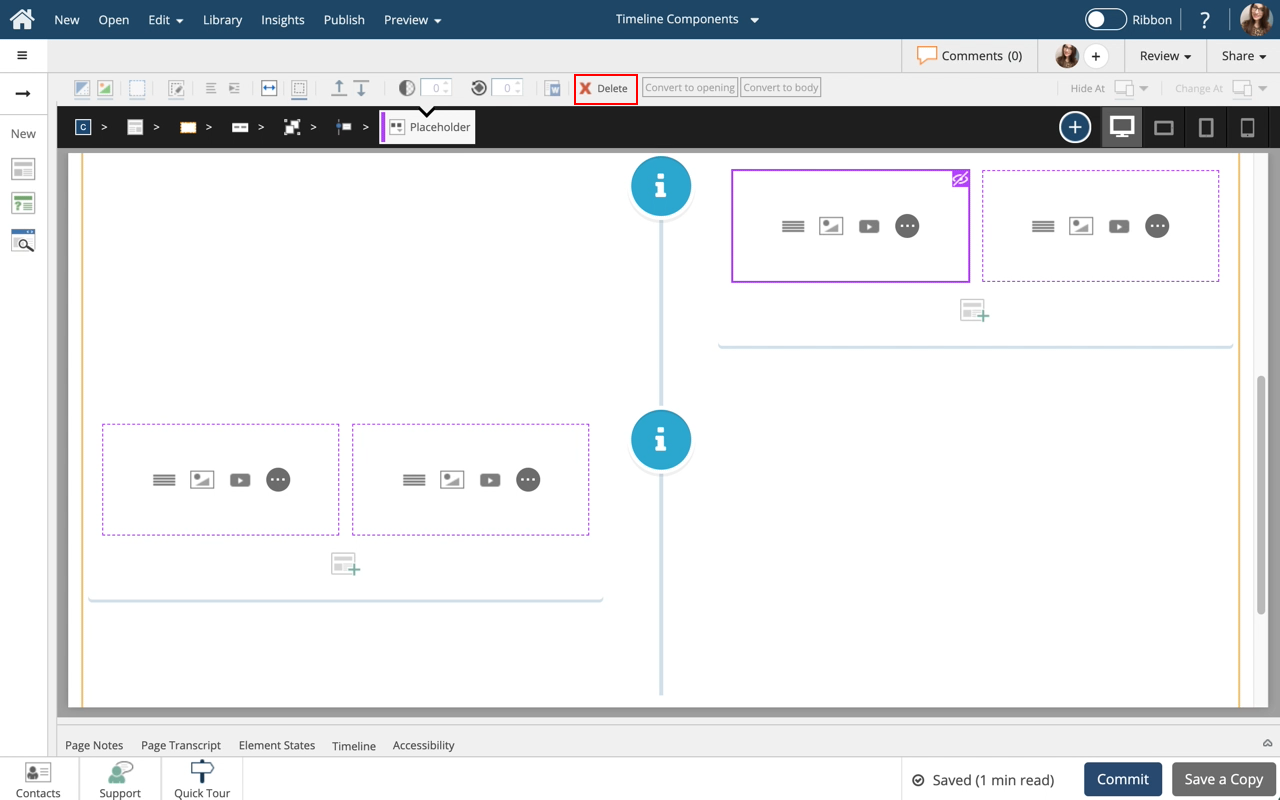
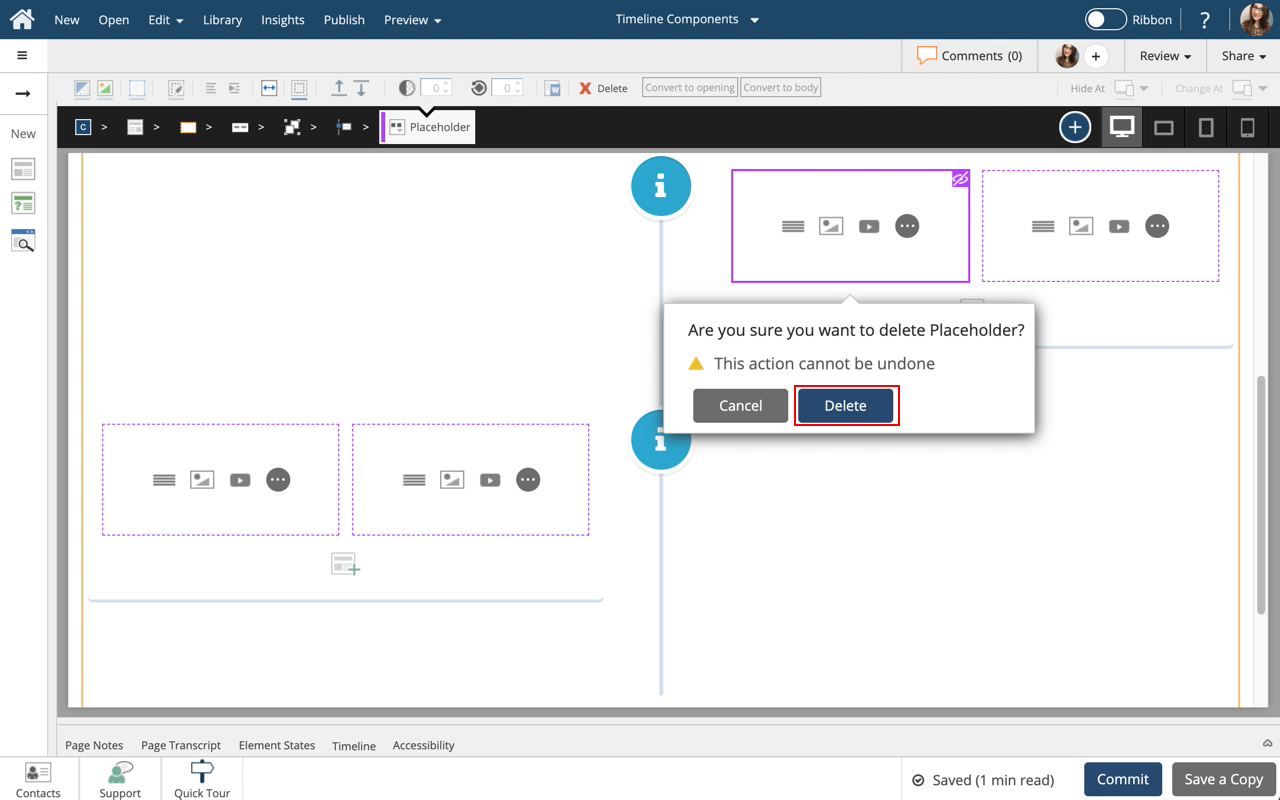
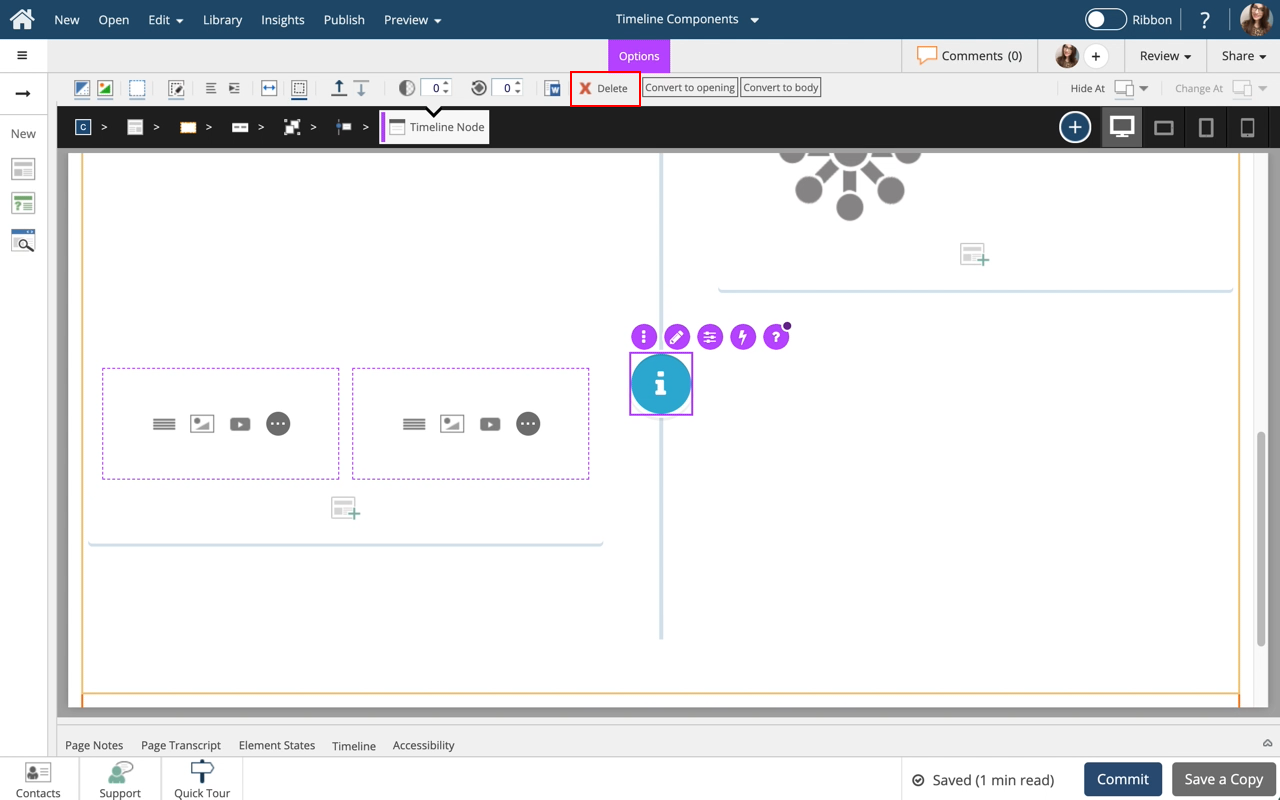
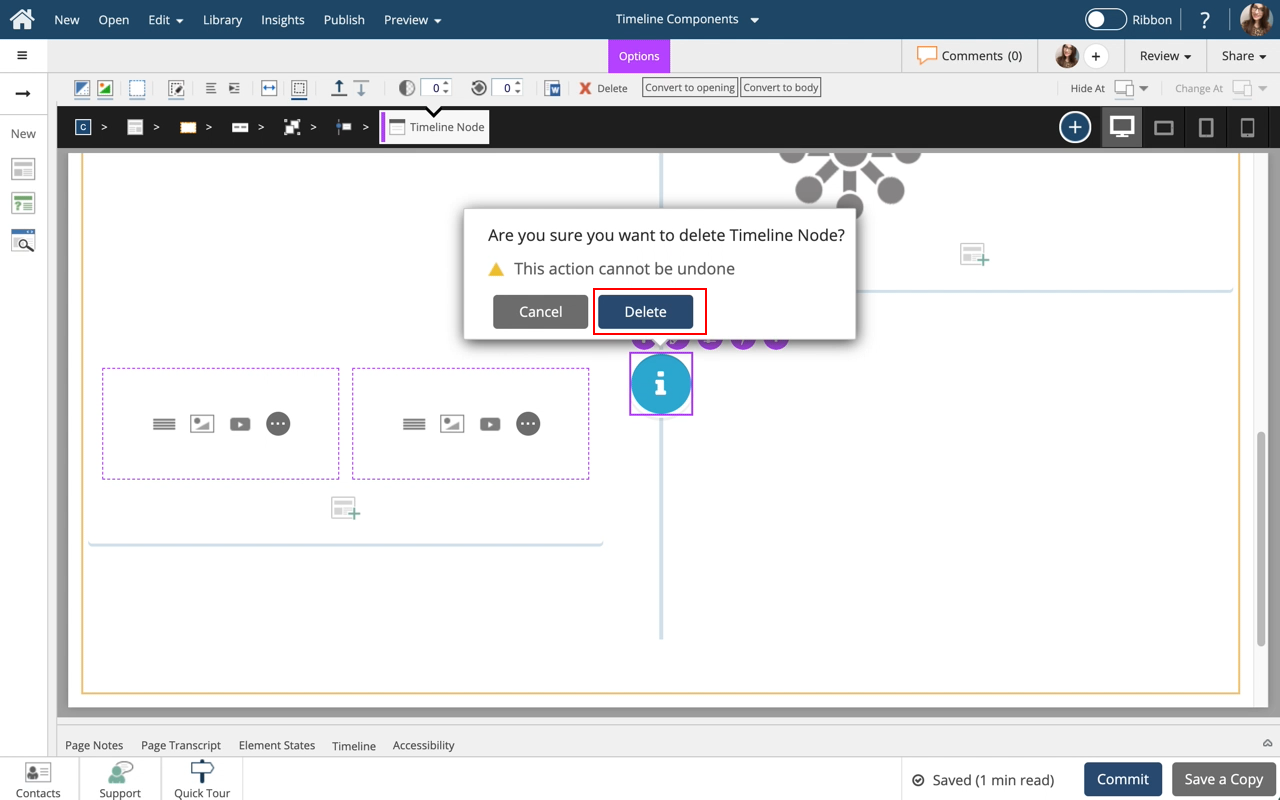
To delete a Placeholder, Select the First Placeholder (1/2 showing) in the Second Node,.
Step 14
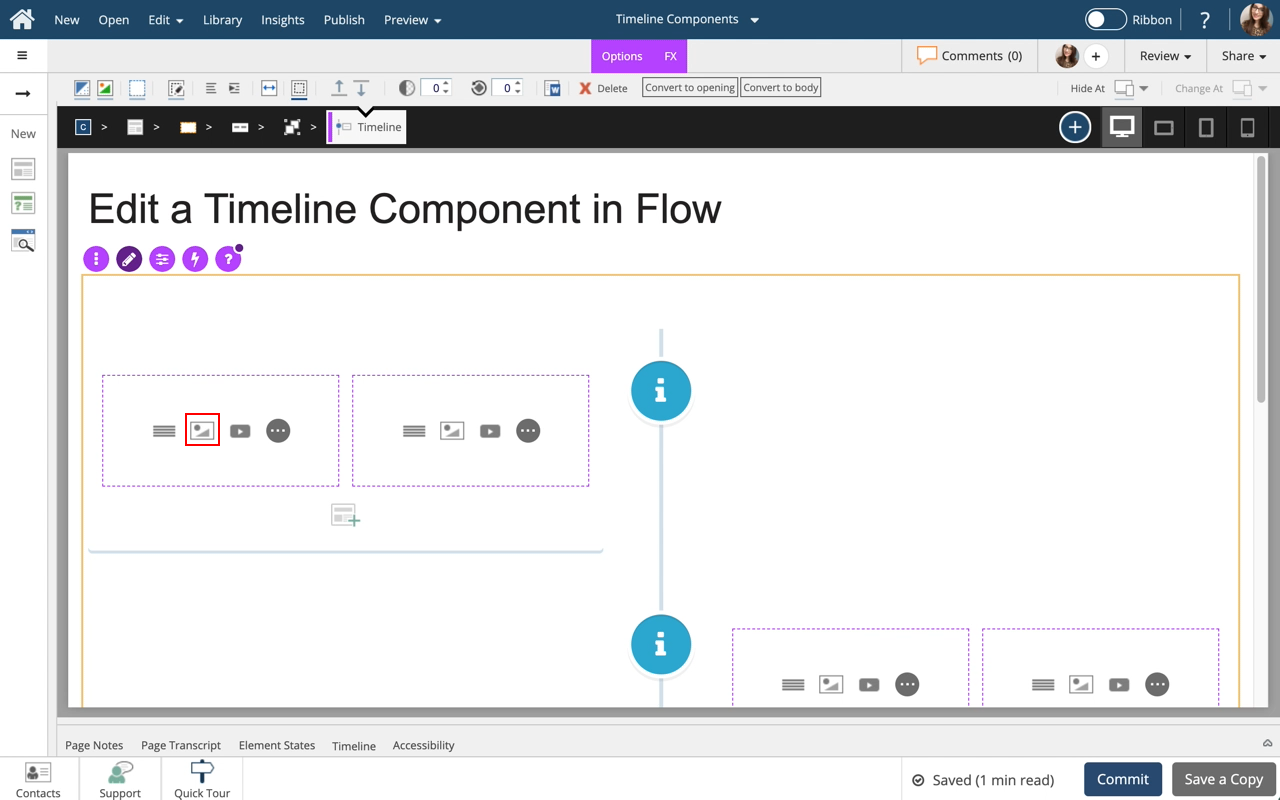
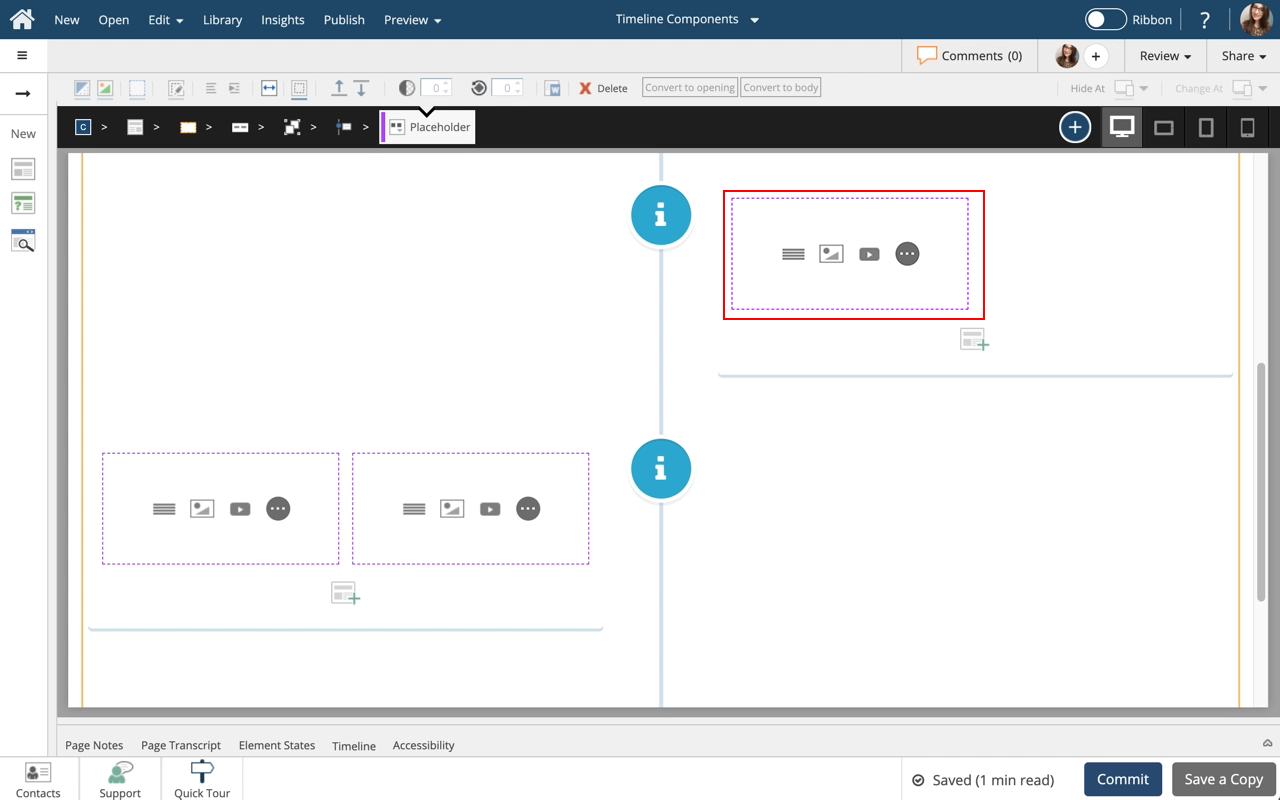
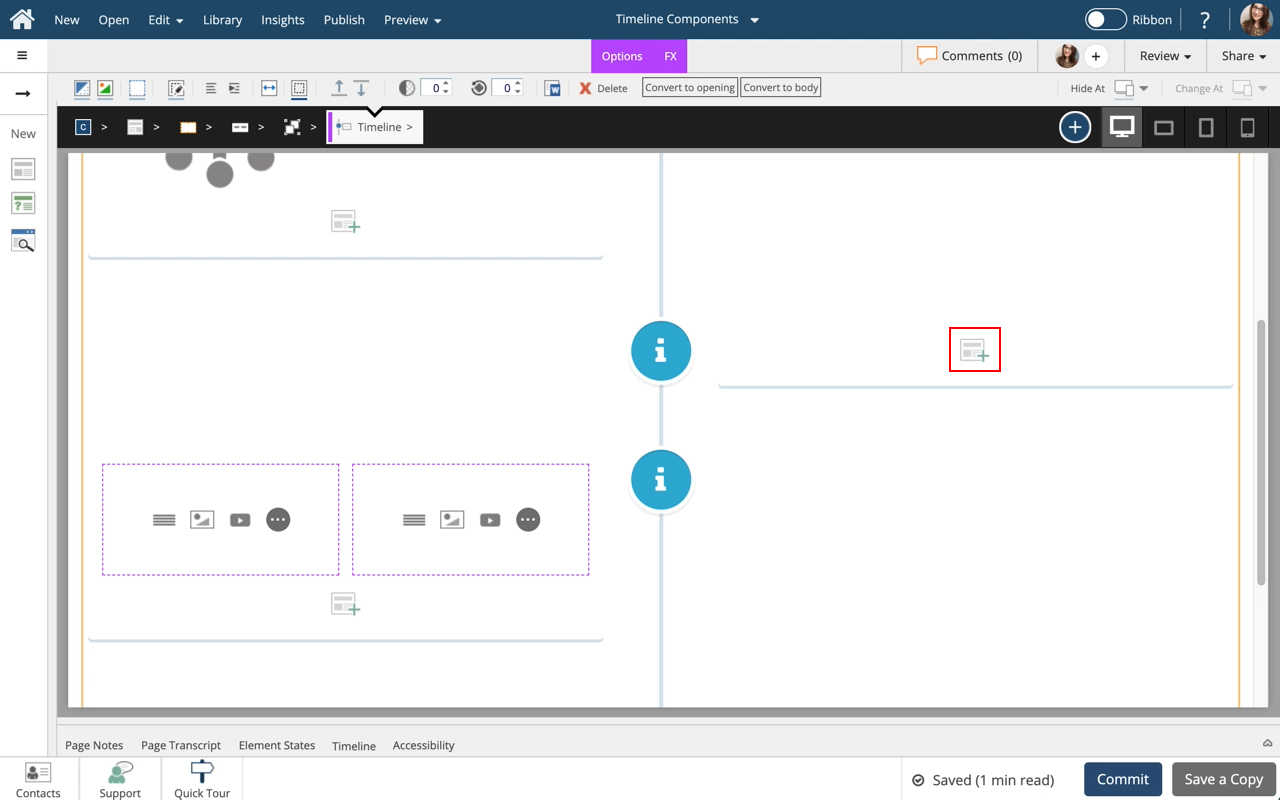
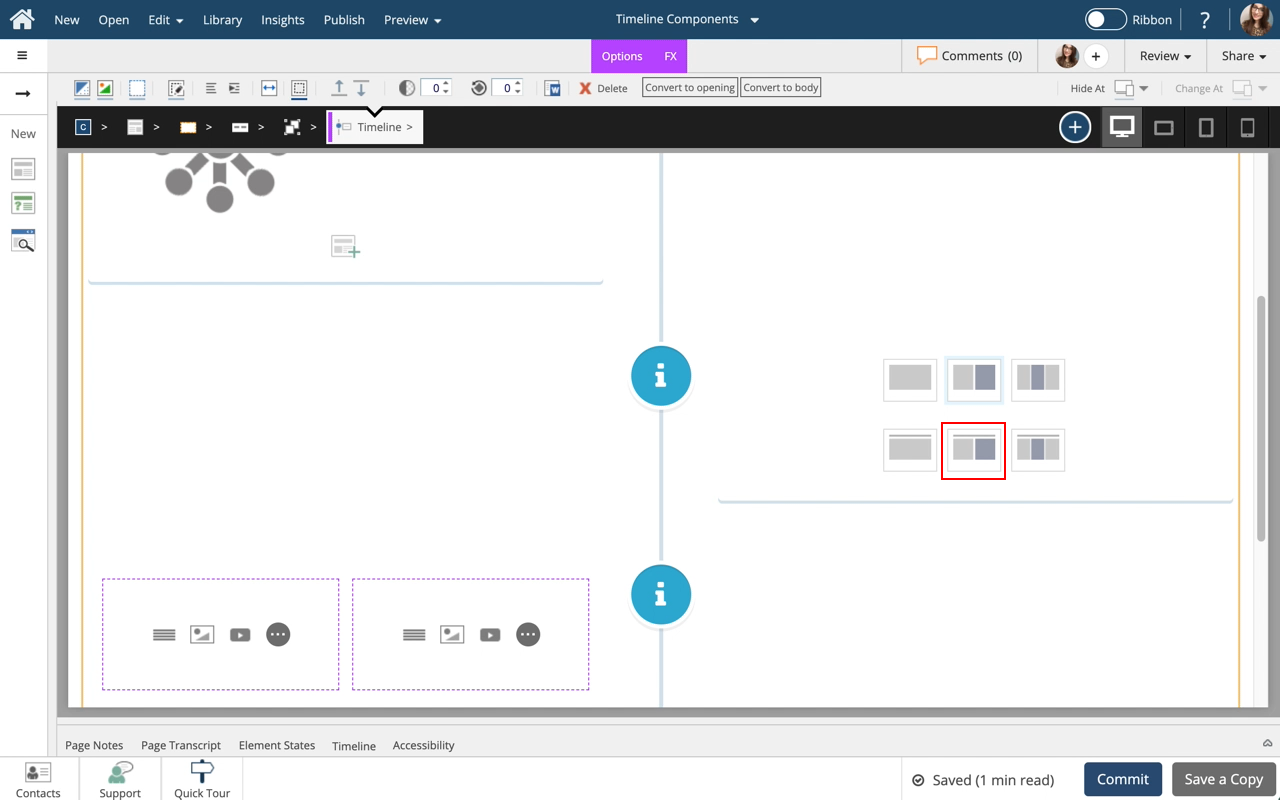
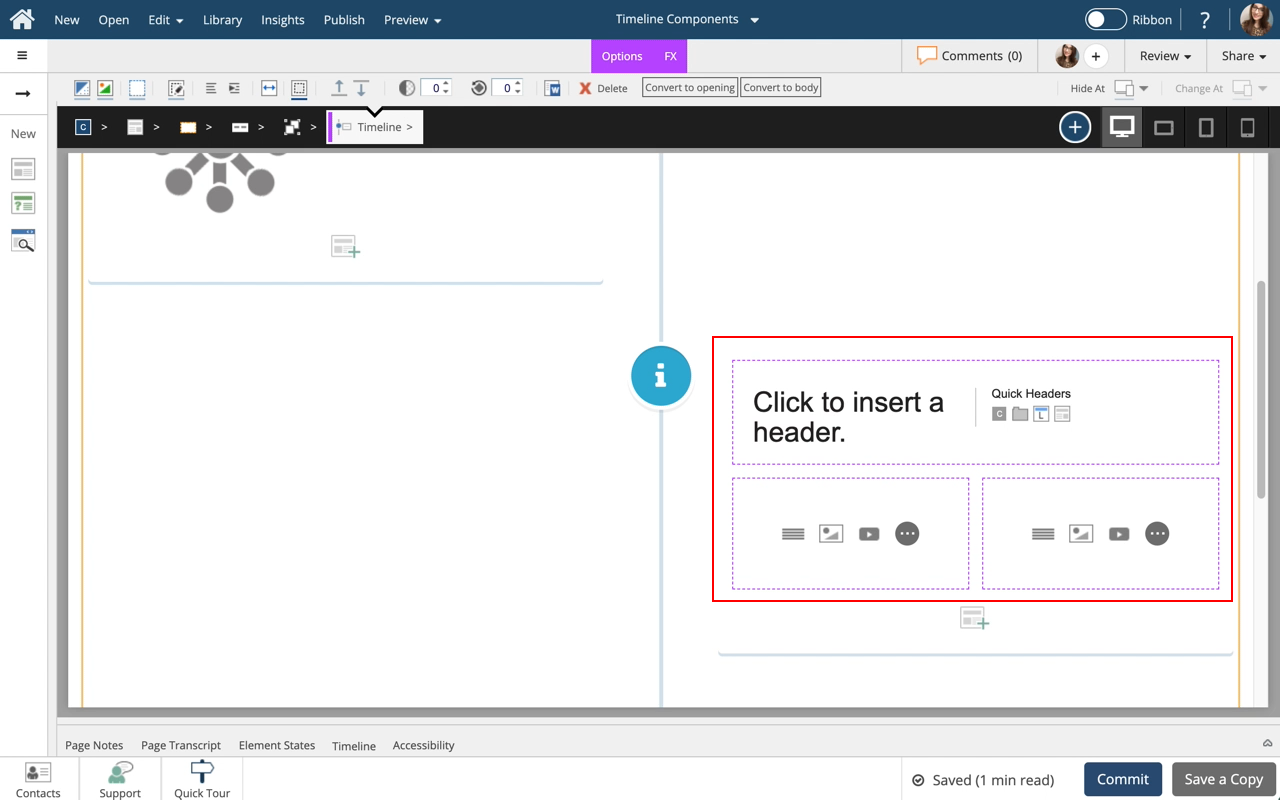
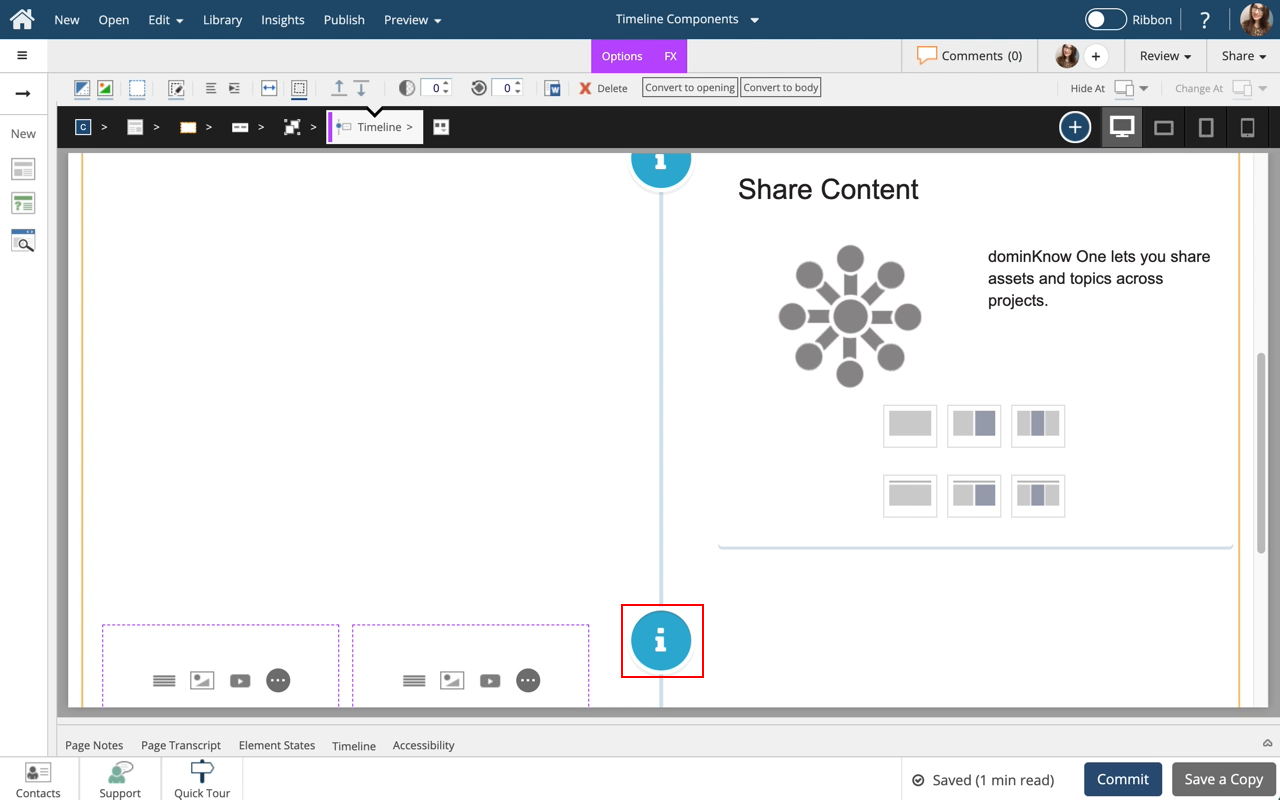
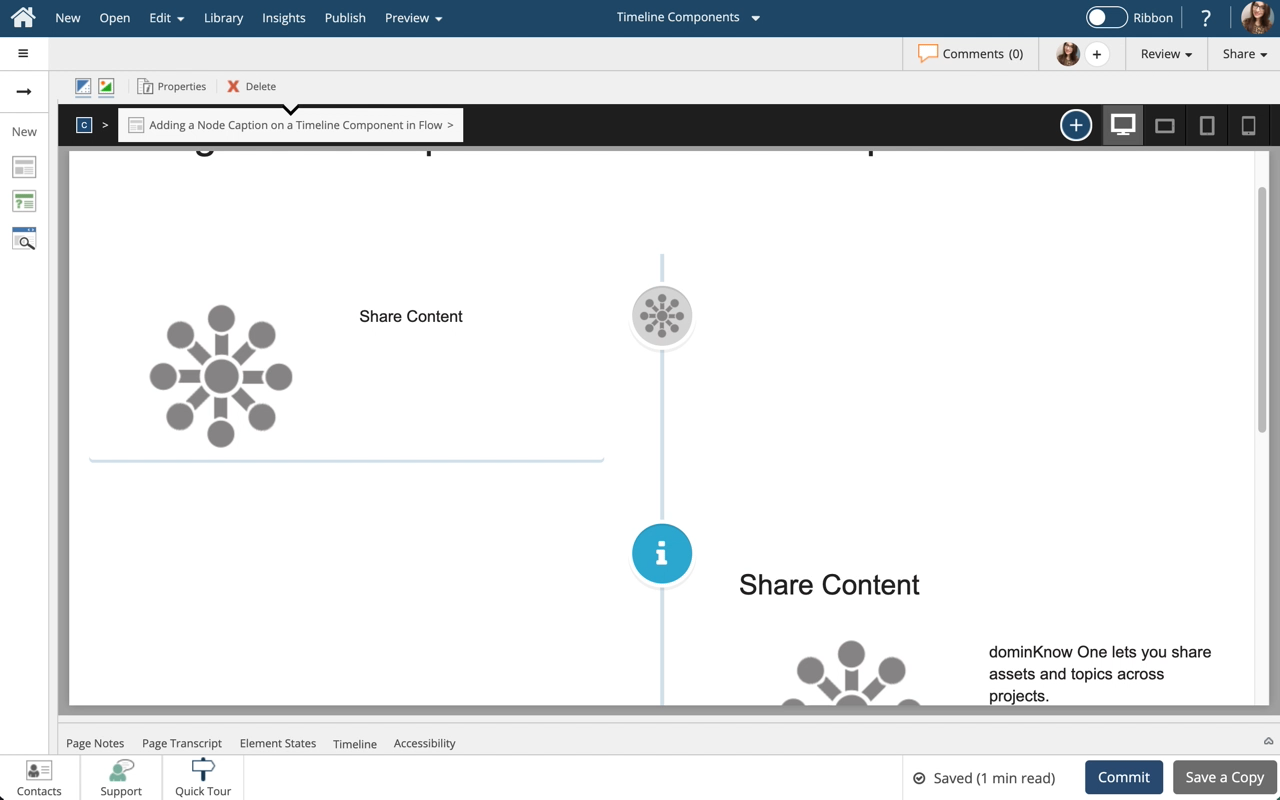
You can continue to add more Content Layouts to a Node by selecting the + Icon within the Node Content Area.
Step 19
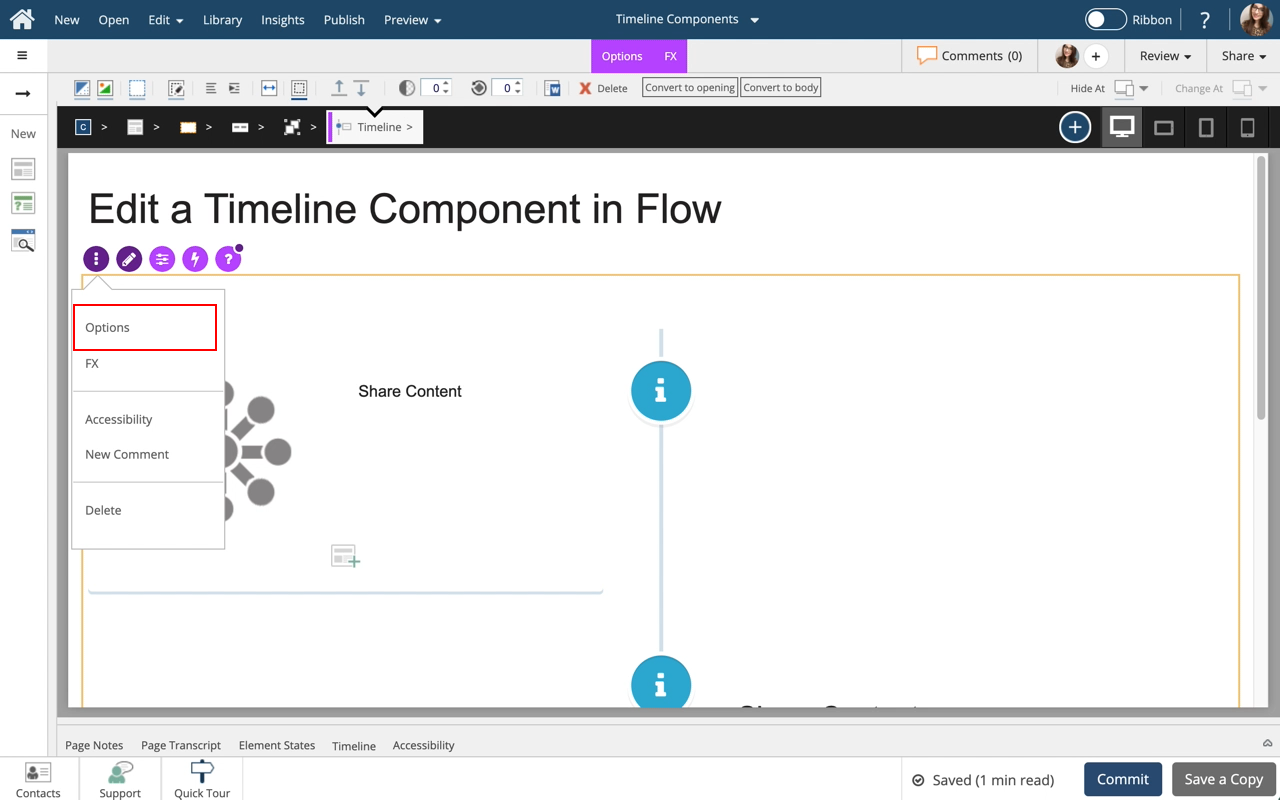
Select the three-dot menu in the Inline Toolbar. Have access to the Options, and FX tabs, Accessibility panel, and add a New Comment, or Delete the component.
Step 21
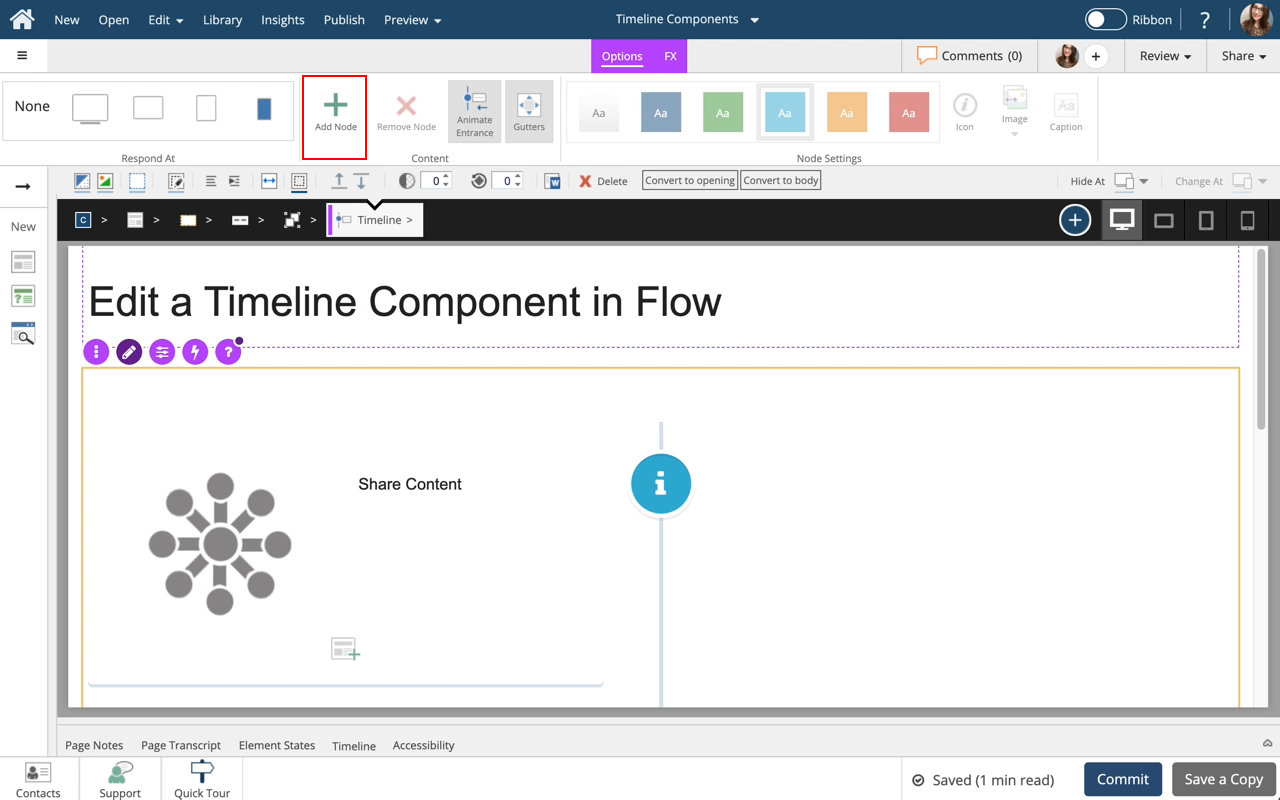
The Options tab has a number of control and design options for the Timeline as a whole. You can change when the Timeline responds, Add and Remove Nodes, Enable/Disable Animate Entrace, Remove or Add Gutters, and have access to the Node Settings. *Node Settings are disabled when a Node is not selected* Use the FX tab to add effects to the component.
Select Add Node to add a new Node to the Timeline.
Step 22
The new Node is added.
Select the Left Side of the page/Left Side Panel to return to the page content.
Step 23
Preview the Current Page to see how the Timeline Component will look and behave for your learners.


Comments ( 0 )
Sign in to join the discussion.