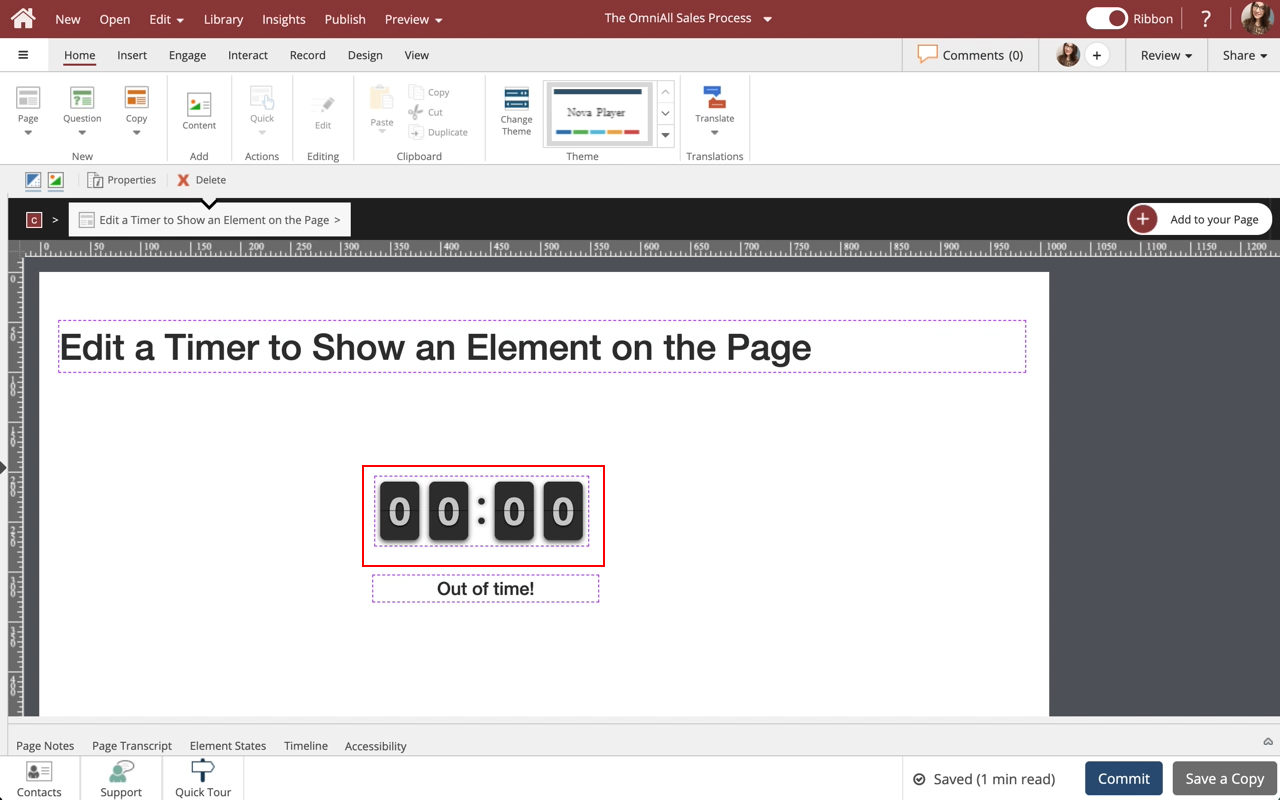
Edit a Timer to Show an Element on the Page
Steps to edit a Timer to Show and Element on the Page.
A Timer can be added to a page to time a user, apply timed actions to elements, create a timed quiz and much more!

Product: dominKnow | ONE | Version: 7.4
Applies to: Flow, Claro | Edition: Solo, Team, Business, Business Plus, Enterprise
Applies to: Flow, Claro | Edition: Solo, Team, Business, Business Plus, Enterprise
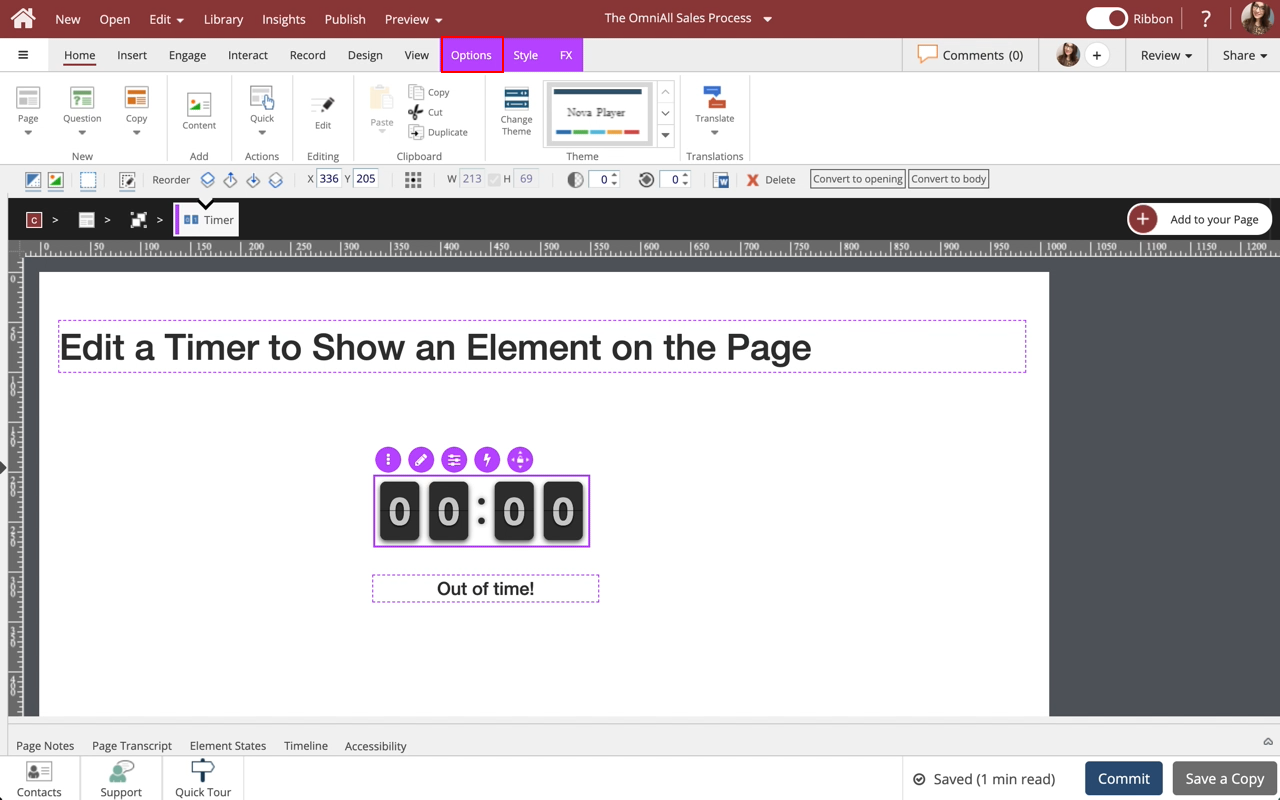
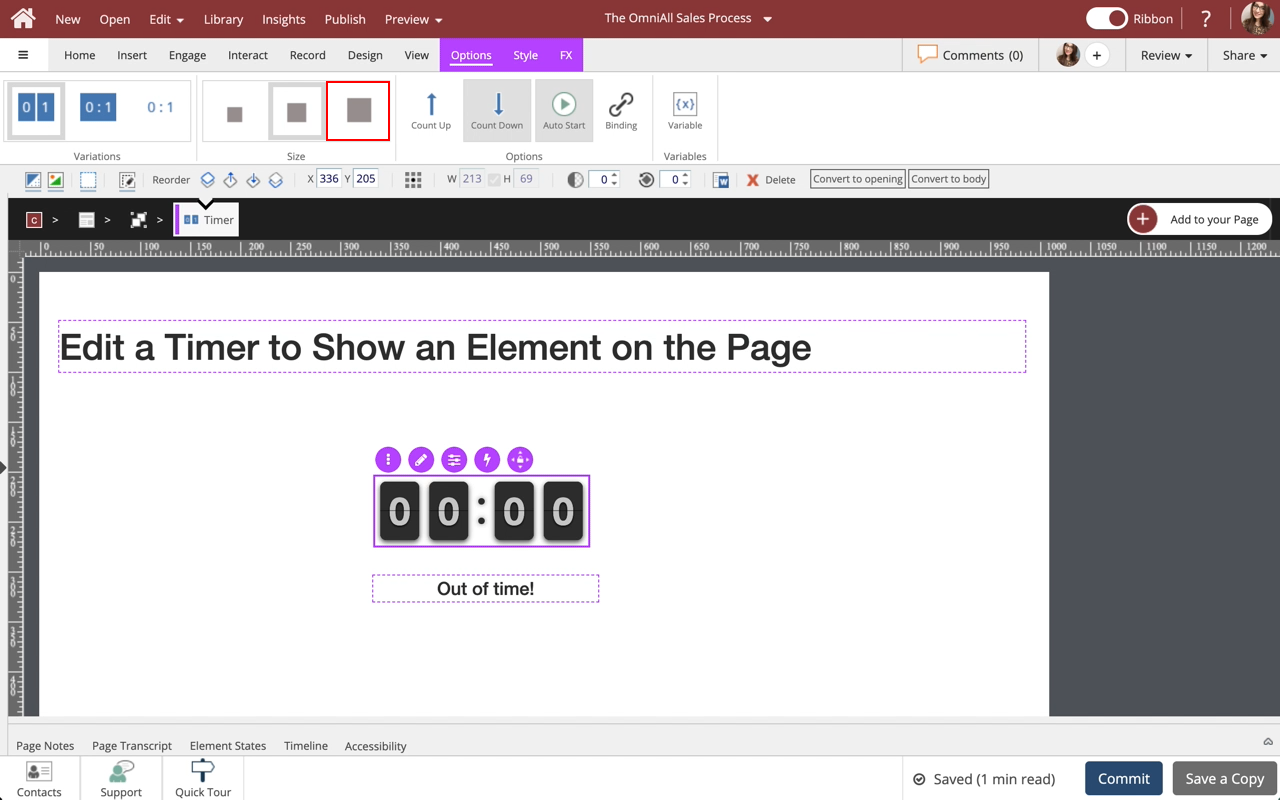
Step 3
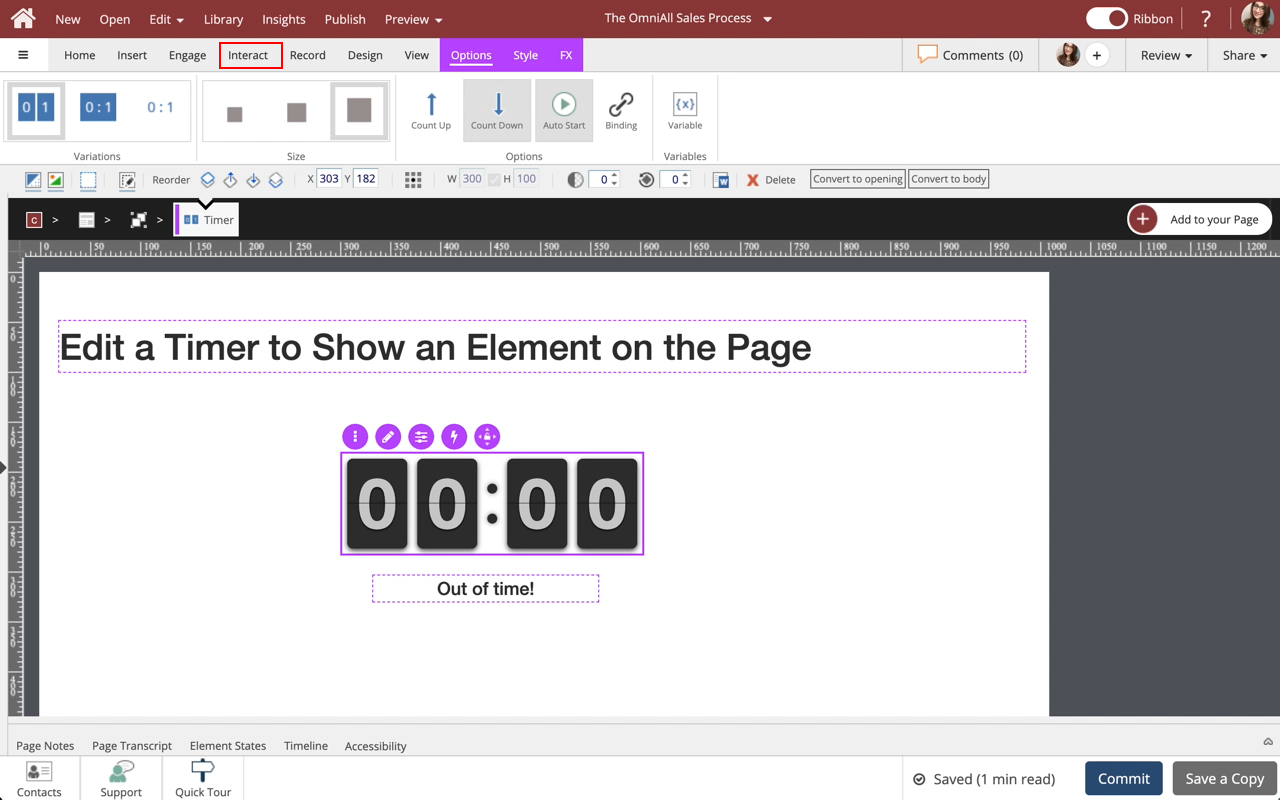
The Options and Style tab have a number of control and design options for the Timer as a whole. You can adjust the options, set a variable, change the variation, choose a size, and change the color and style of the timer. Use the FX tab to add entrance effects. Select Option 3 under Size to make the timer bigger.
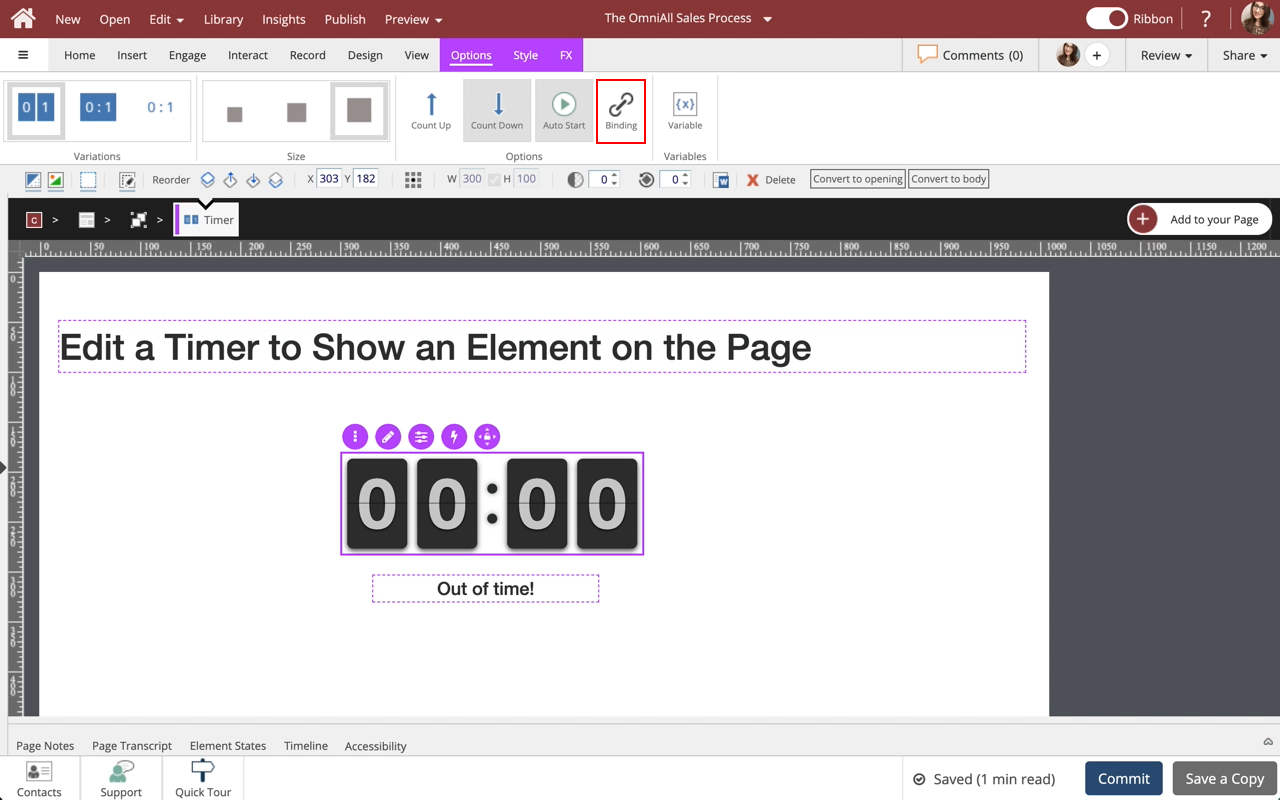

Step 5
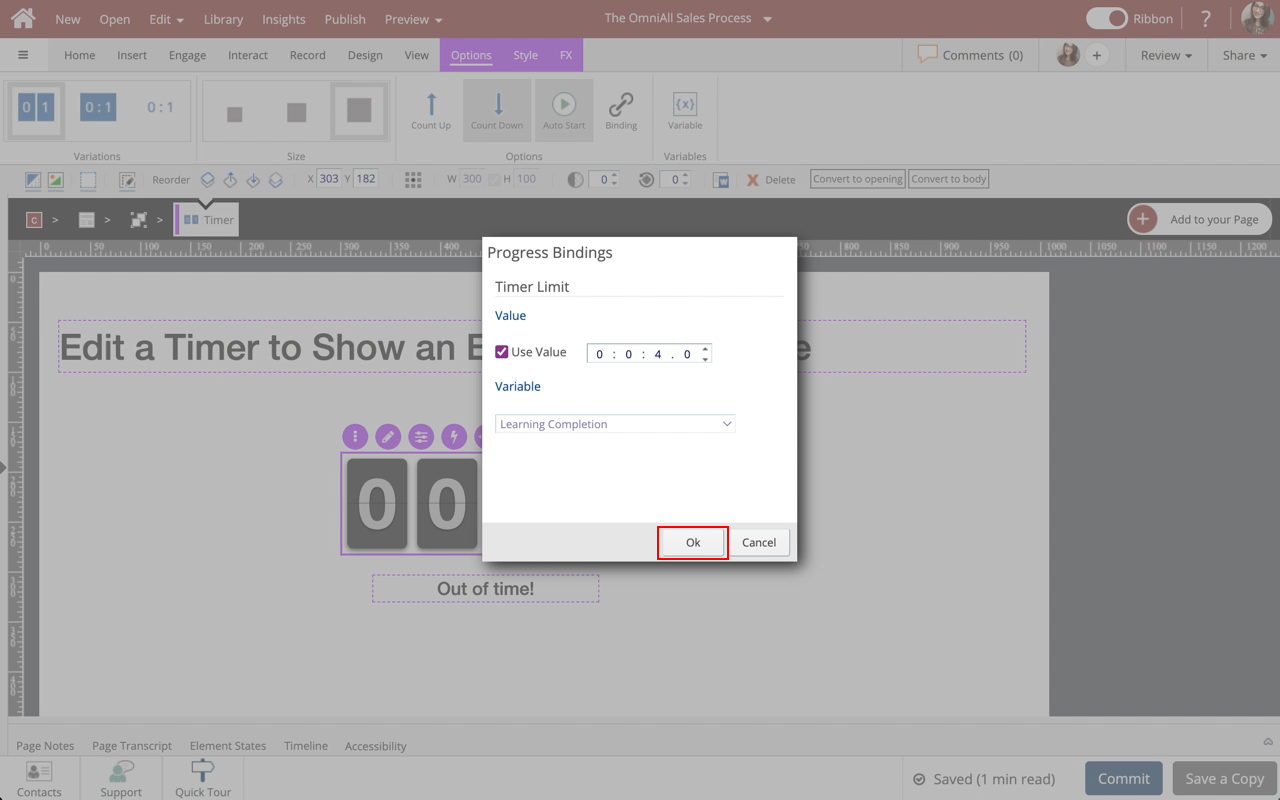
The Progress Bindings popup shows. Here you can adjust the amount of time to Count Down from or Count Up to by using the Use Value Option. Or you can display a value from a Variable. Within the Use Value field, select the down triangle to adjust the timer to display 4 seconds.
Step 7
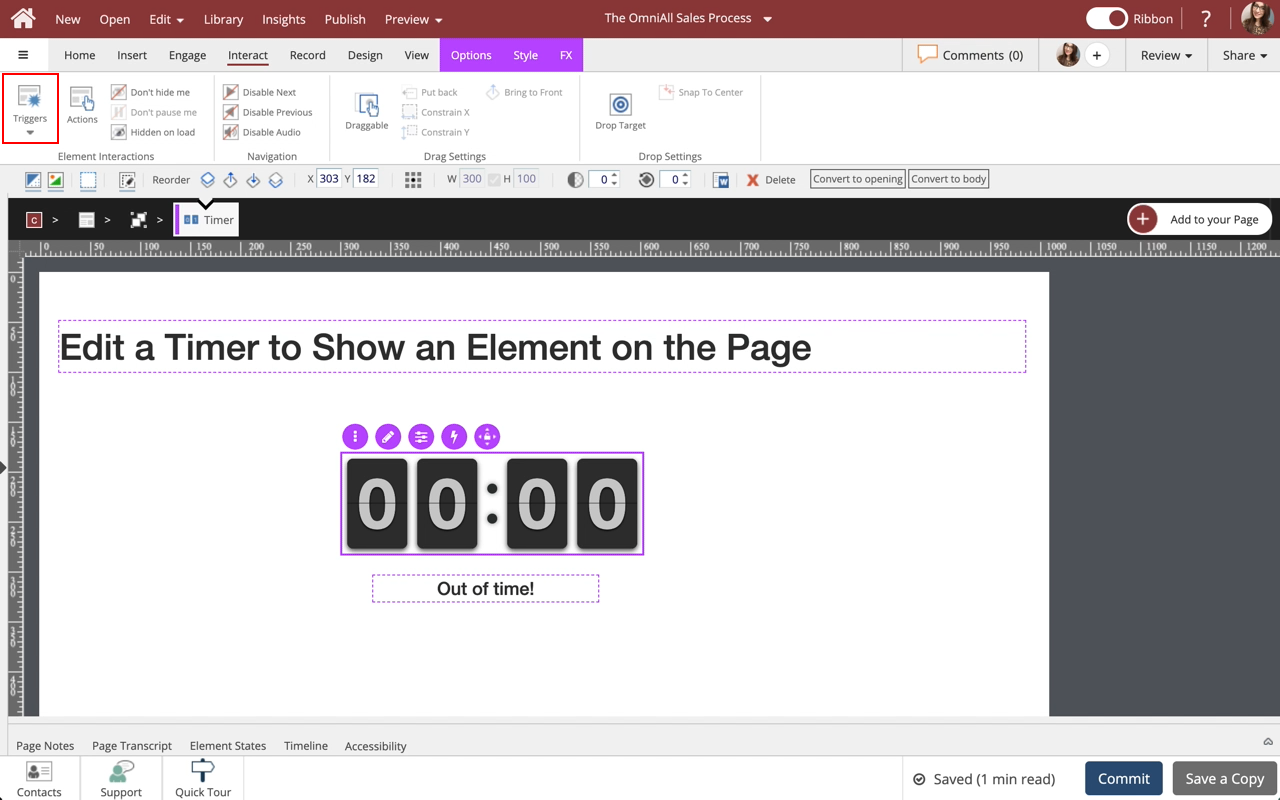
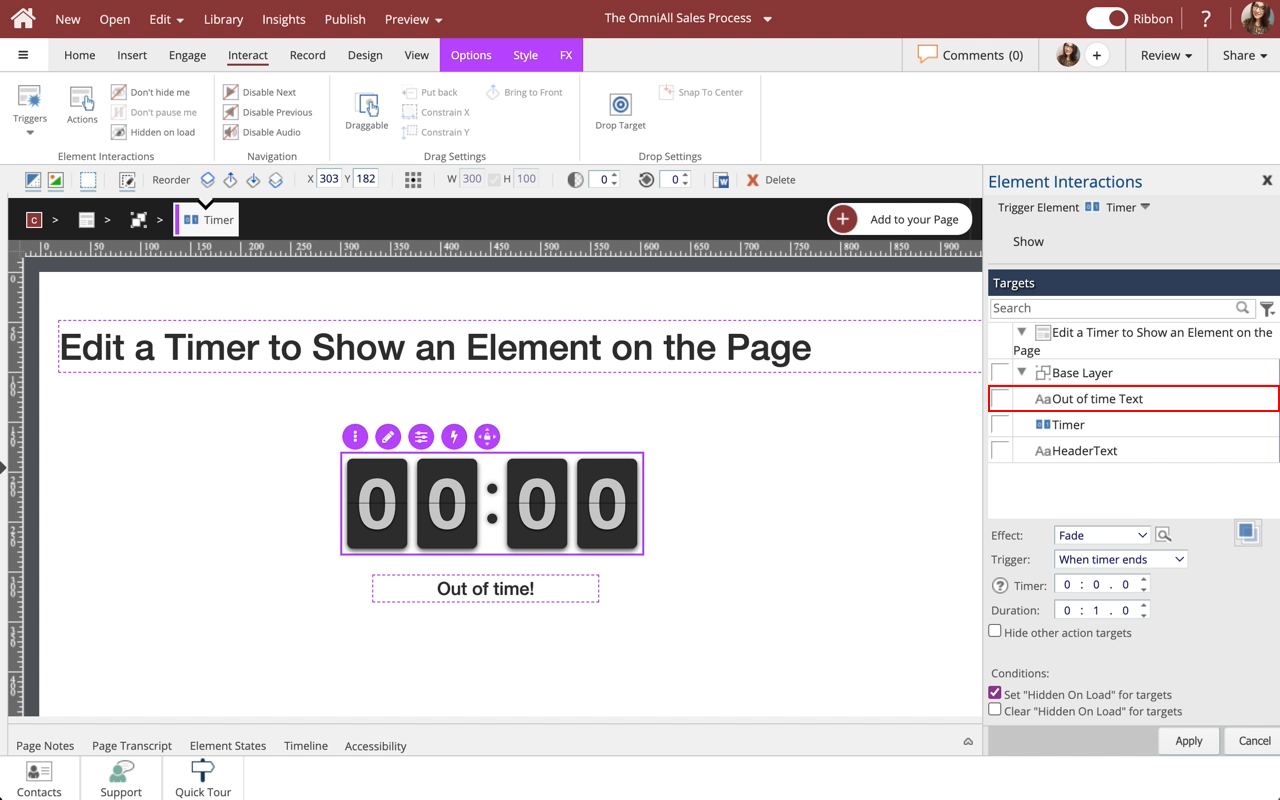
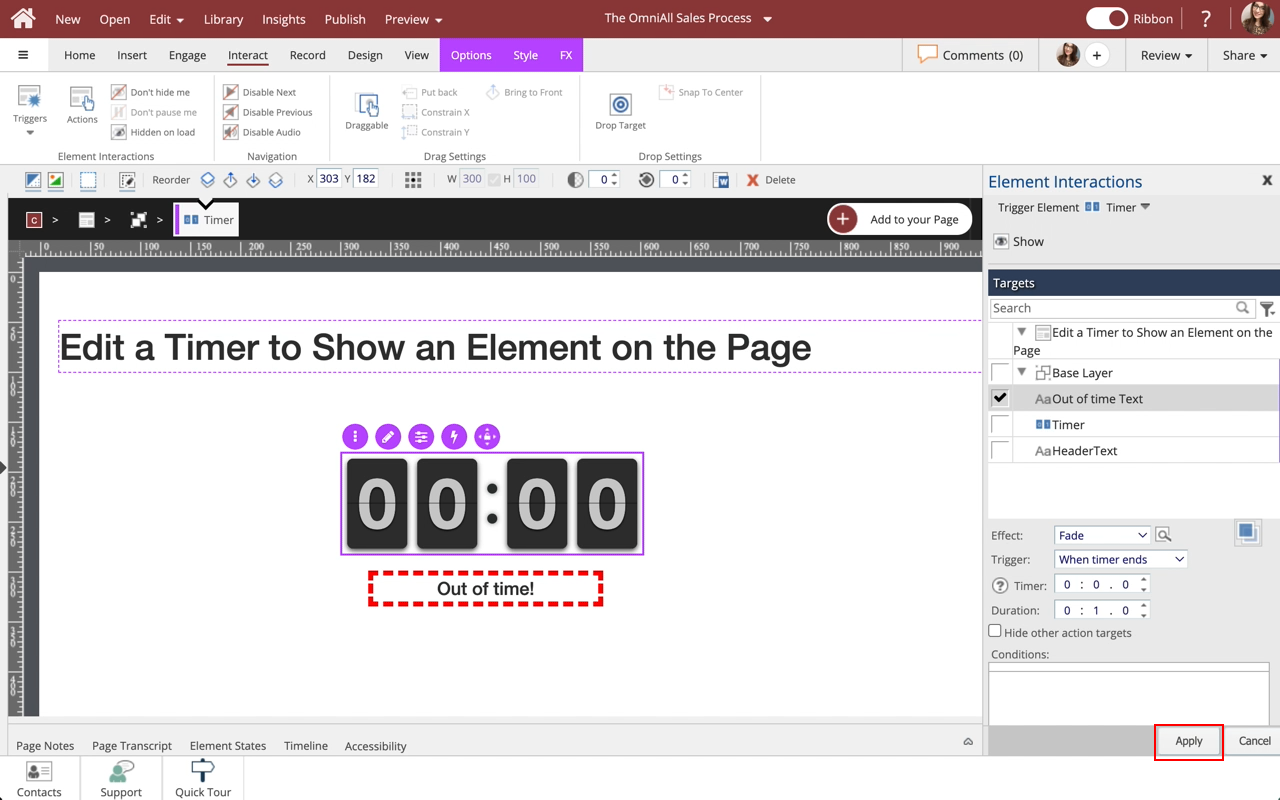
Under options, make sure Count Down and Auto Start under Options are selected. Count Down enables the “Out of Time!” Text show once the timer runs out. Auto Start, will start the timer automatically once the page loads. Select the Interact tab.
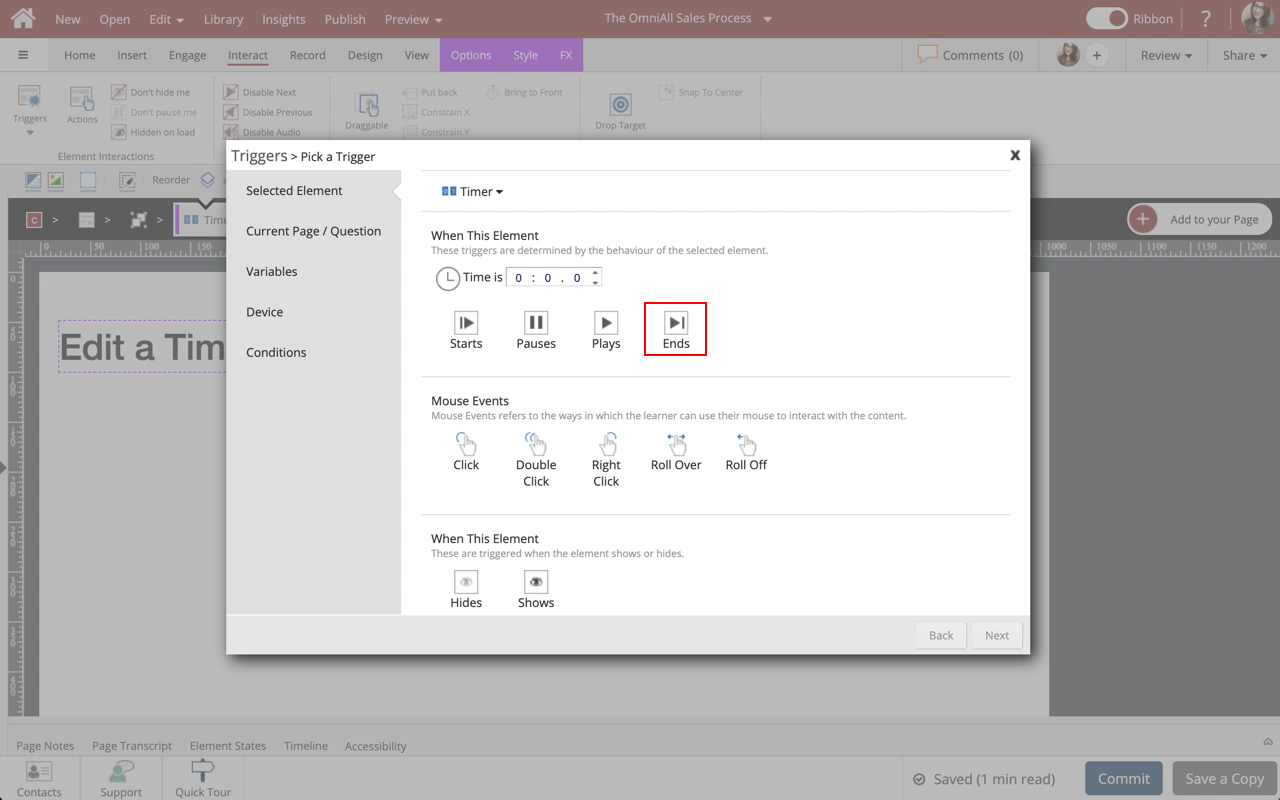
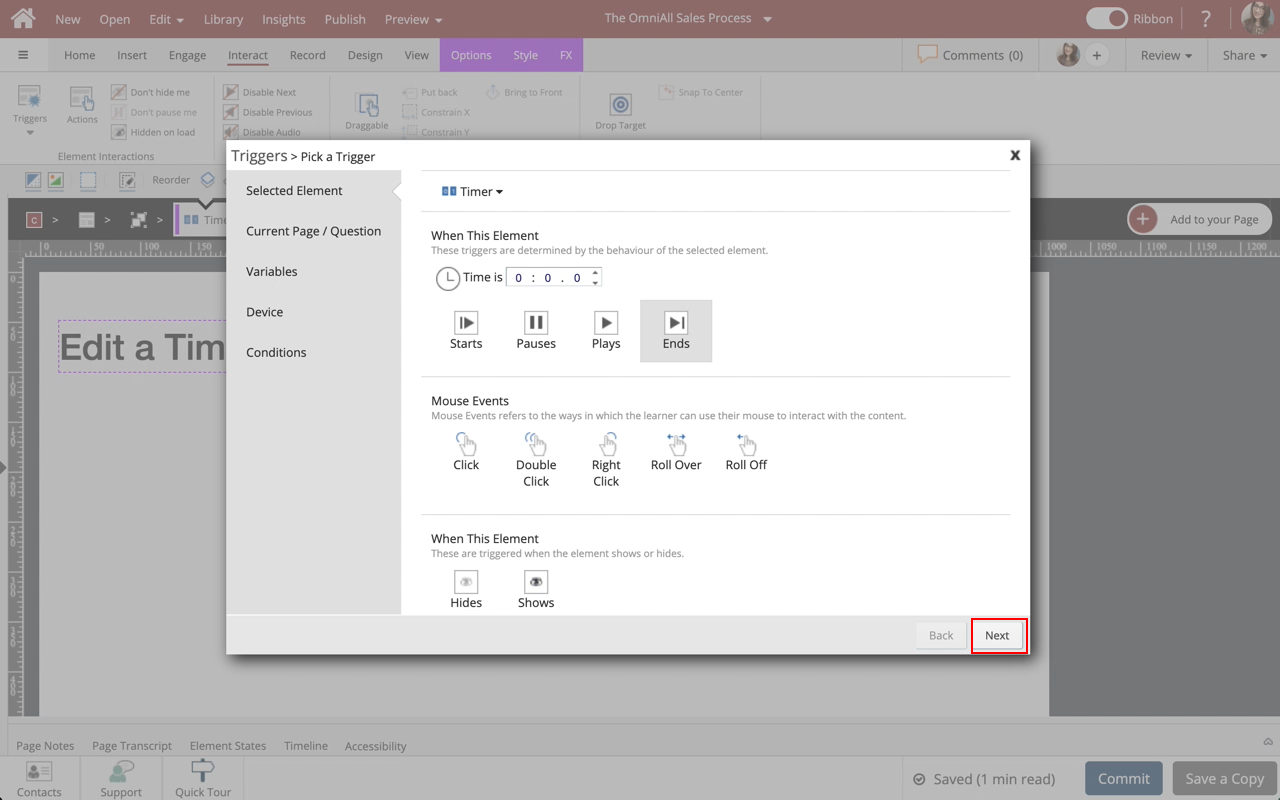
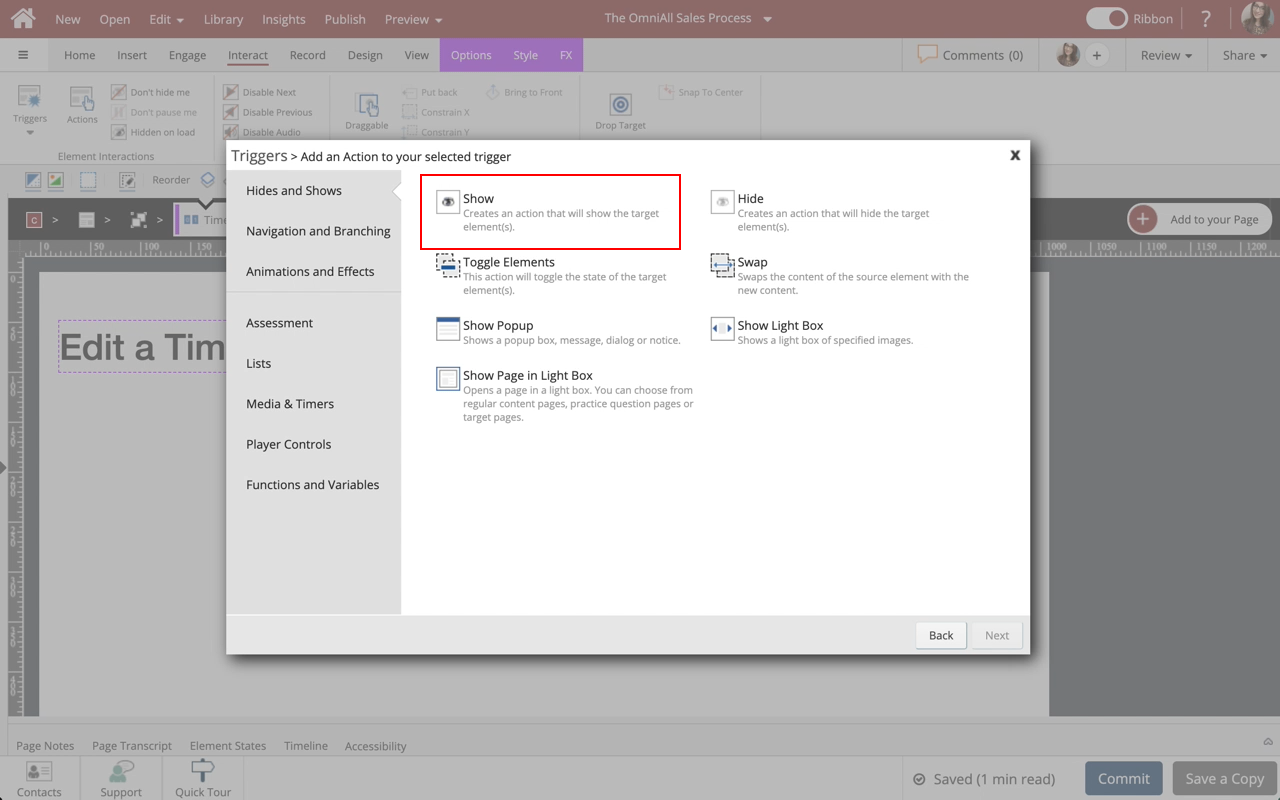
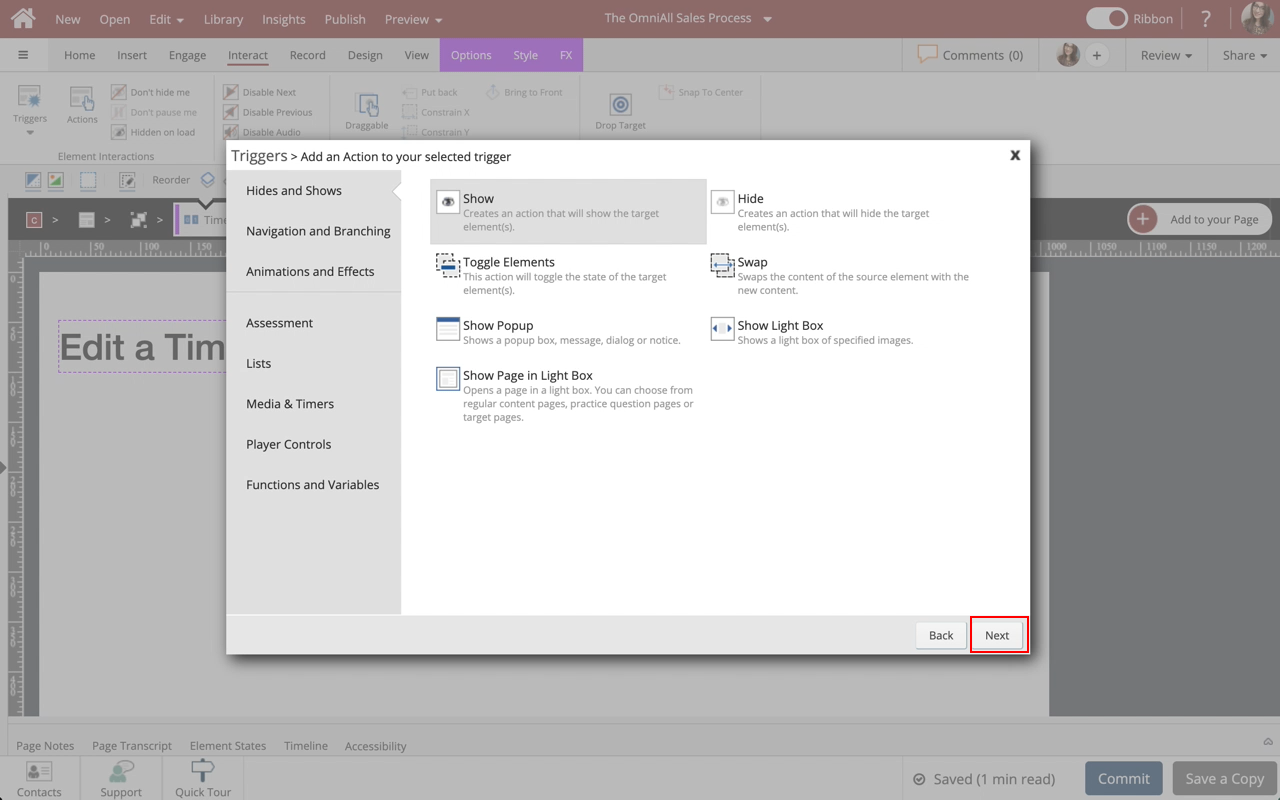
Step 17
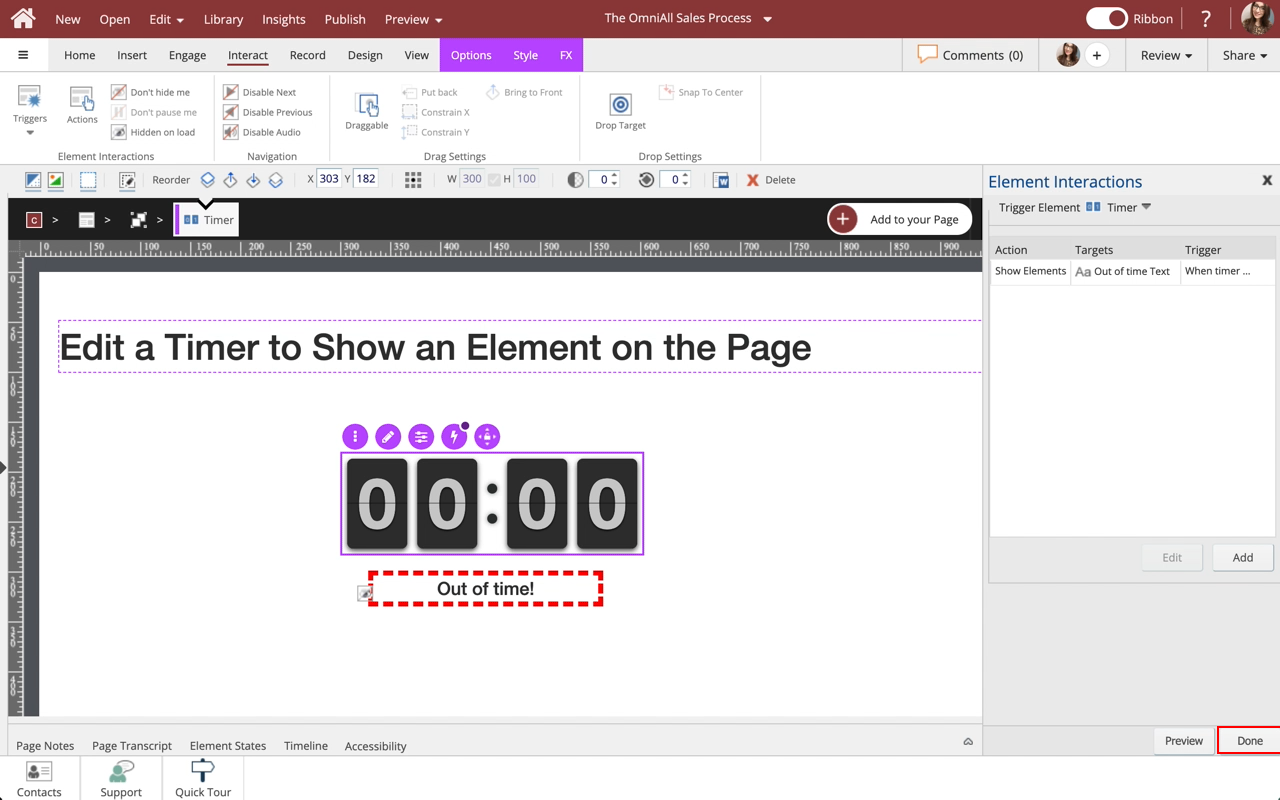
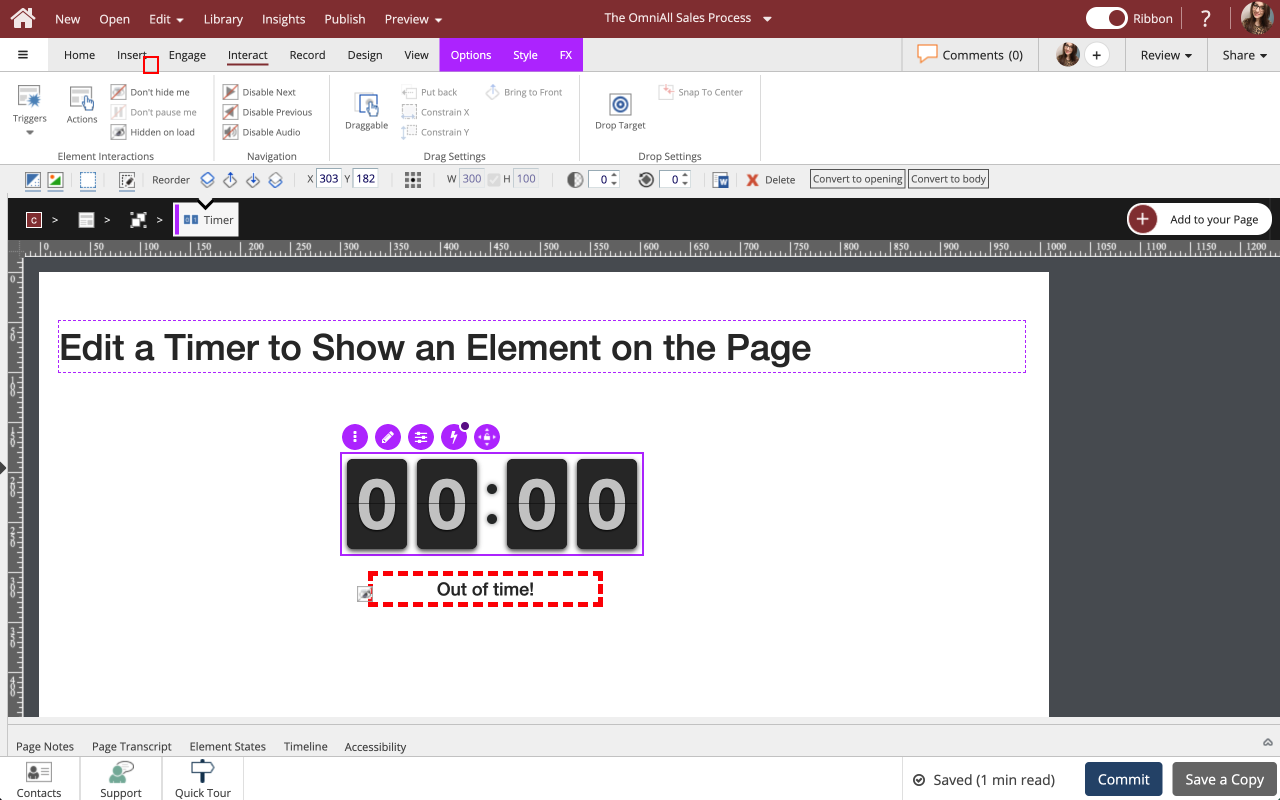
Preview the current page to see how the Out of time! Text will display after the Timer runs out.


Comments ( 0 )
Sign in to join the discussion.