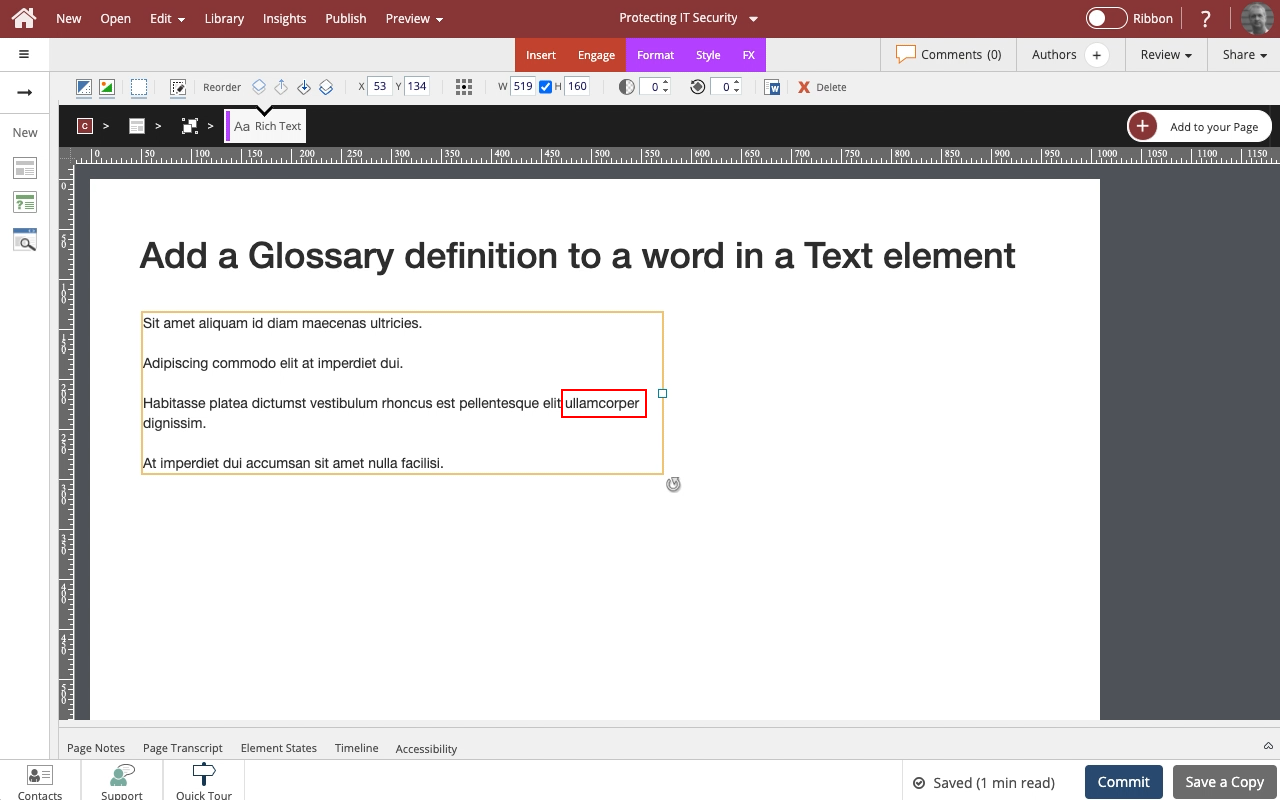
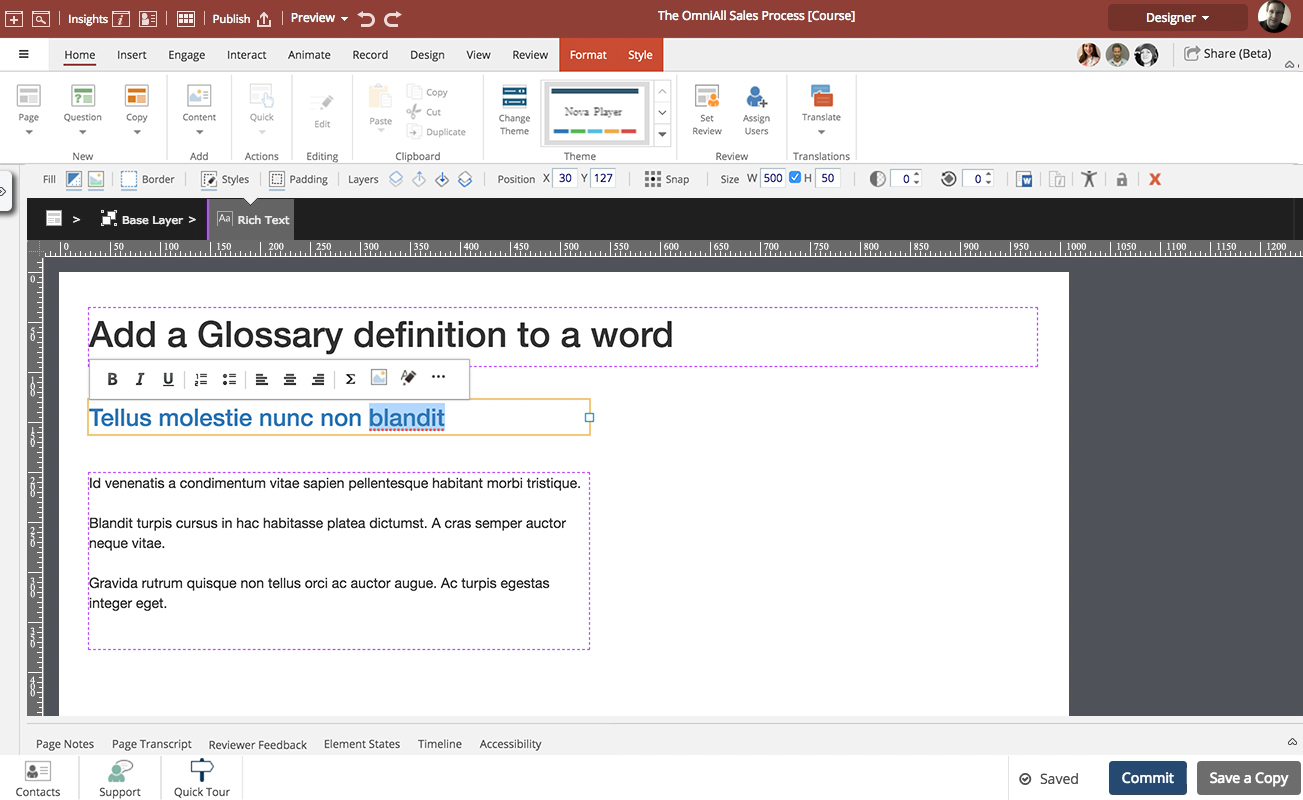
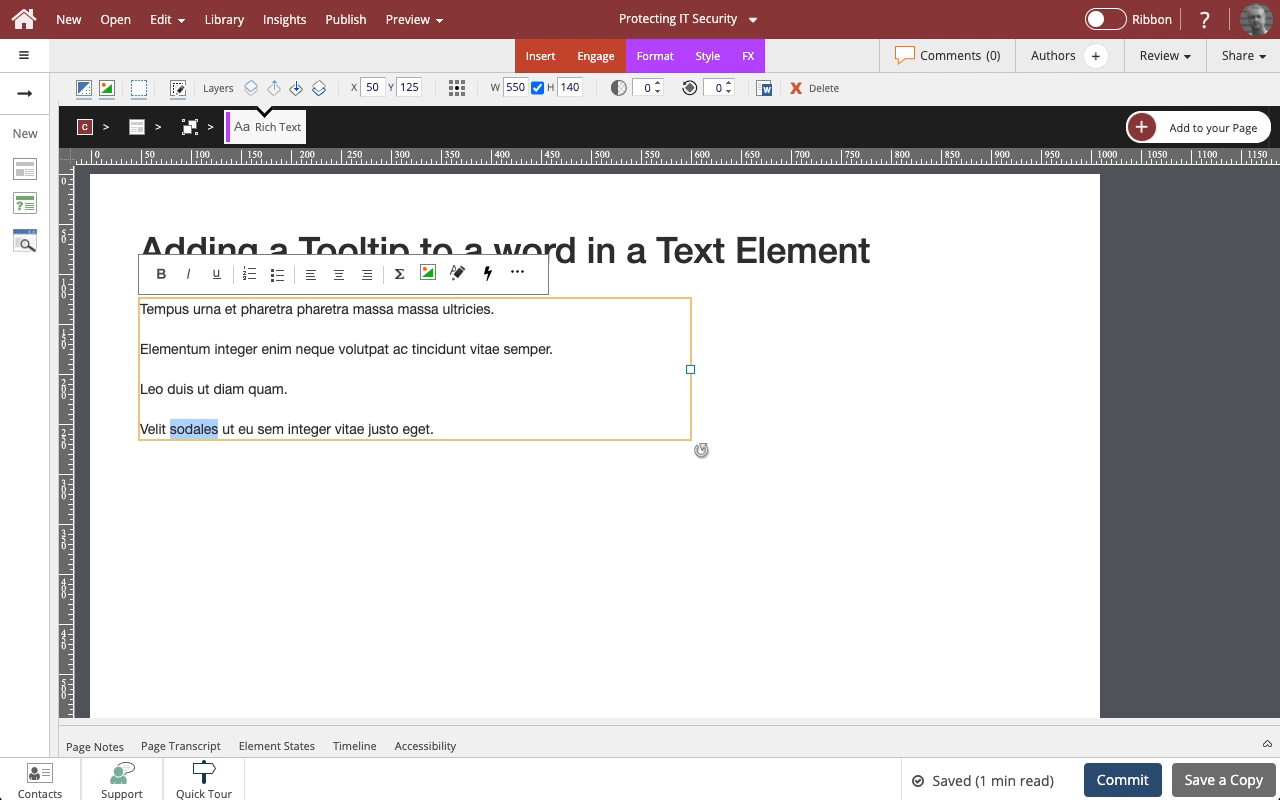
Add a Glossary definition to a word in a Text element
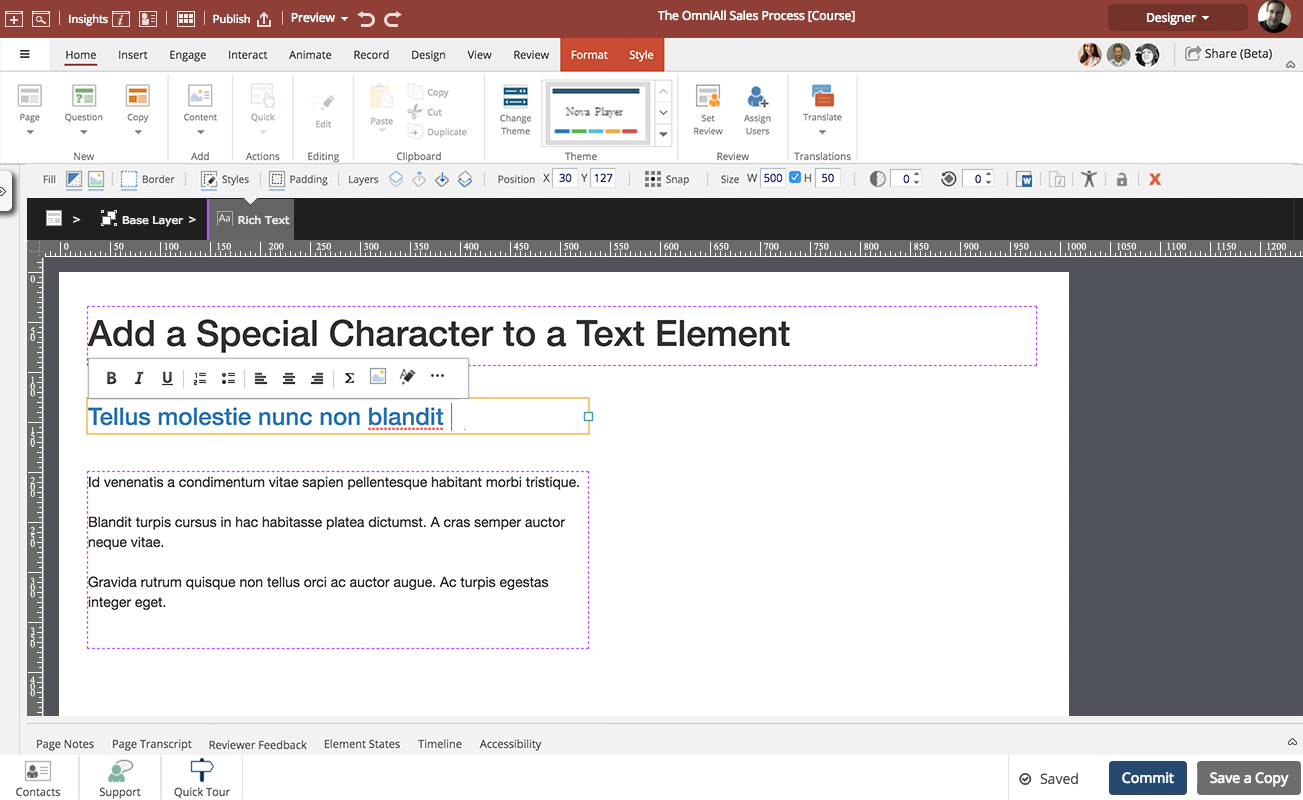
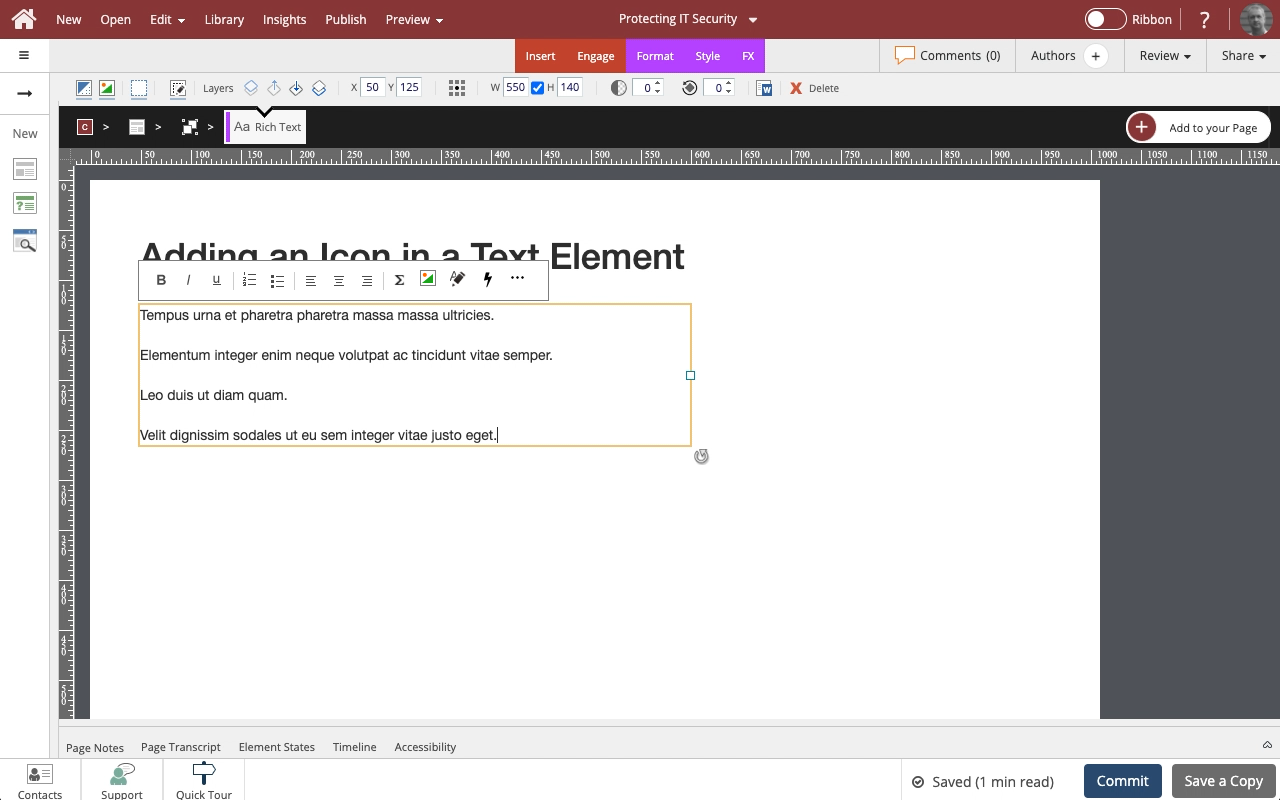
Steps to add a Glossary definition to a word in a Text element.

Product: dominKnow | ONE | Version: 7.4
Applies to: Flow, Claro
Applies to: Flow, Claro


Comments ( 0 )
Sign in to join the discussion.