Quickly create your own library of Layers to add to any page 

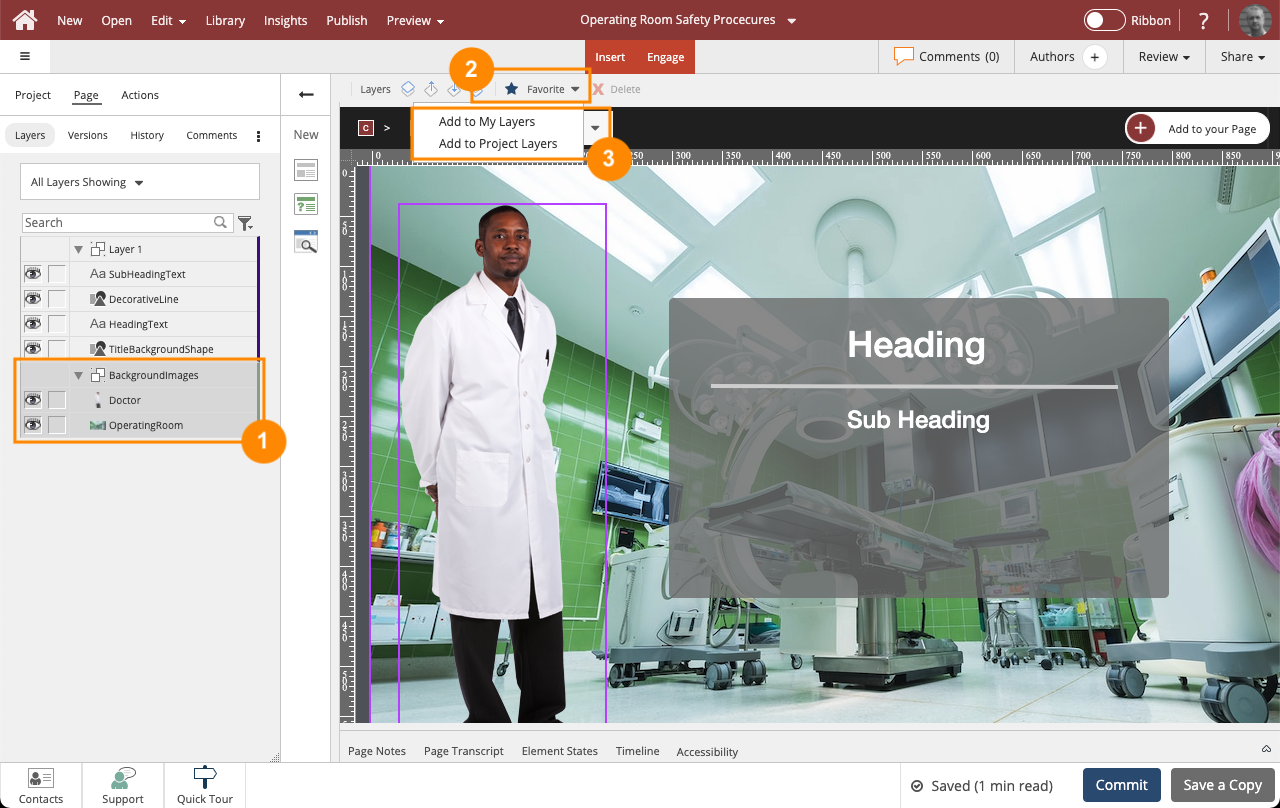
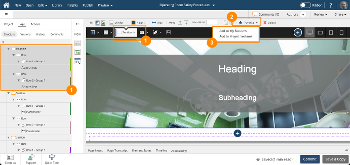
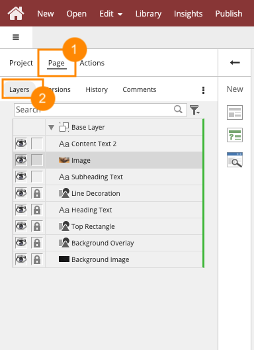
When you have a Layer selected on a Claro page either on the Page Layers tab (1) or in the breadcrumb above the stage, the Favorite option is available on the Selection Control Bar above the stage.

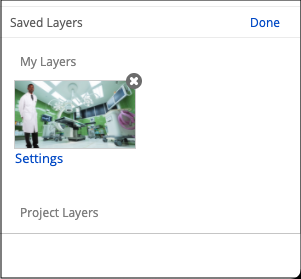
Selecting Favorite (2) offers two options (3), Add to My Layers and Add to Project Layers:


The Add to My Layers option saves the Layer so it can be used by you to add to any Project. Think of this as your own personal library of Layers to use in any Project. 

The Add to Project Layers saves the Layer so it can be used by any author in the Project to add to the Project. Think of it as a library of Layers for the Project.

And any Project Layers saved in a Baseline Project will be available in any new Projects made from that Baseline. 

NOTE: Actions affecting elements in the same Layer will be preserved in the saved Layer. Actions affecting elements in other Layers can not be preserved in the saved Layer. 

For example, if you set a button to show an image element that's in the same Layer, the action will be preserved when you add the Layer to a page because you are saving both the Trigger element and its Target as part of the same Layer.

If you set a button to show an image element in a different Layer on the Page, the button will be included when you add the Layer to a page but the Show action will be removed since the Target element isn't part of the same Layer and isn't being added to the page.

Selecting the Add to My Layers option opens the My Layer Settings panel.

The panel shows a preview of the thumbnail image that will be saved for the Layer.

On the panel:

  1. Add a Title for the Layer
  2. Add a Description for the Layer
  3. Select Done


Adding a Saved Layer to a Page

When you open the Add to your Page panel, the favorites tab includes a section for Saved Layers.

It has lists for My Layers and for Project Layers.


If you roll your mouse cursor over a thumbnail and pause, a panel opens to show the thumbnail, title and description.

Underneath the main thumbnail is a Preview option.

Selecting this opens the saved layer in a full-size preview pane. 

When you add a saved layer to a page, it is will display any relevant Theme settings for the project you are working in, including font and color settings. The full-size preview pane shows these theme settings as part of the preview.  

The Saved Layers section also has an Edit option.


Selecting Edit allows you to delete any saved layers using the x shown on the thumbnail.

Selecting Settings below a thumbnail opens a panel to edit the Title and Description.

When you are done editing, select Done.


  0     0

Similar Projects

Questions  ( 0 )