Edit content and format a callout
Steps to Edit content and format a callout using Claro.

Steps to Edit content and format a callout using Claro.
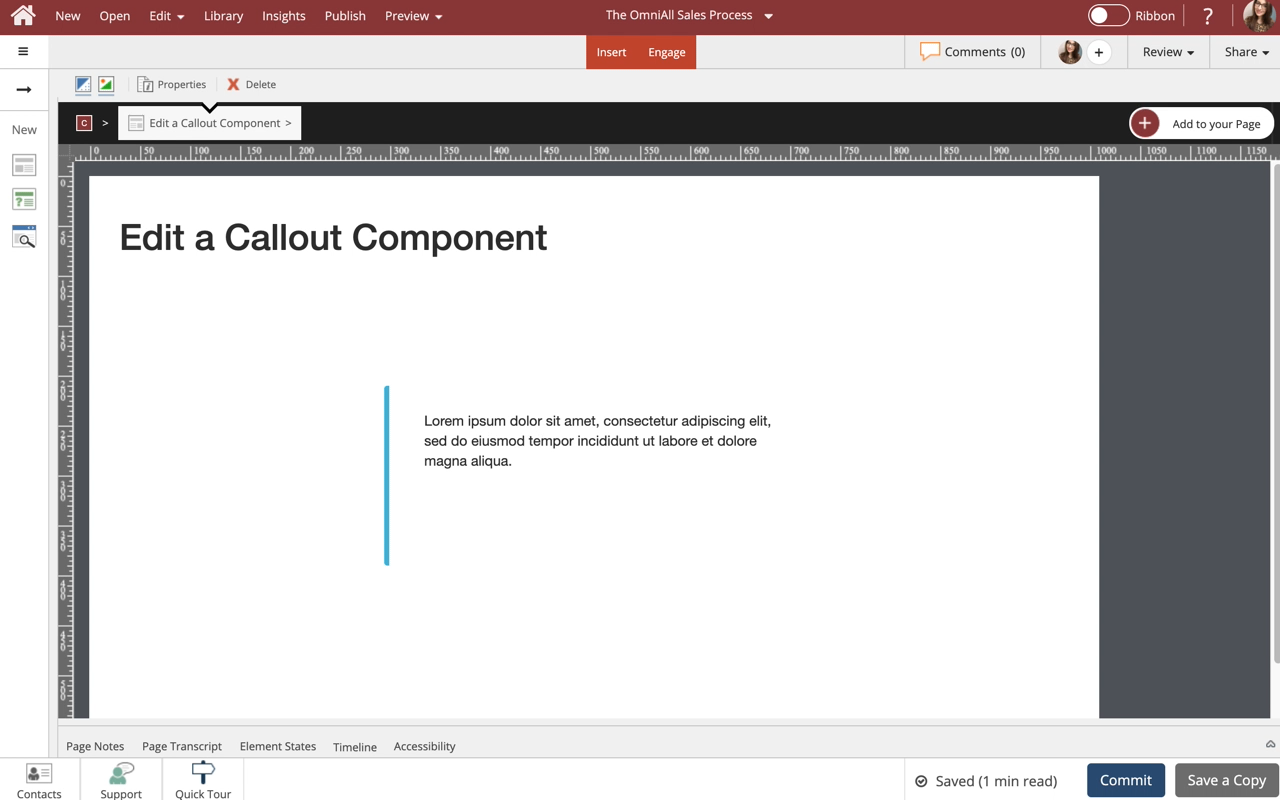
Steps to edit a Callout component.
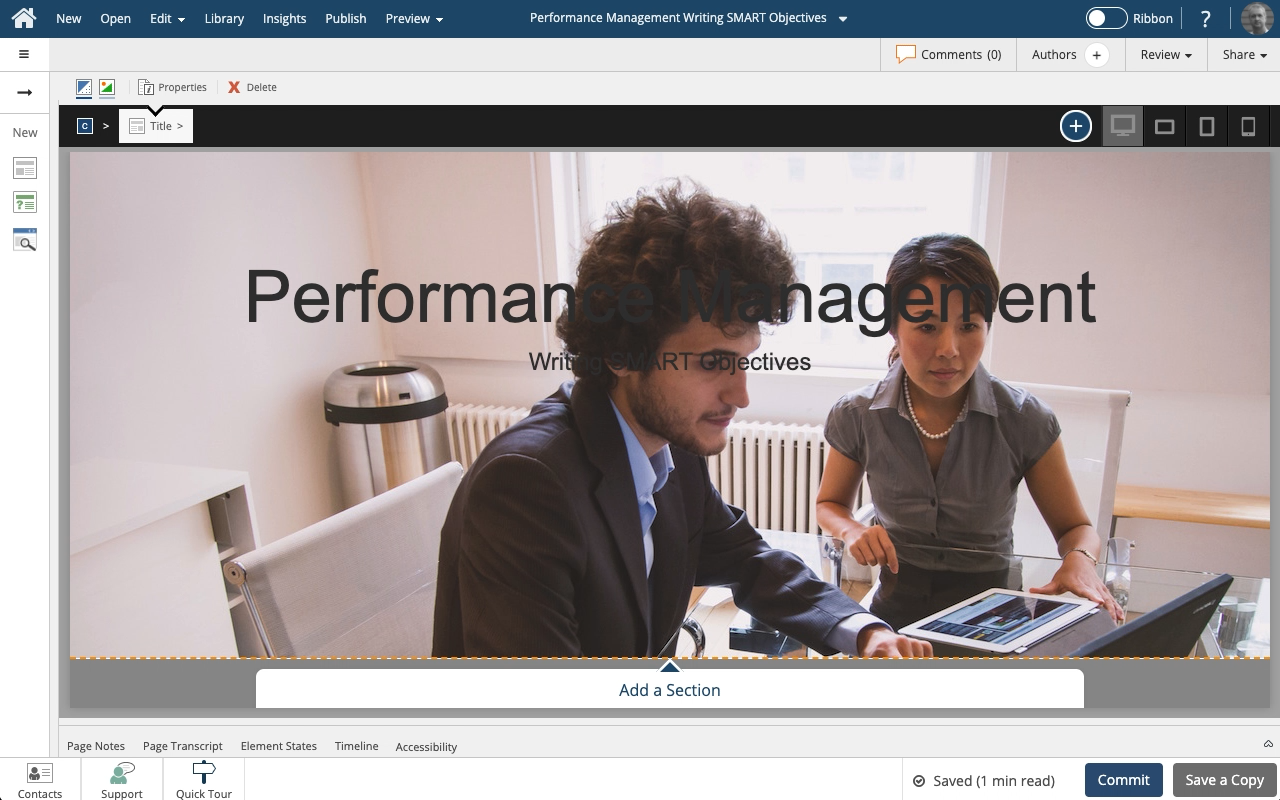
Use callouts to set apart certain information, and add various styles, borders and icons. This lesson covers controlling the display properties of the Callout component to suit your design needs.

Steps to Edit the Content in a Tab Set Component using Claro.

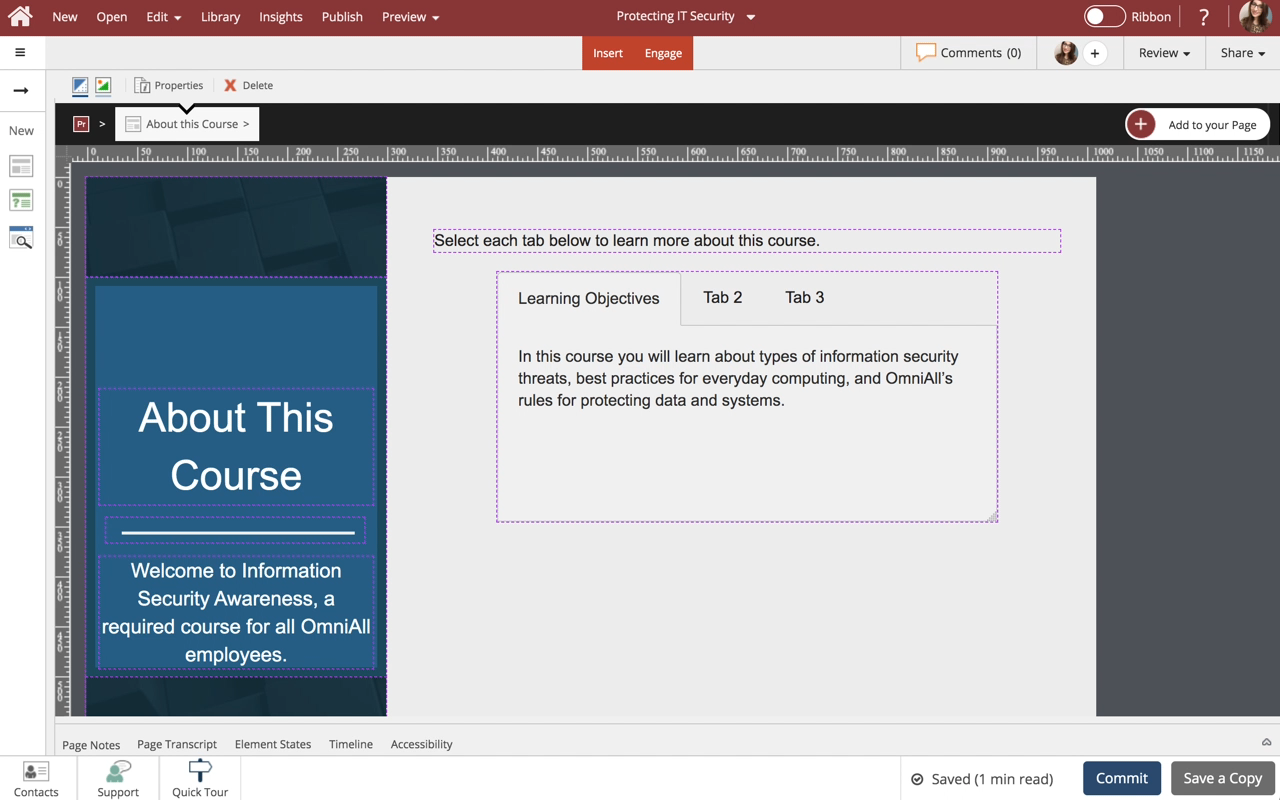
Steps to edit the content in a Tab Set component.
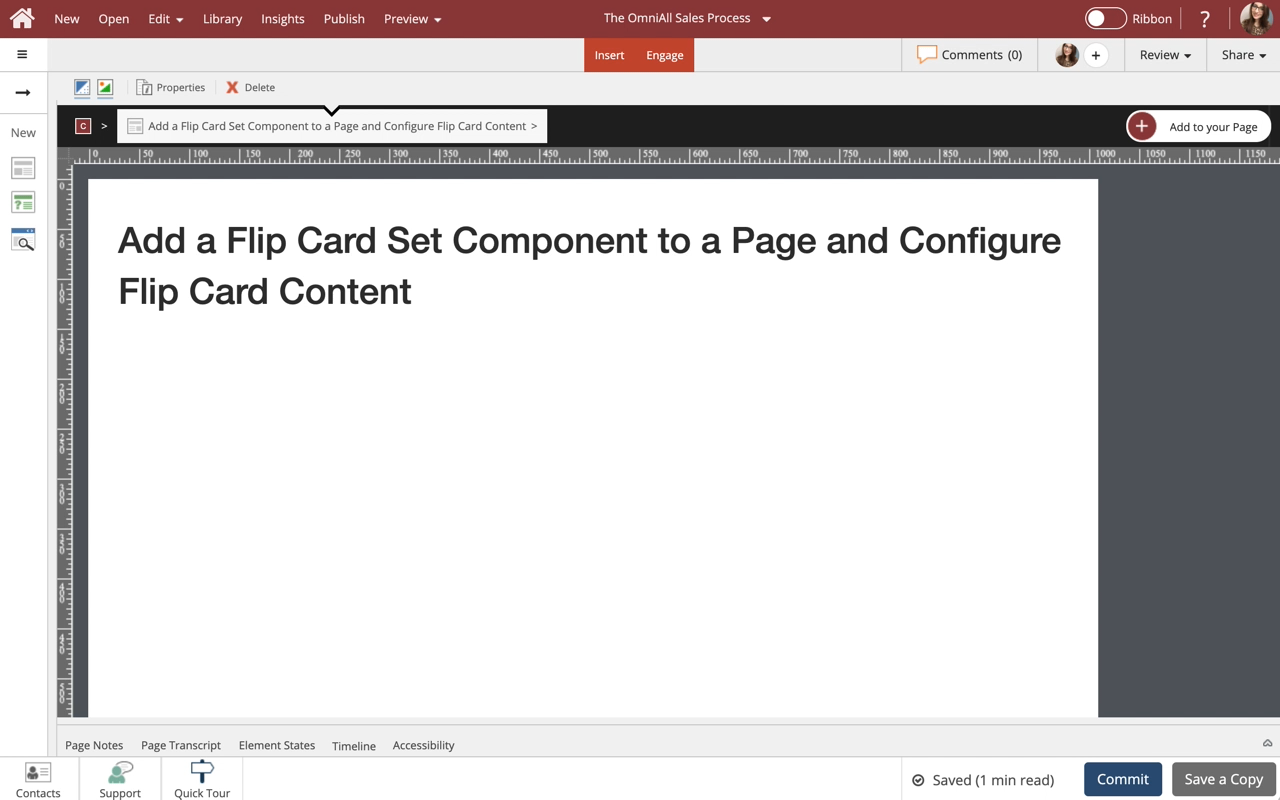
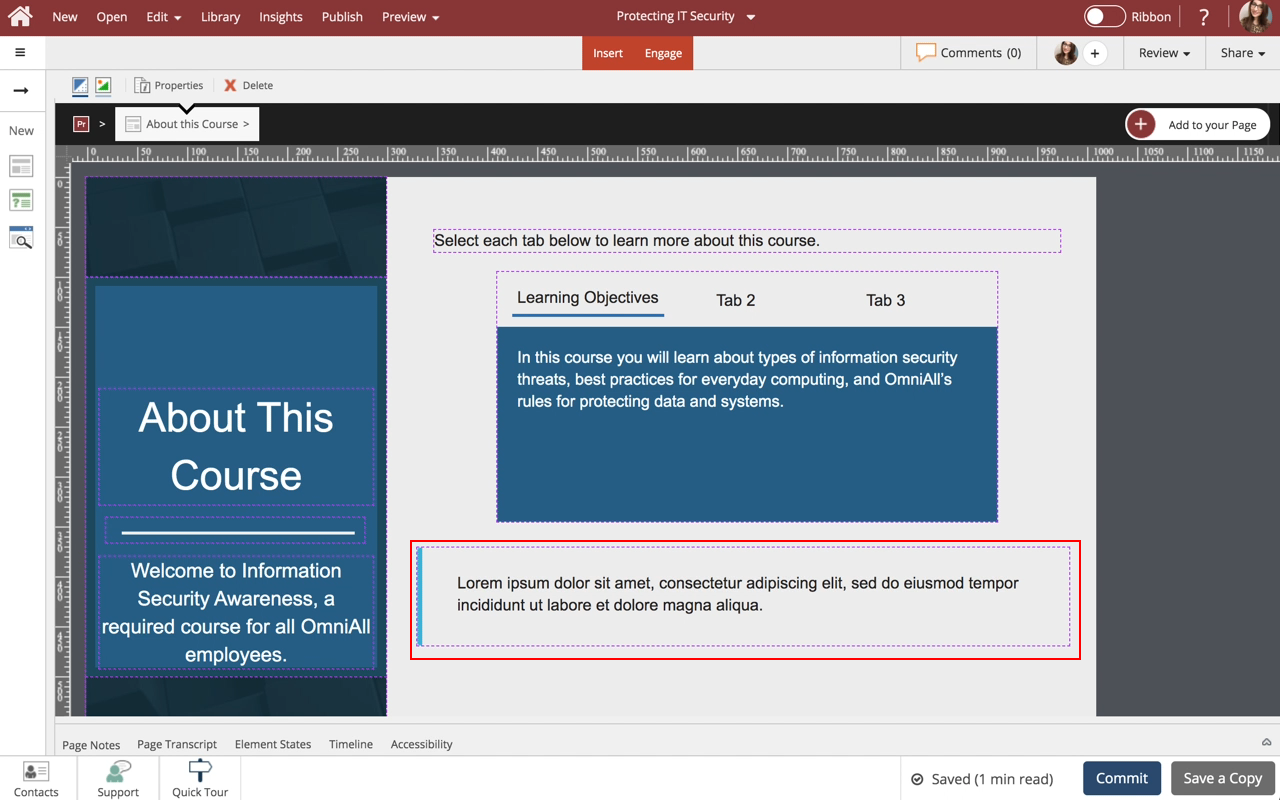
Steps to add and a Flip Card Set component to a page and configure the Flip Cards within the set.
Flip Card Sets are one of many components available on the Engage tab.
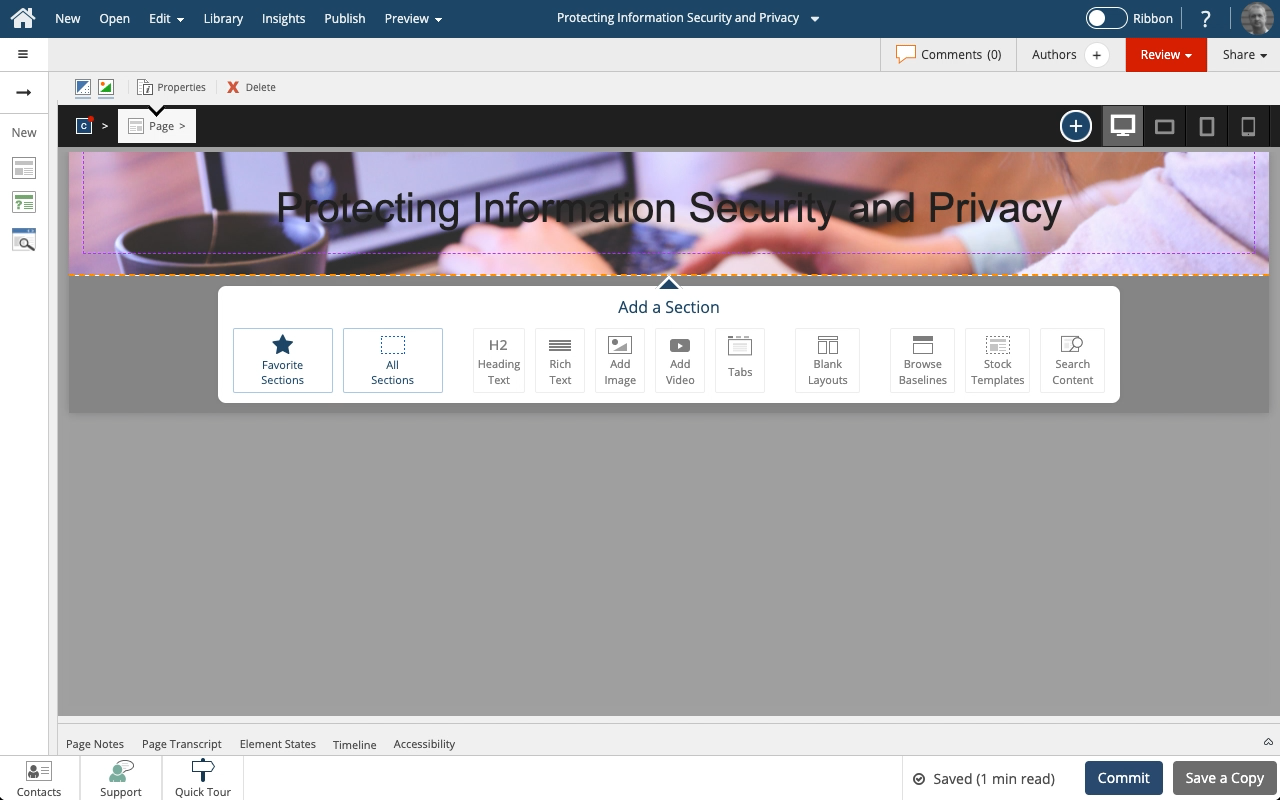
In a Flow page, the height of a Section is set by the height of the content it contains by default.
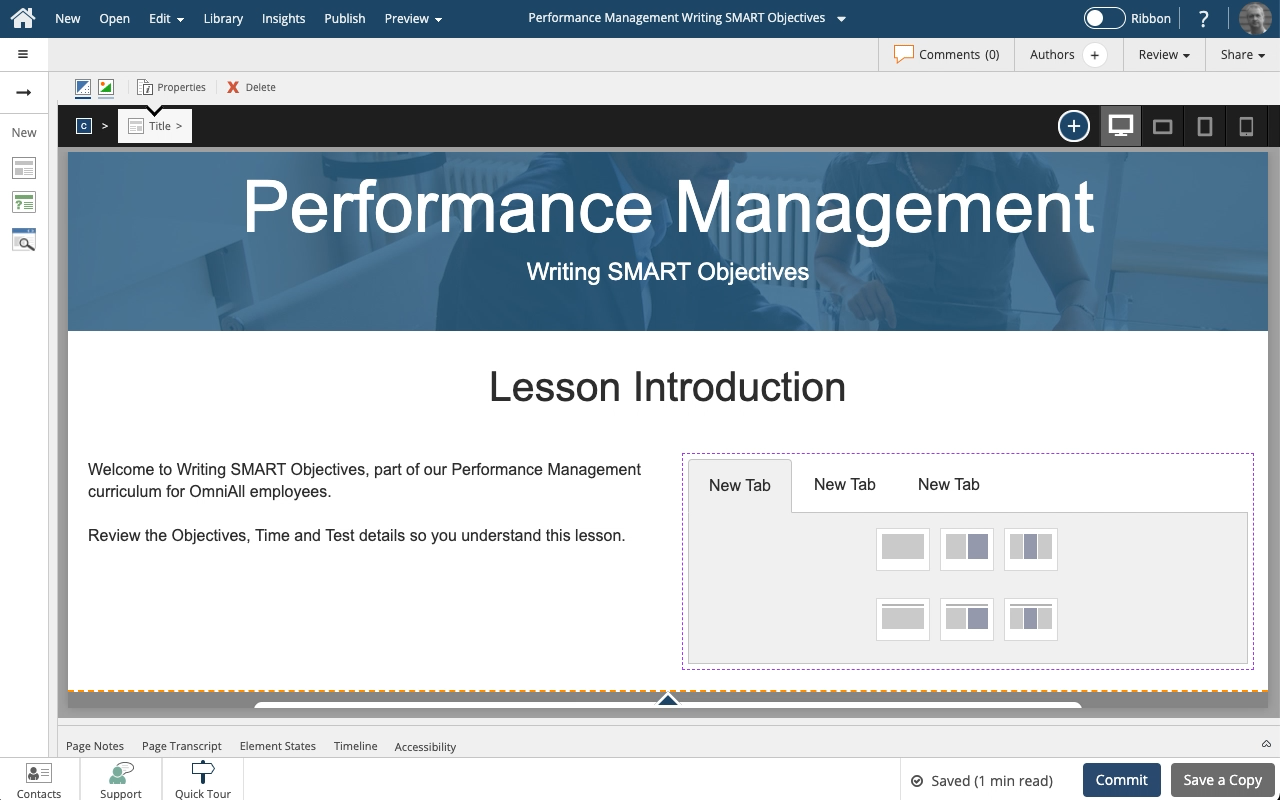
You can override that default height, though, and tell the Section to behave as if its height is a ratio based on the height of the browser window it’s being viewed within. Along with that height setting, you can set the content within the Section to align within the Section’s height. It’s a great design idea for creating a dramatic full-height Section on your page.
In this lesson we’ll set ...
Steps to adjust the display height of a Section on a Flow page as well as set how the Section's content will align vertically within the Section's display height.

Edit a collection when you want to modify the title, description, permission of the collection or to reorder the projects within the collection. Follow the instructions below to learn more.
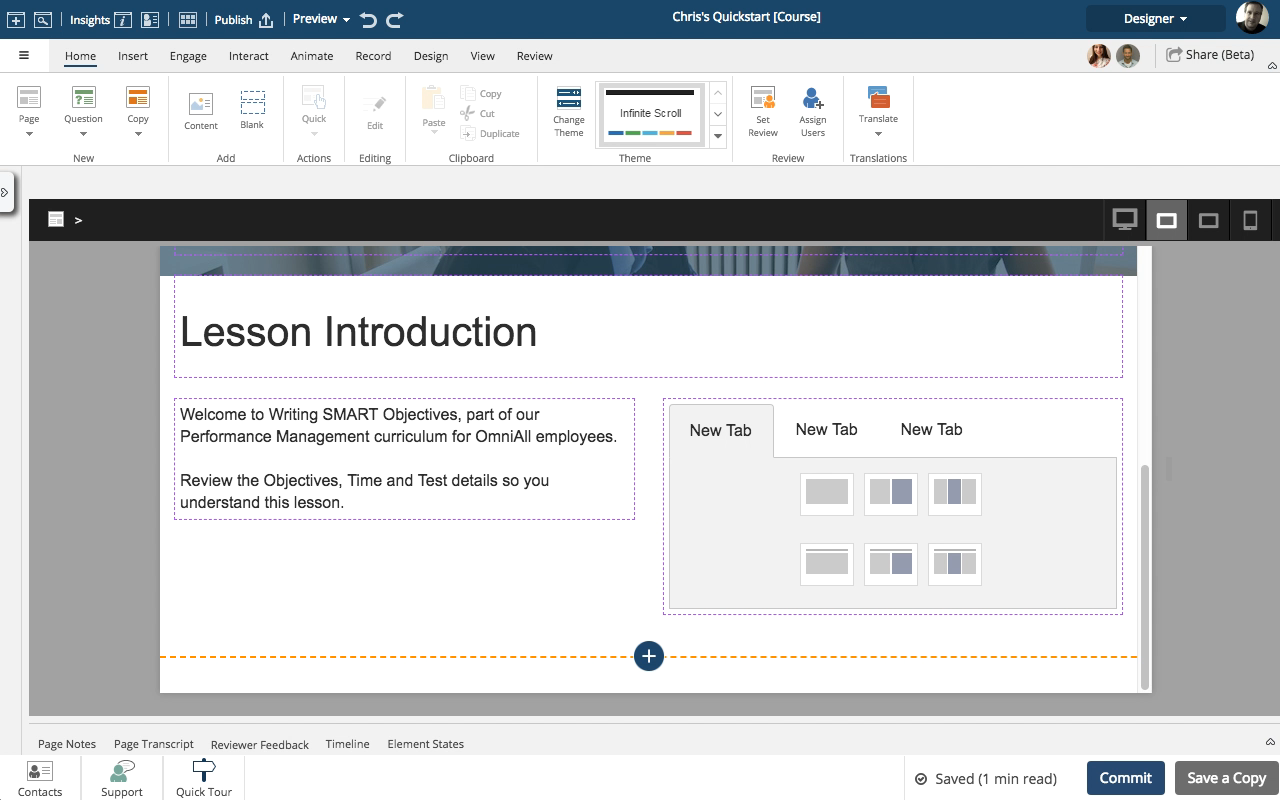
Steps to edit the content in a Tab Set component.
When editing the content in Engage Components you enter a special Edit mode on the Stage.
When you are finished with the content edits you use the Exit button in the breadcrumb to leave the Edit mode.


Comments ( 0 )
Sign in to join the discussion.