Matching Practice Quiz
Learn how to add, style and edit a matching practice question.

Product: dominKnow | ONE | Version: 7.4
Learn how to add, style and edit a matching practice question.

Hotspot Images and Image Label Drag both require the learner to interact with an image to select the correct locations on the image. Hotspot Image questions require the learner to click the correct locations, while Image Label Drag questions display the titles of each hotspot on the image in a numbered list and require the learner to drag the numbers to the correct location on the image.
The process of creating both questions is the same except the option Enable Dragging is disabled for Hots...
Learn how to add, style and edit a sequencing practice question.
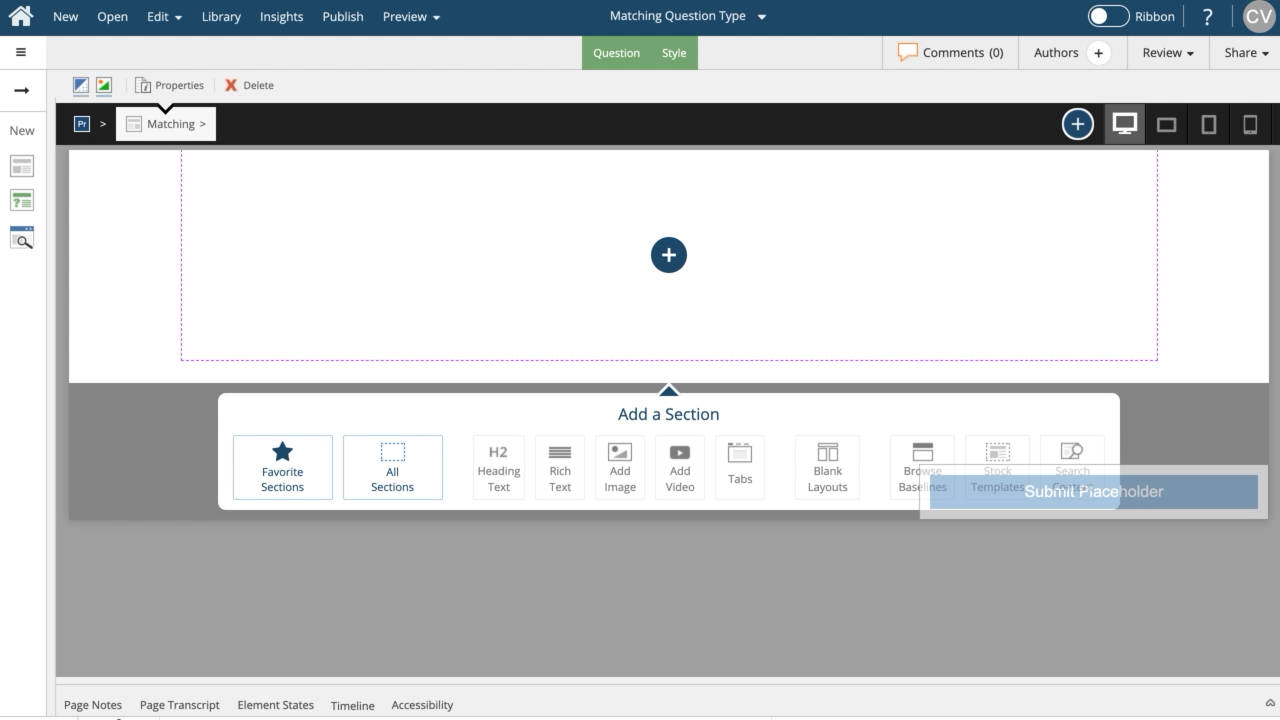
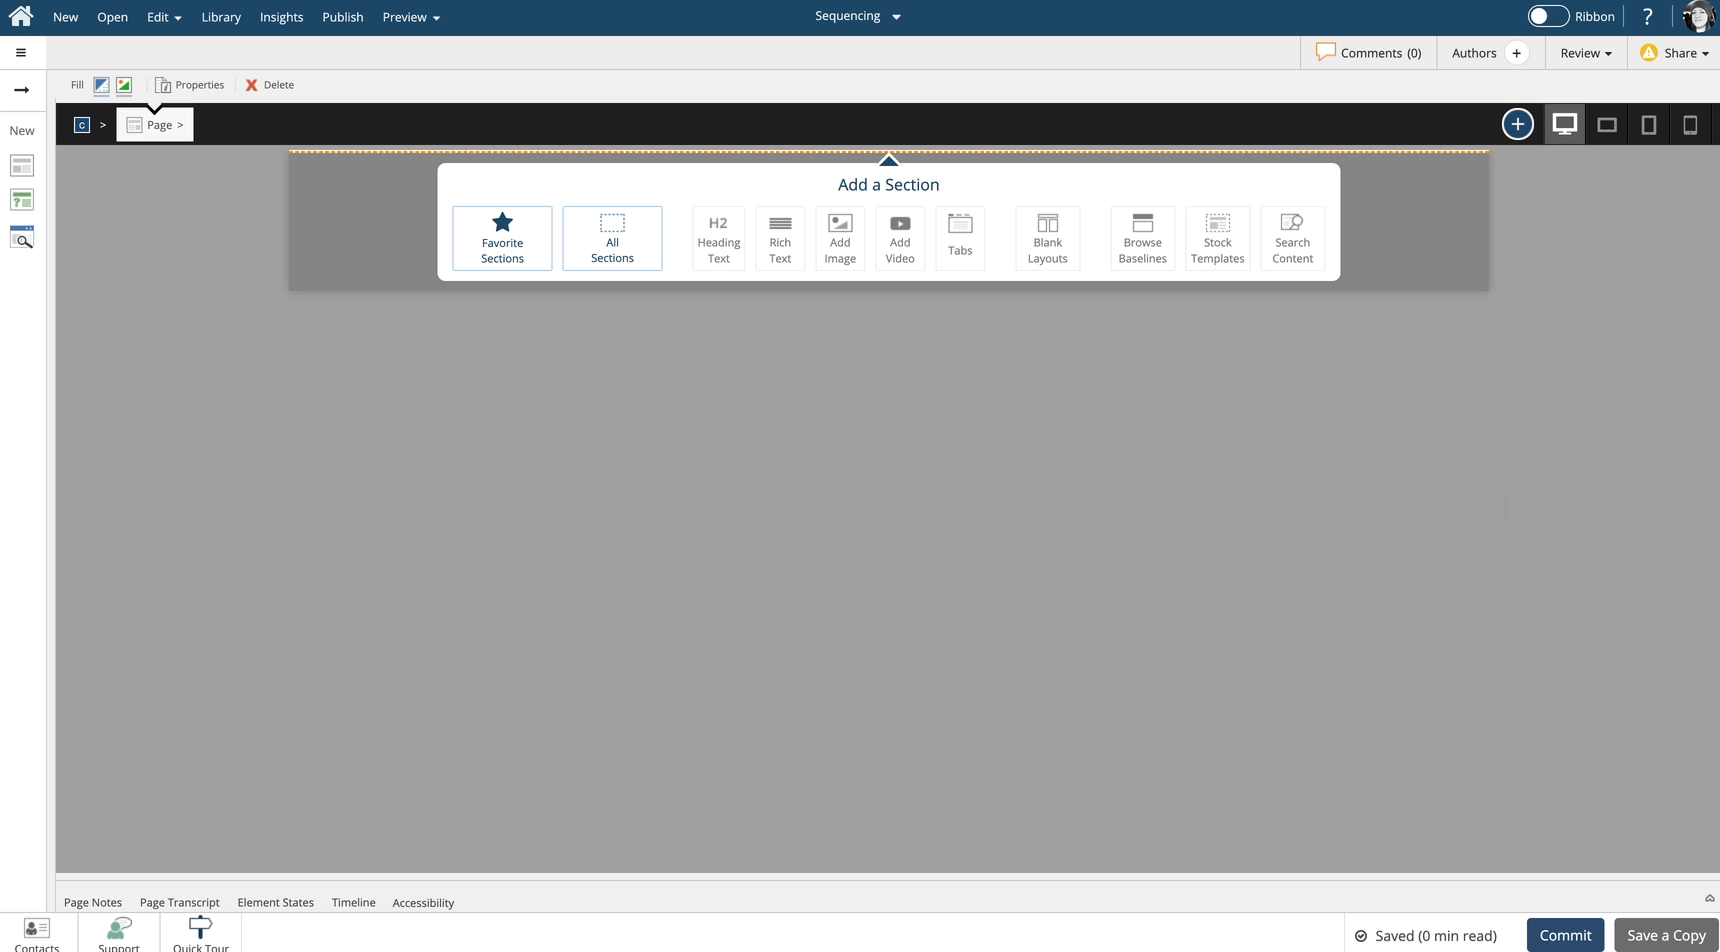
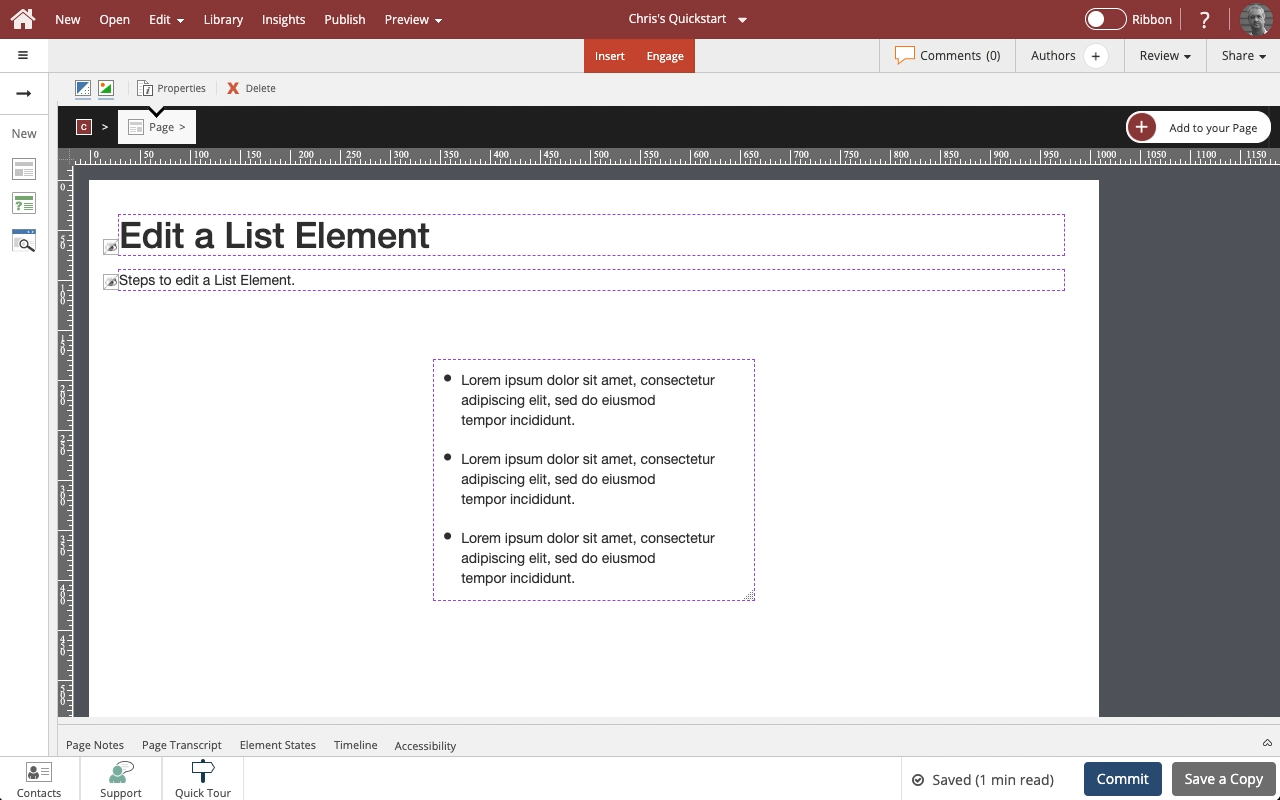
This lesson covers how to edit a Matching Question.
It steps you through adding Question text, Categories, and Items as well and how to style your question.
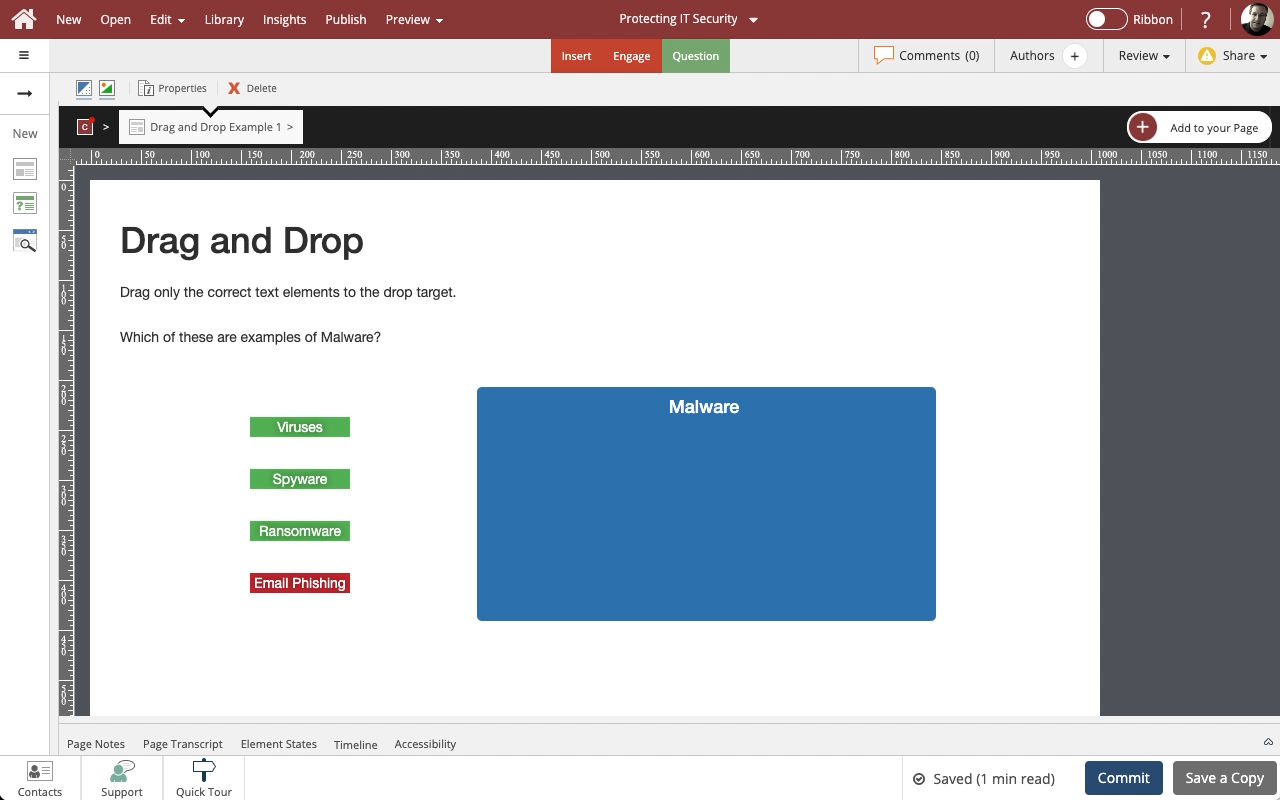
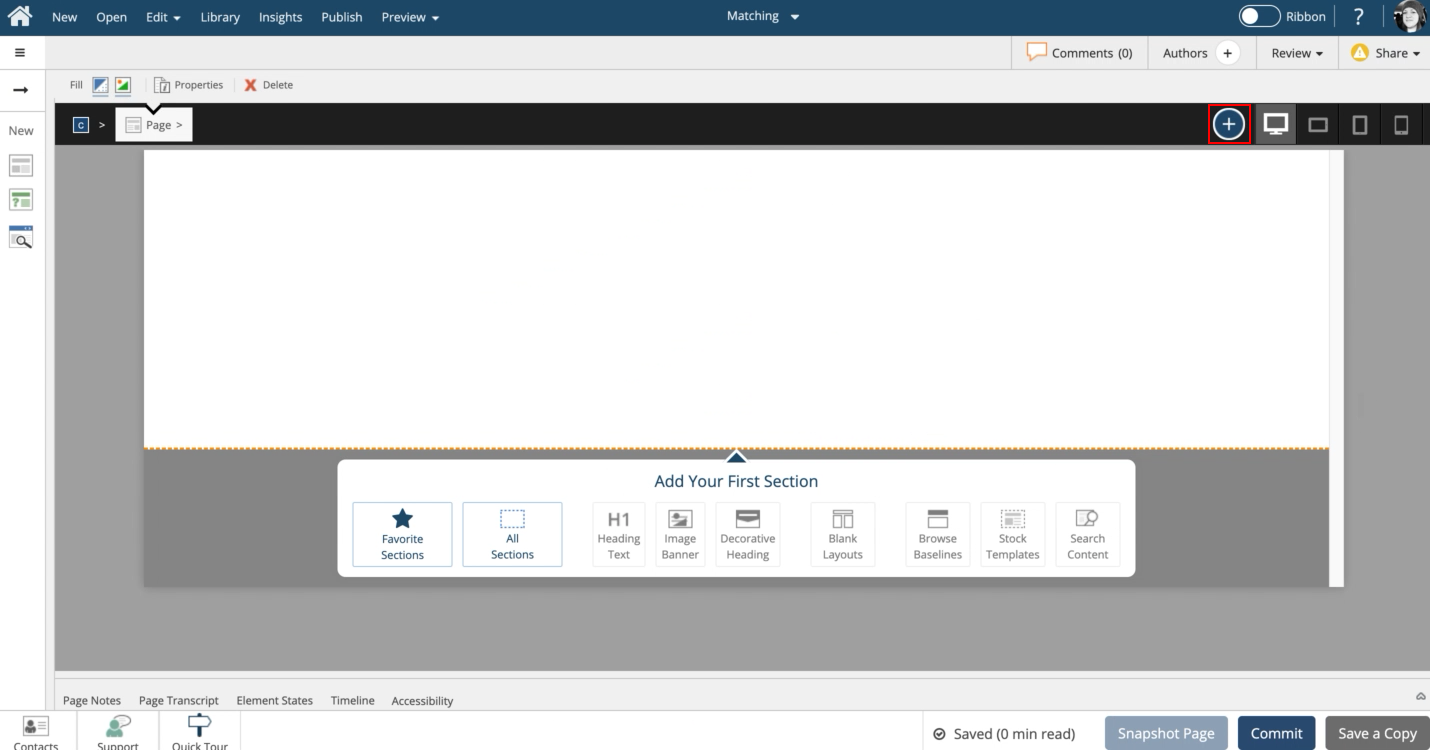
Steps to set up a custom drag and drop question page as a sorting activity with three matches and one drag distractor.
Is it possible to have all quiz modals to have the same tabs? Specifically, the sorting modal has a Style tab that the other quiz modals don’t have.
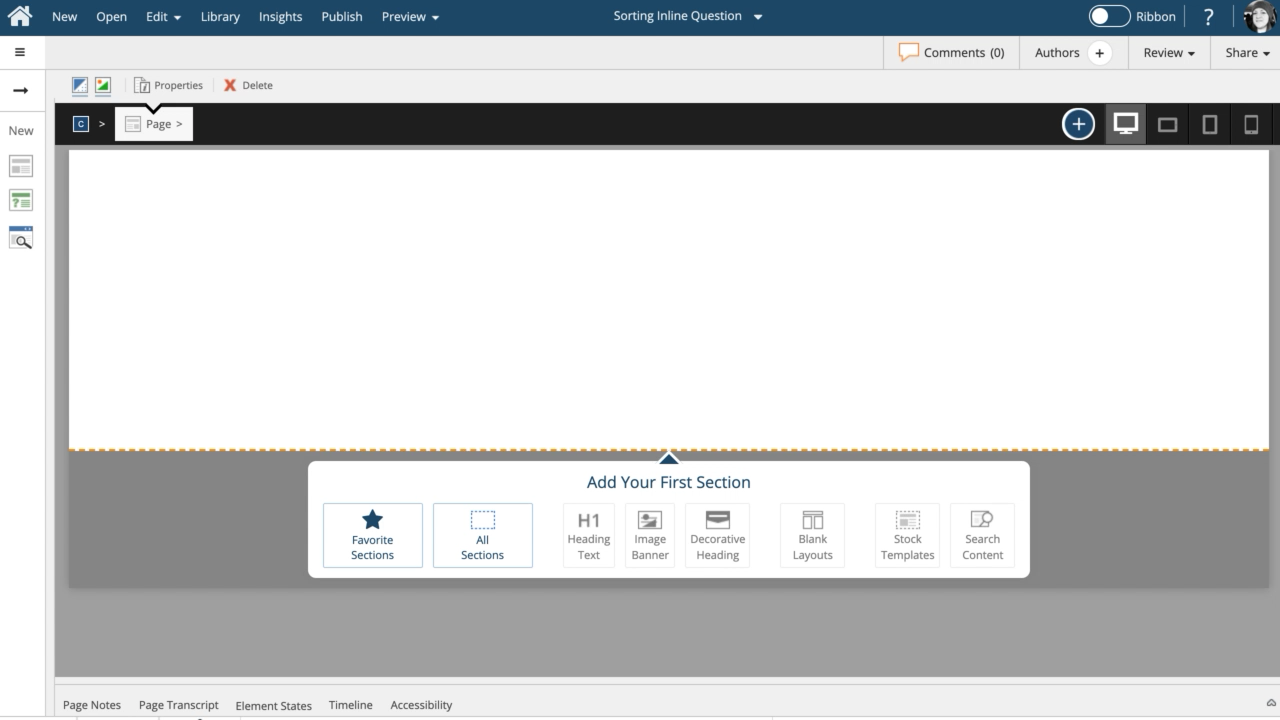
Use inline quiz elements to quickly add questions to your existing content pages.
Is it possible to have 5 initial response options in a scenario? It appears to be limited to only for initial choices, but I may be missing something. Any help is appreciated. Thanks!

General information to help our customers when using dominKnow | ONE
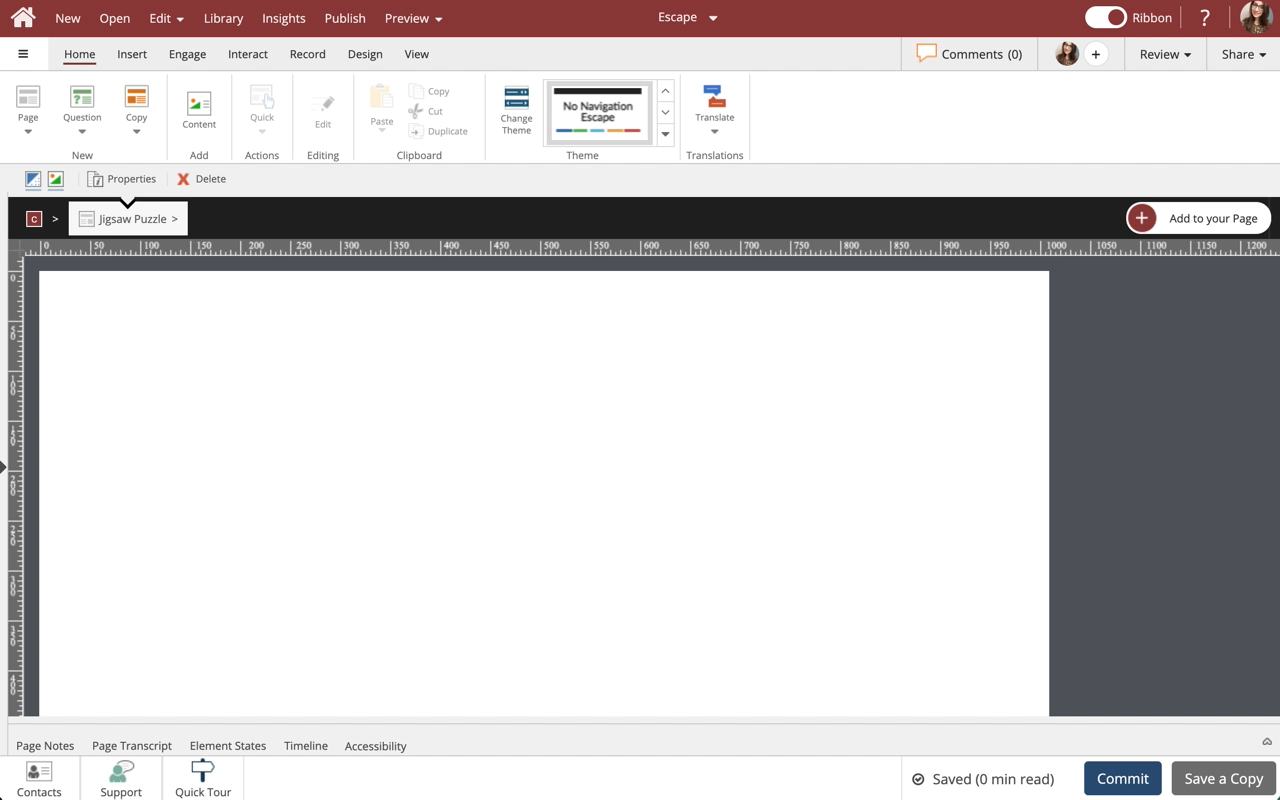
Steps on how to create a Jigsaw Puzzle in Claro using a Practice Drag and Drop Question with no feedback so the users can freely drag the pieces to the drop target.


Comments ( 0 )
Sign in to join the discussion.