Embed
Create a Collection
Update Collections
Hotspot Images and Image Label Drag both require the learner to interact with an image to select the correct locations on the image. Hotspot Image questions require the learner to click the correct locations, while Image Label Drag questions display the titles of each hotspot on the image in a numbered list and require the learner to drag the numbers to the correct location on the image.
The process of creating both questions is the same except the option Enable Dragging is disabled for Hotspot Images and enabled for Image Label Drag.
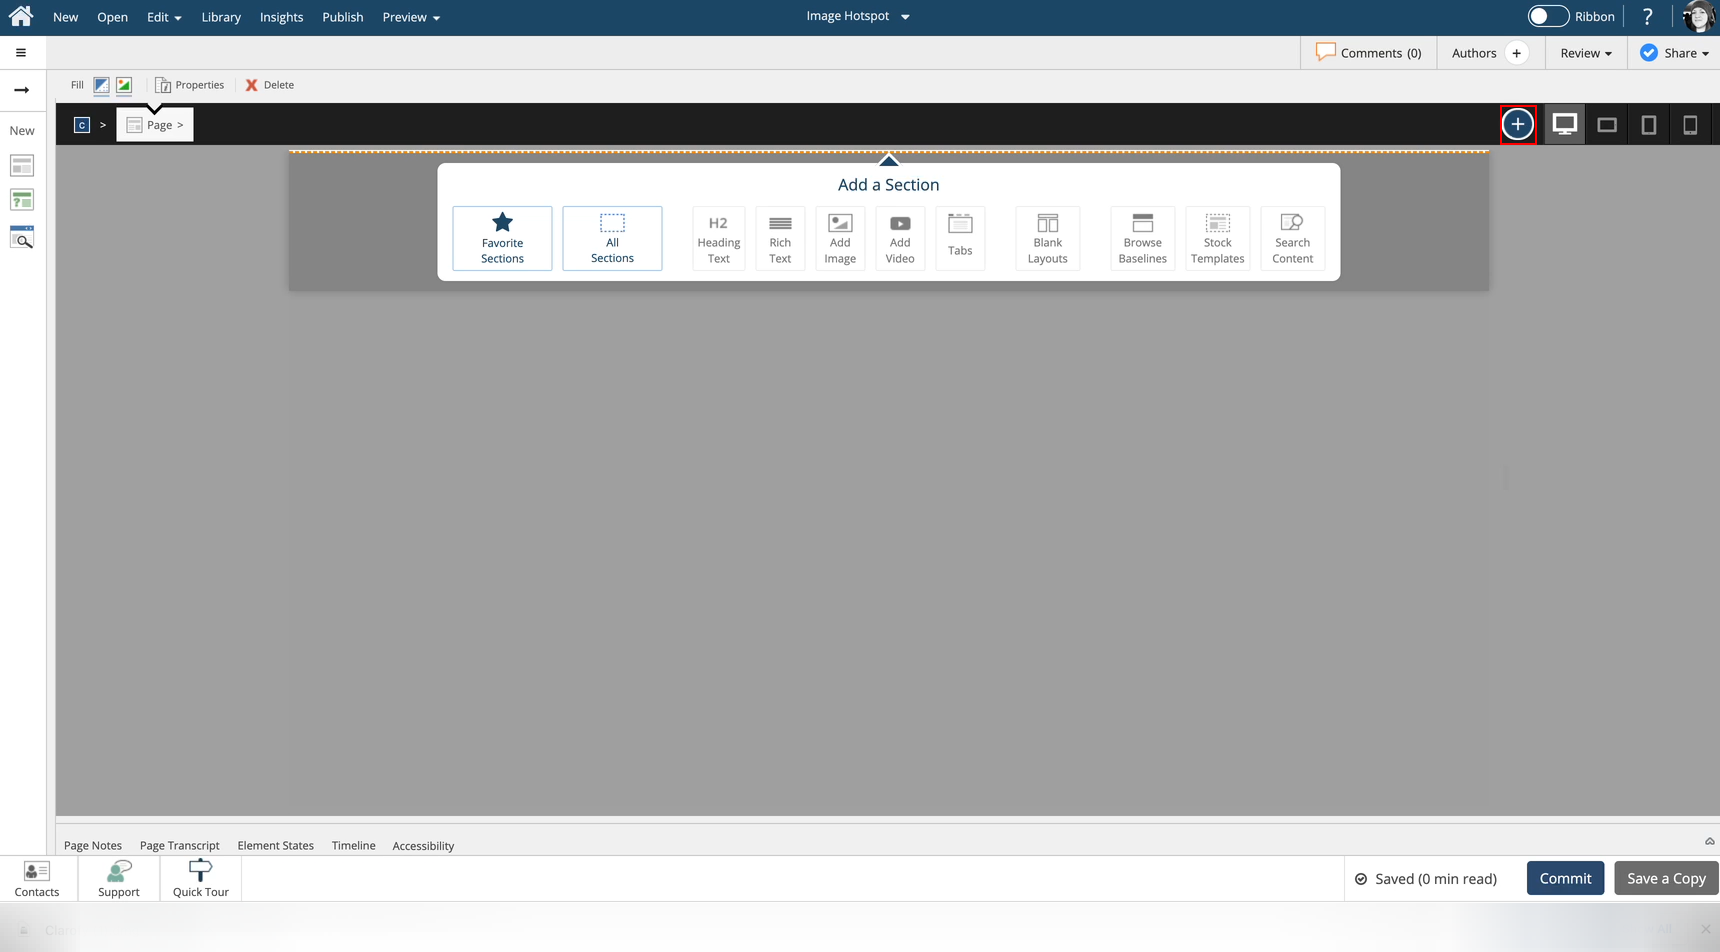
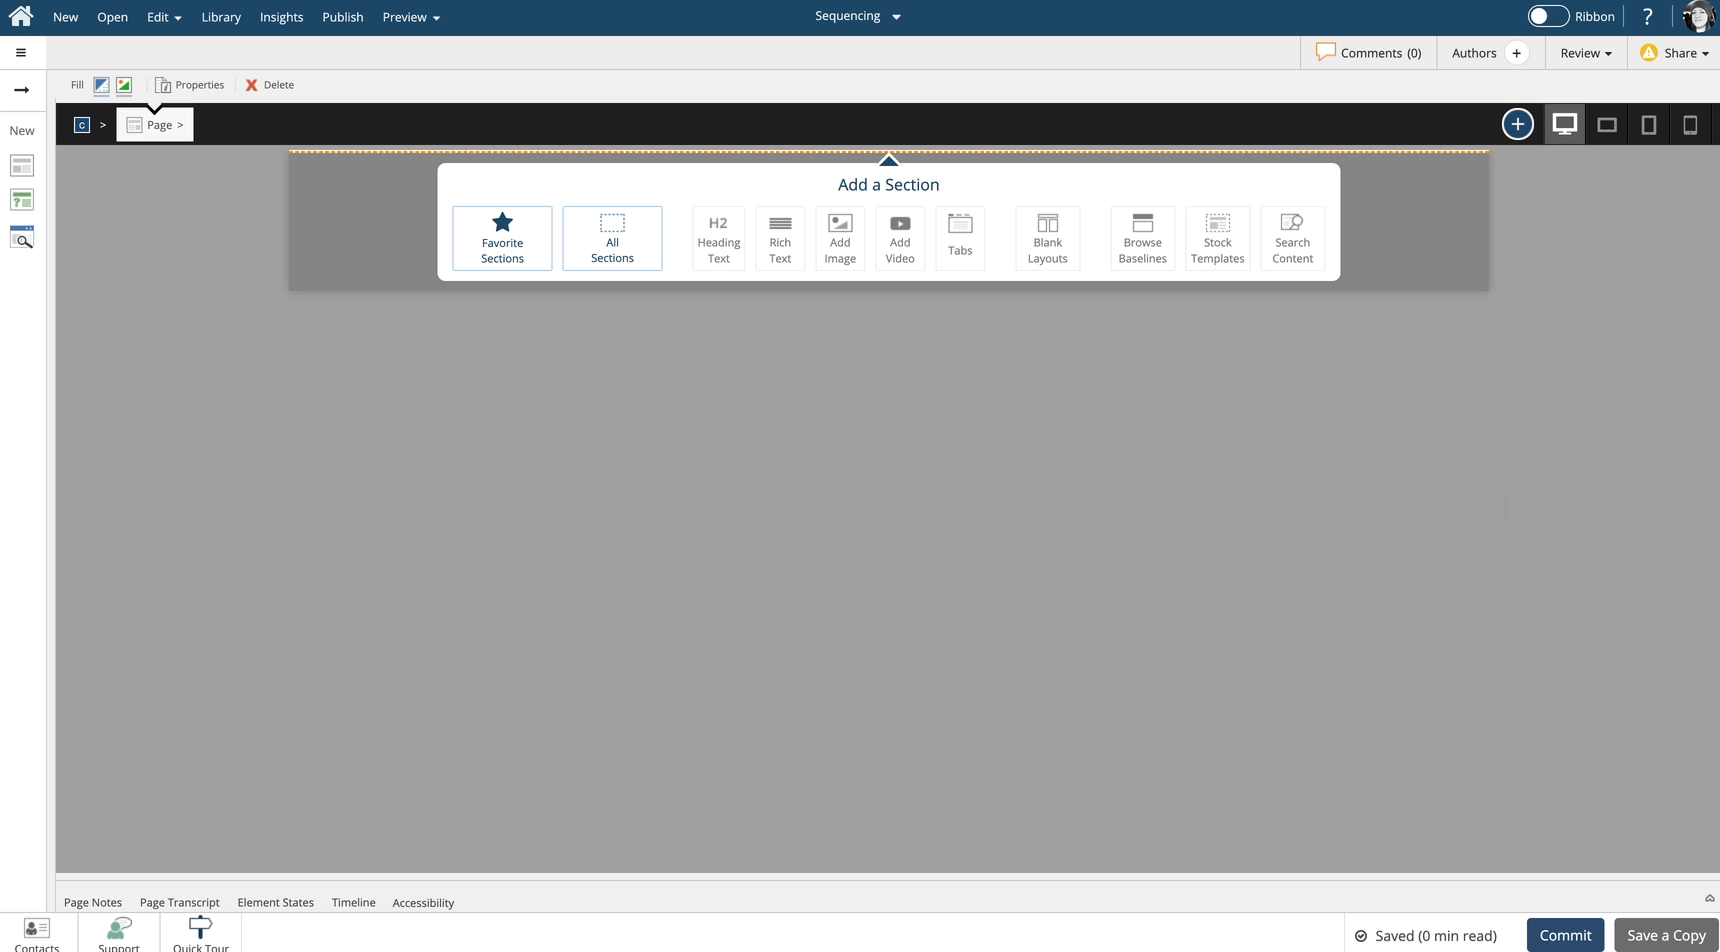
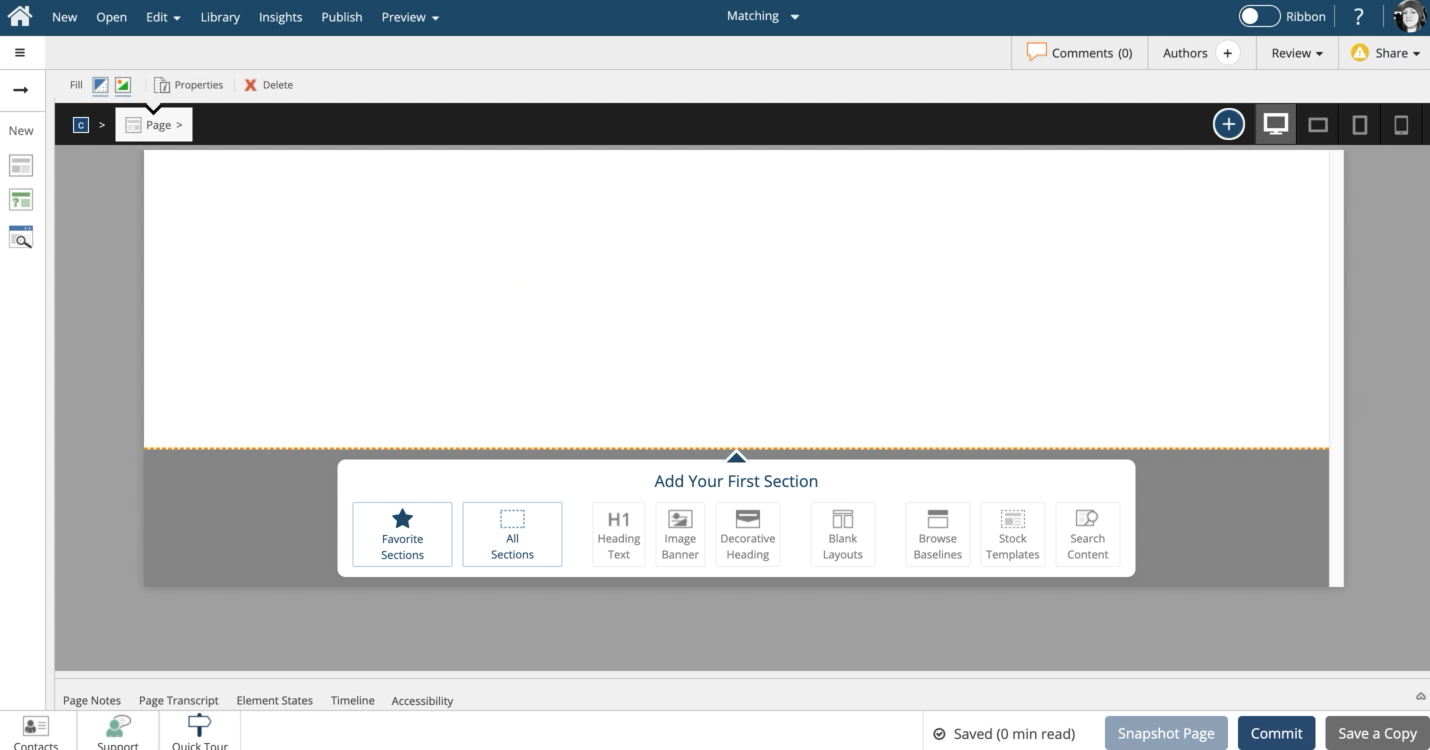
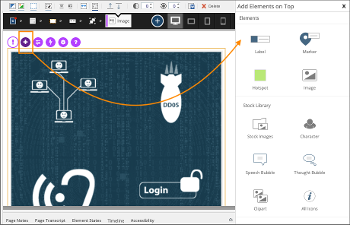
Select the + Add a Section button on the black control bar.
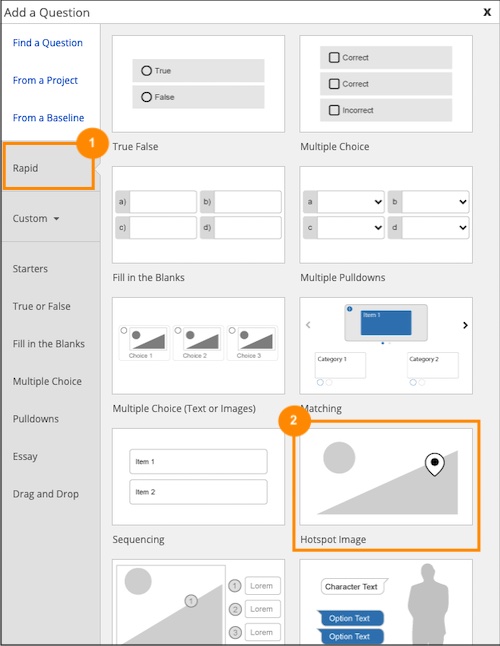
Scroll down to the Quizzes section and select the Hotspot Image question.
The Media Browser opens. From here you can search for an image or upload one. For this example, select the Heart image.
Select the Insert button.
The Add Hotspots to Your Image panel will open.
You can add rectangular, circular, or polygonal hotspots.
For this example, select the Polygonal hotspot.
Once you have selected a hotspot shape you can add as many hotspots of that shape in a row as you need. When you are finished with that specific shape you can select a different shape or select the cursor option to stop adding hotspots.
For this example, we will add the hotspots for you. Select the image to continue.
The image is shown on the stage, with the numbered hotspots.
Scroll down to the Label Choices section.
You have the option to use Text or Images. By default, Text is selected, we will stick with Text for this example.
Hotspot areas are assumed to be correct selections, unless you mark them as a Distractor. For this example, they are correct.
For the first hotspot, select the Label text entry box then select the text within that field and type in a label. For this example, we will add it for you.You can now style your text if you would like. We will style it for this example.
Select the Text Editor button in the Label area.
The mini formatting tool bar appears with several formatting options.
For this example, we will apply bold to our text.
Select the label text.
The mini formatting tool bar appears with several formatting options.
For this example, we will apply bold to our text.
Select the B icon.
You can add item level-feedback for any hotspot, including feedback for distractors.
Select the Feedback text entry box to add feedback for this selection.
For this example, we will add it for you.
Scroll down to the second hotspot section.
Select the Label text entry box to give it a label. For this example, we will add it for you.
You can now style your label text.
Select the Full Editor button in the label area.
Select the Label text.
Select the OK button.
Select the Feedback text entry box to add item level-feedback for this selection.
For this example, we will add it for you.
Select the Next button.
The Introduction text is shown over the question before the learner starts it. It's a chance to set the scene and provide any instructions the learner should follow. Click in the text entry area and we'll add Introduction text for you.
You can also use Question-level feedback or the Project's default feedback. By default, the Project Feedback is selected. We will use that for this example.
Select the Done button to complete your question.
Select the Options tab.
On the Options tab you can Enable dragging. This shows the labels beside the image and the user drags the label number to the image. We call this Drag Labels.
You can also change the layout of the question. This adjusts where the image and the drag labels are positioned.
In the Settings area, you can set the number of attempts the learner gets to answer the question, choose to show the Feedback or not as well as add a variable.
For this example, we will leave the defaults that are shown.
Select the FX tab now.
From the FX tab you can set your question to appear with an Entrance Effect, set the direction that the effect occurs as well as add a scrolling effect.
Note: Scrolling effects allow the question to appear when scrolled into view and exit with an effect when scrolling out of view.
You can open the Build Your Question modal to edit the content of your question at any time by either double-clicking the question element or by selecting the element and clicking the pencil icon from the element quick tools.
