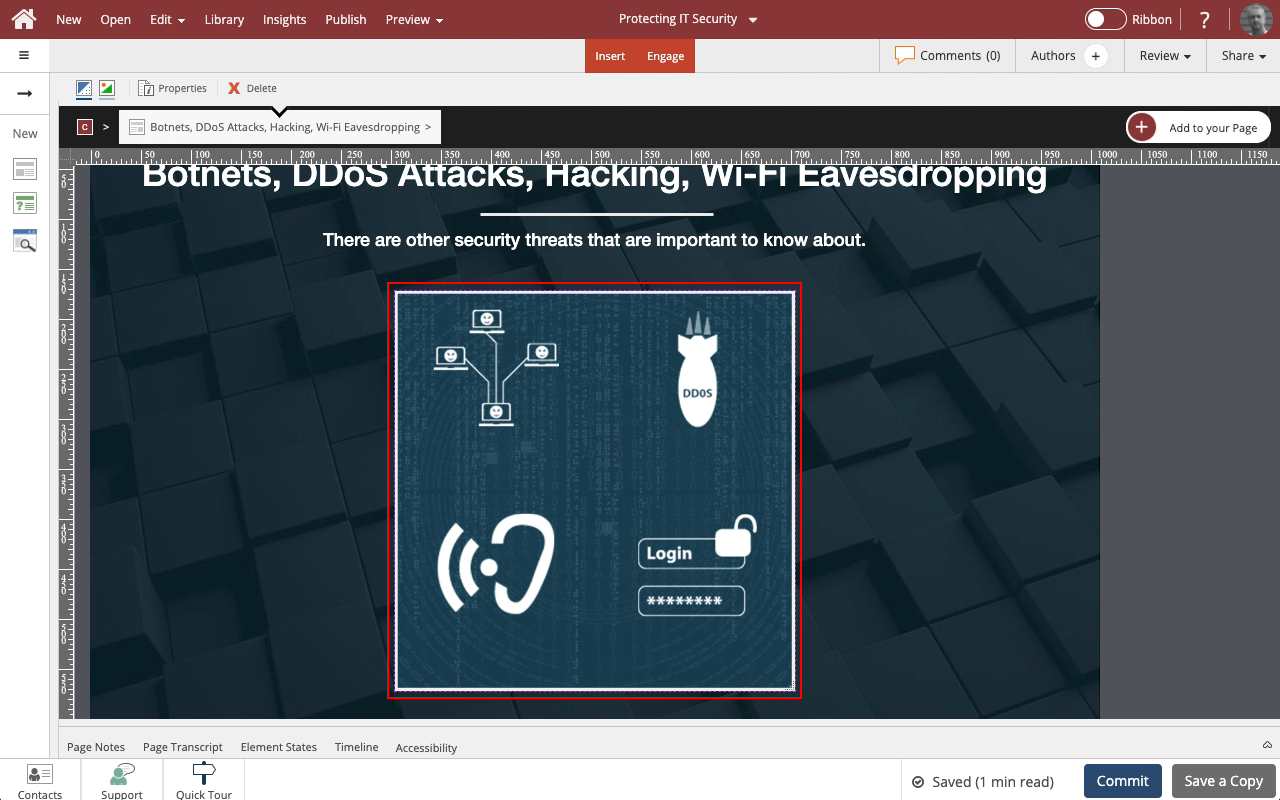
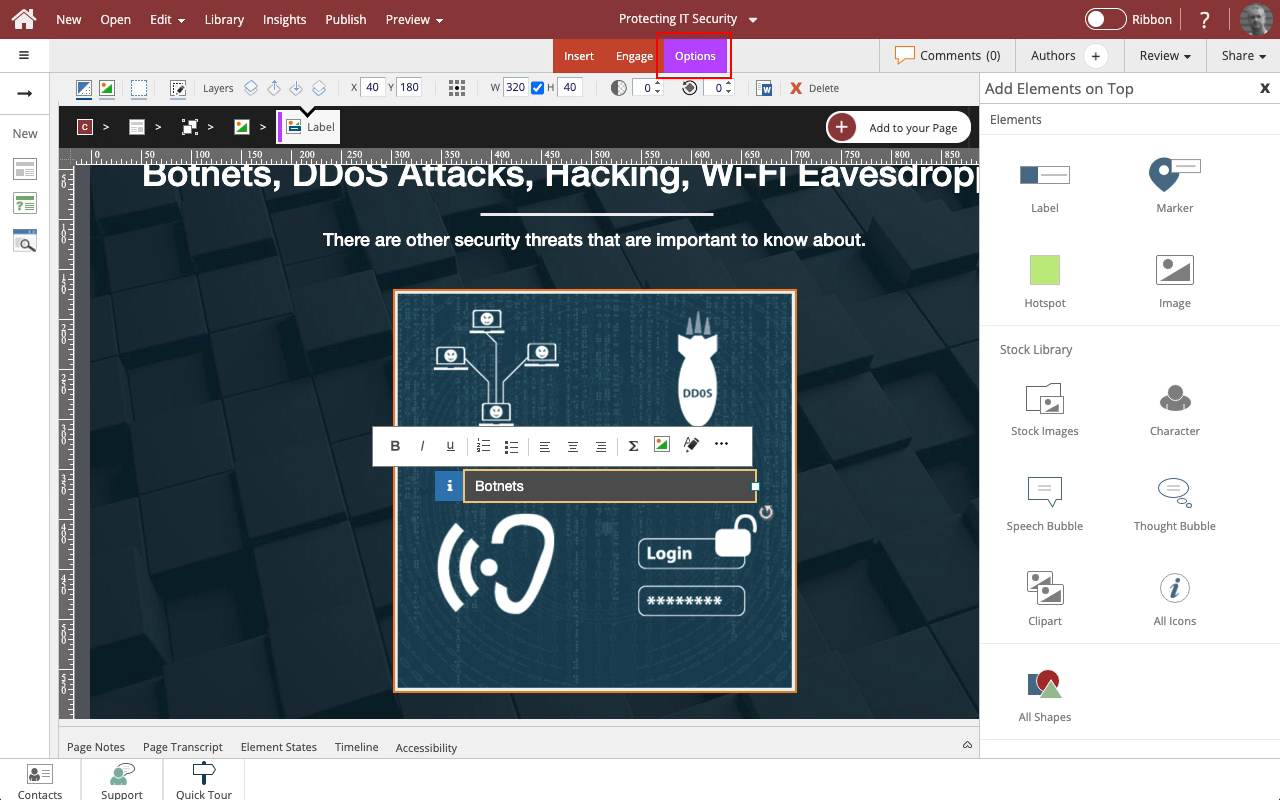
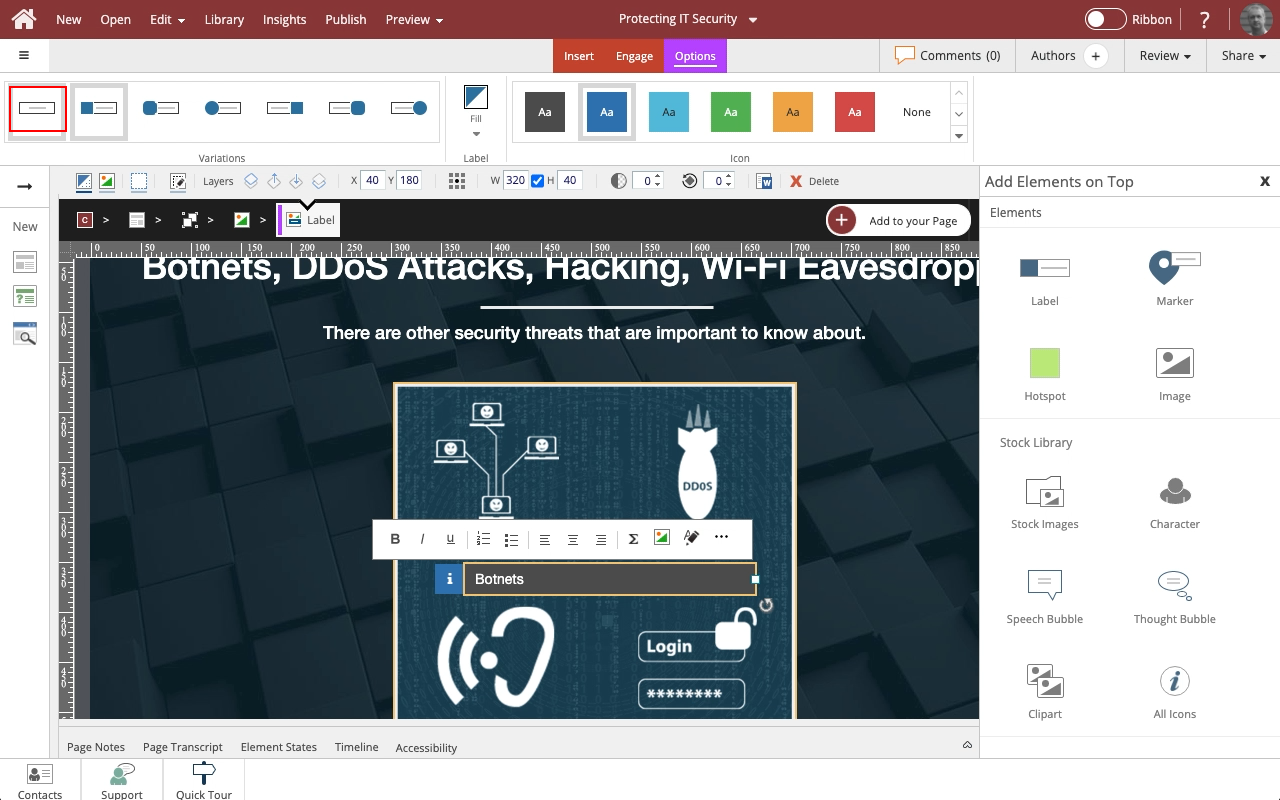
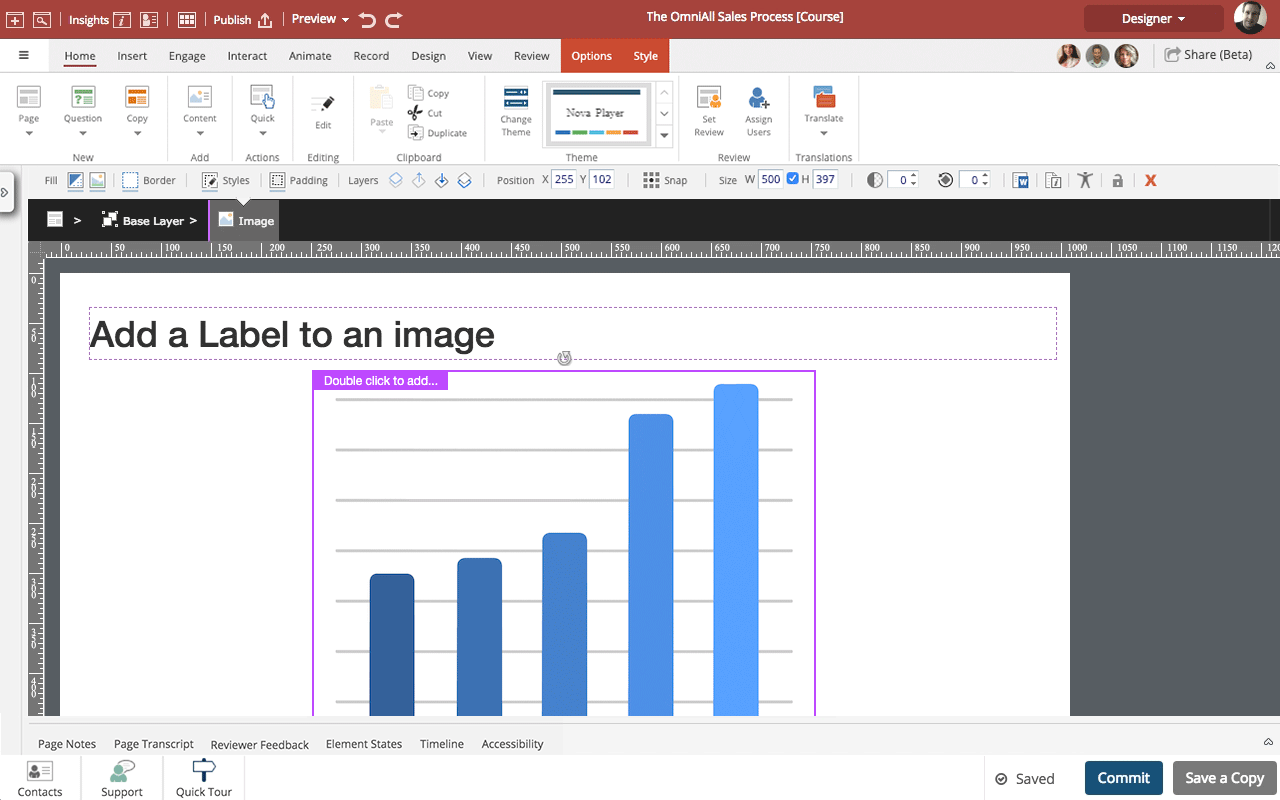
Add and Edit a Label on an Image Element
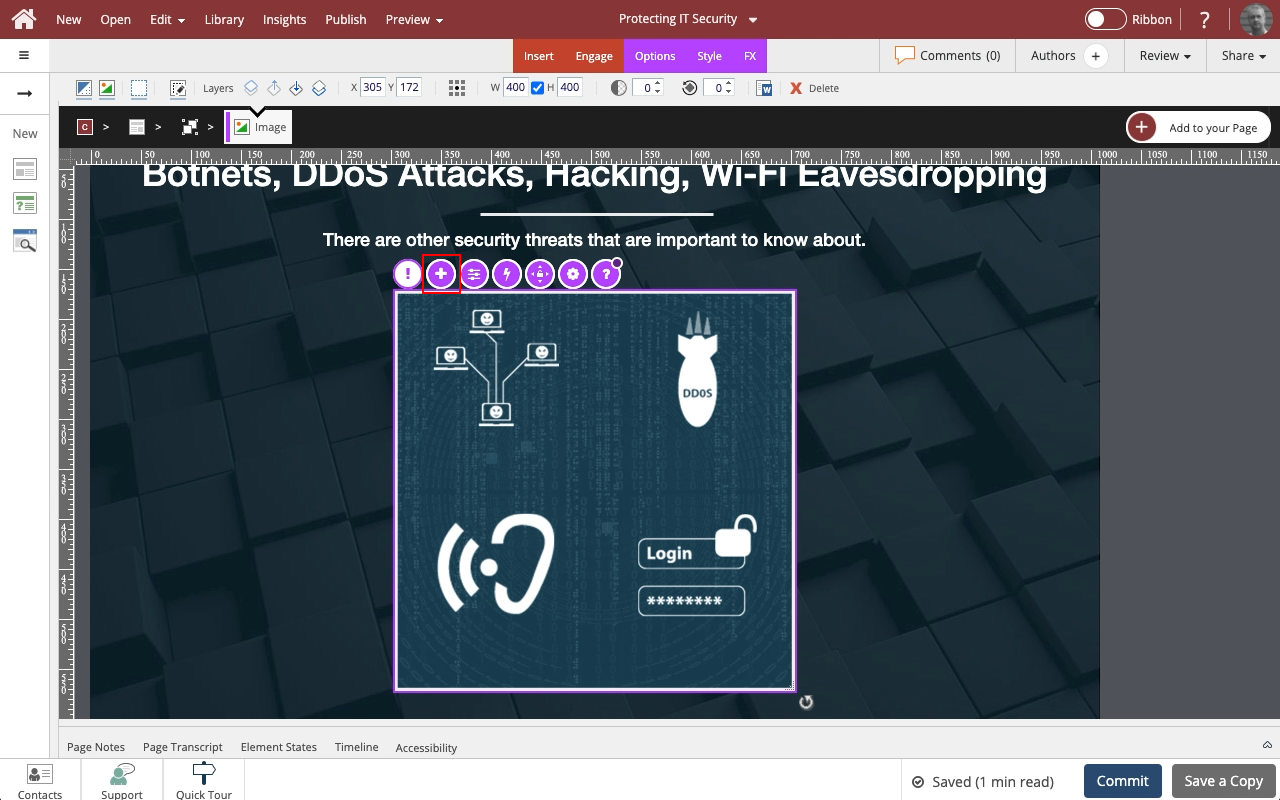
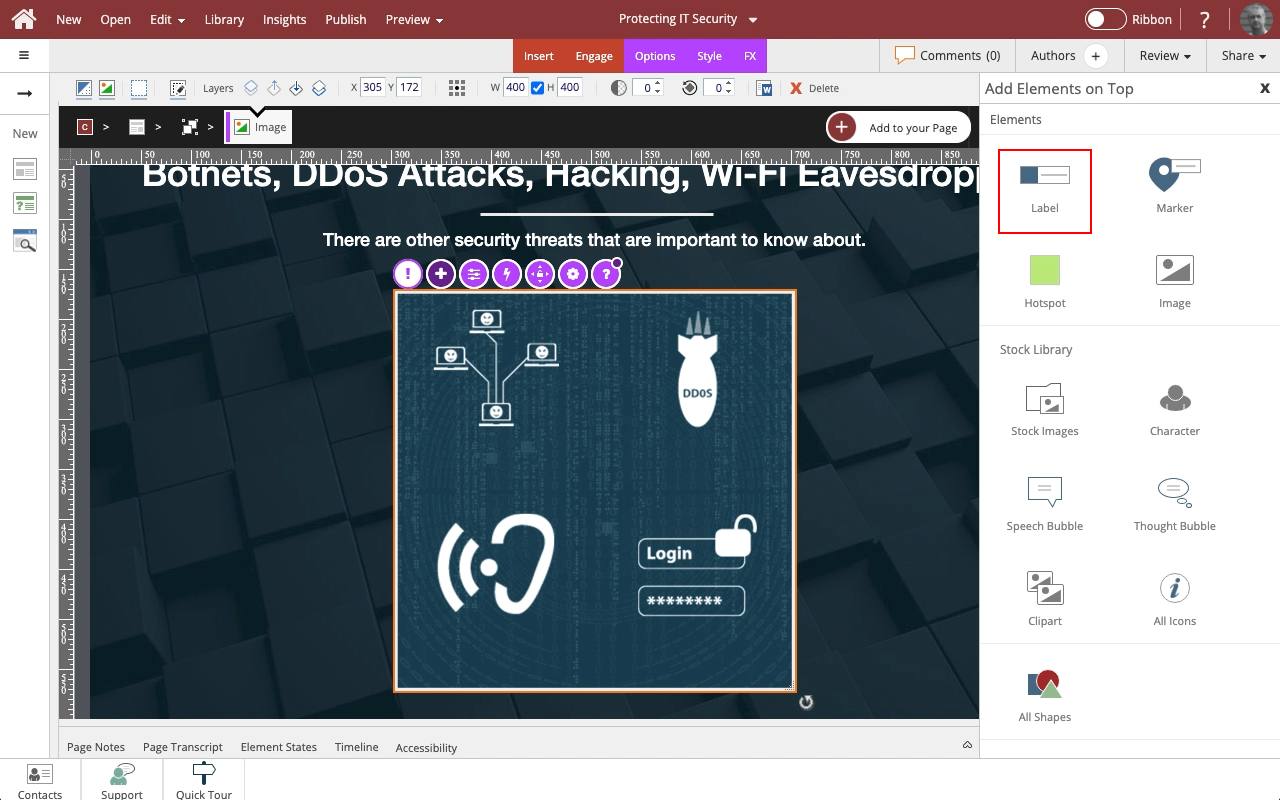
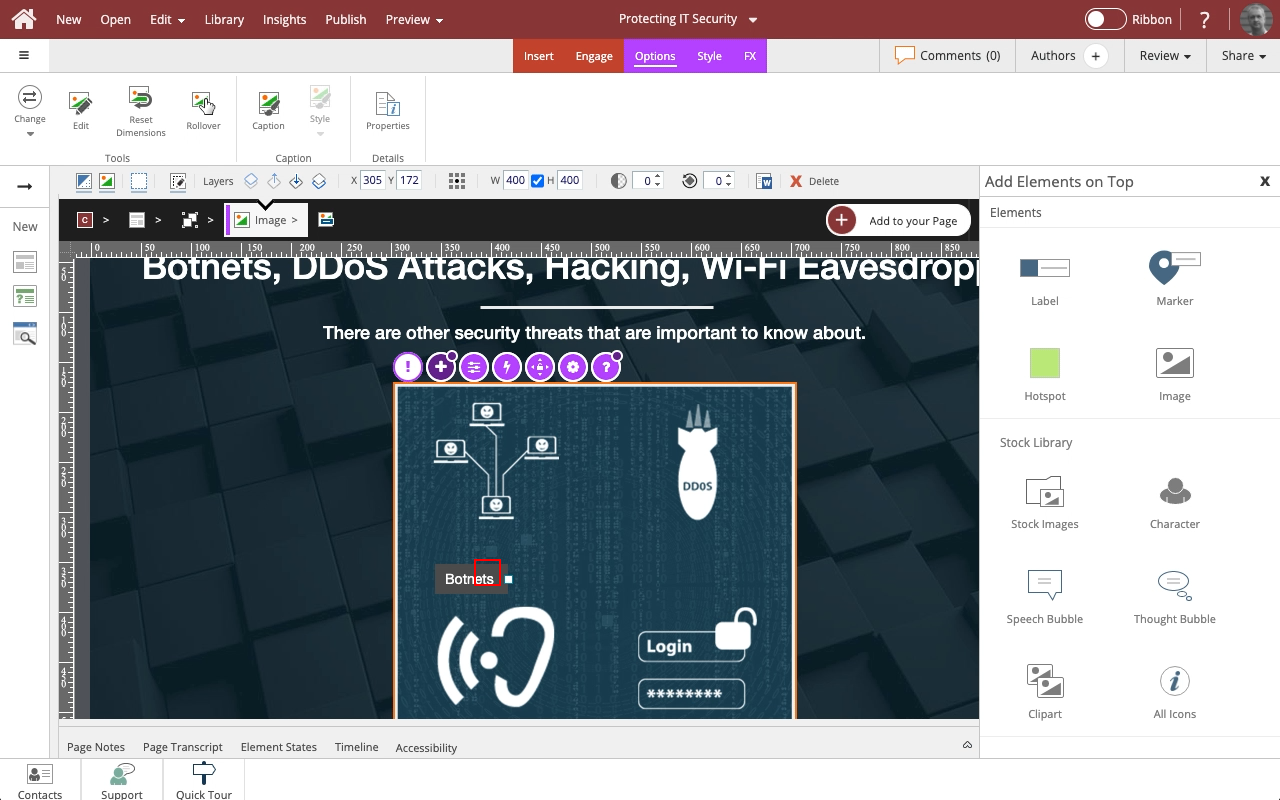
Steps to add a label to an Image Element.
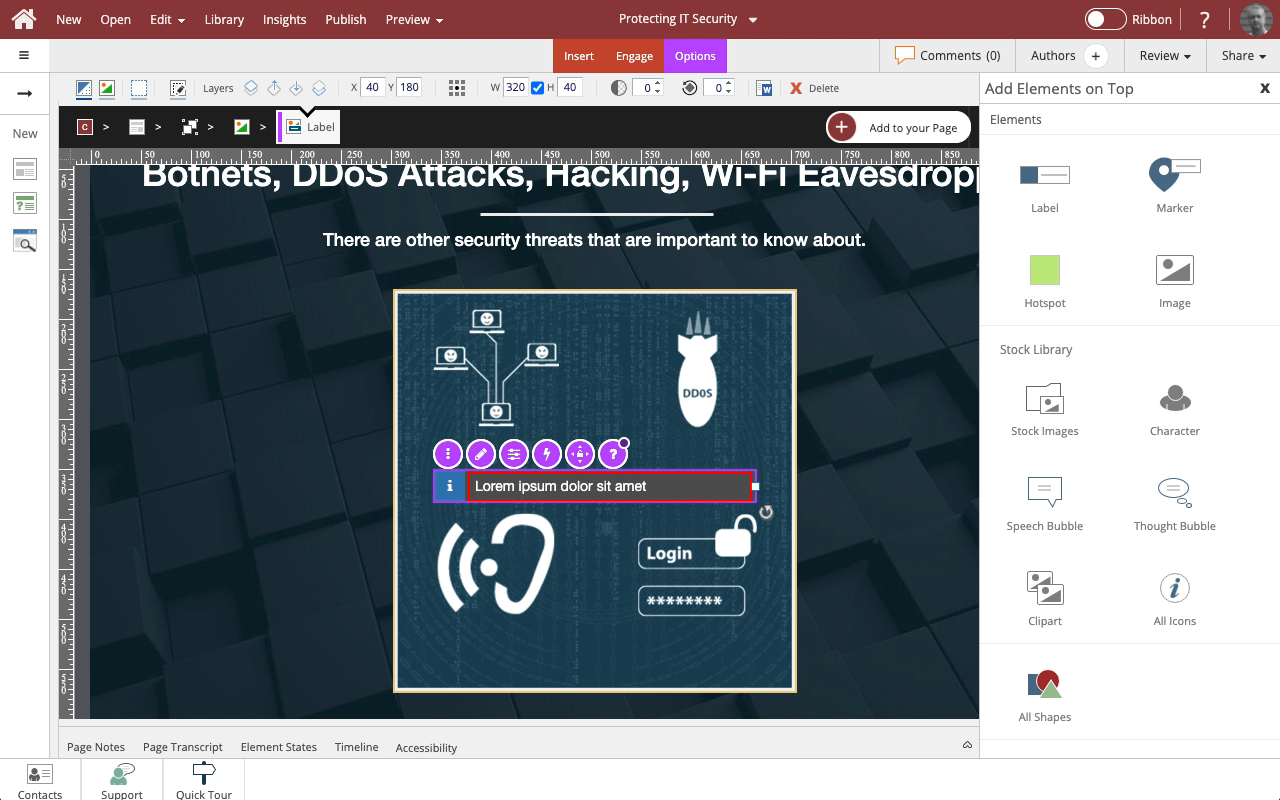
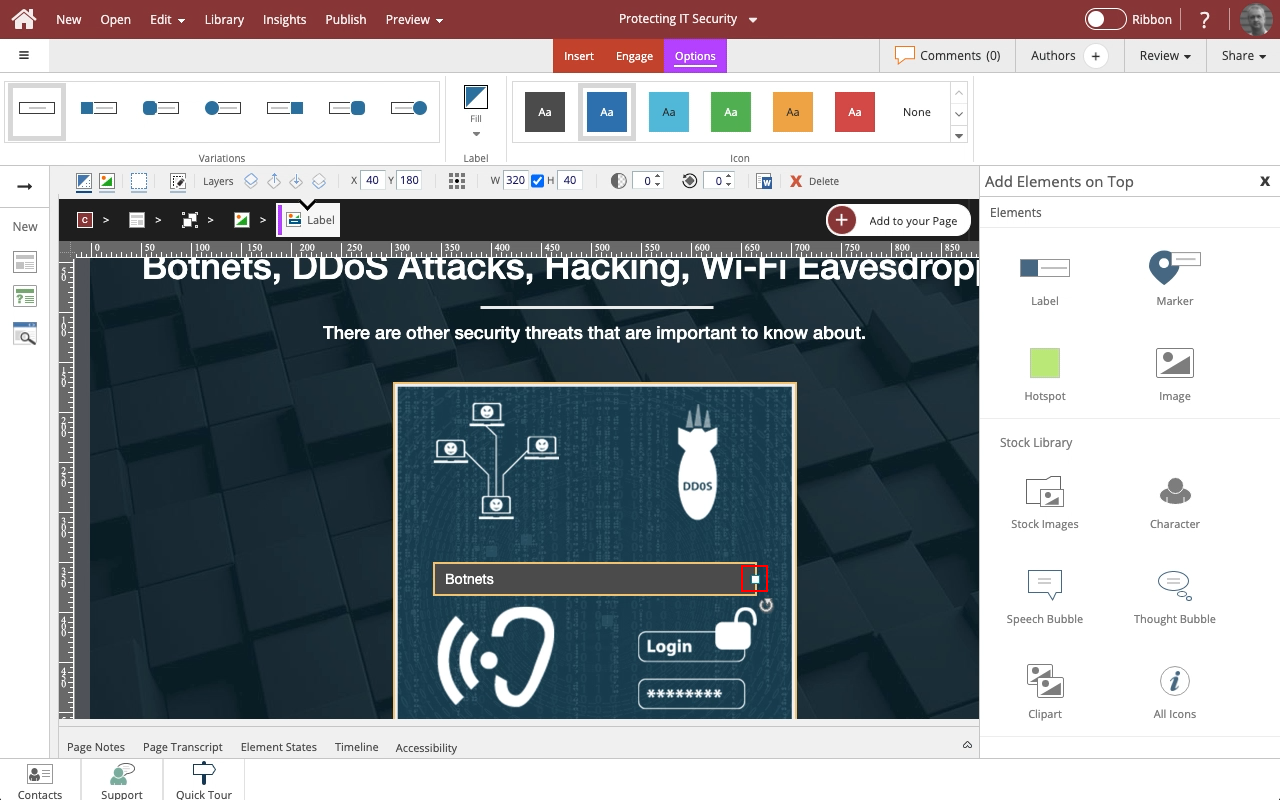
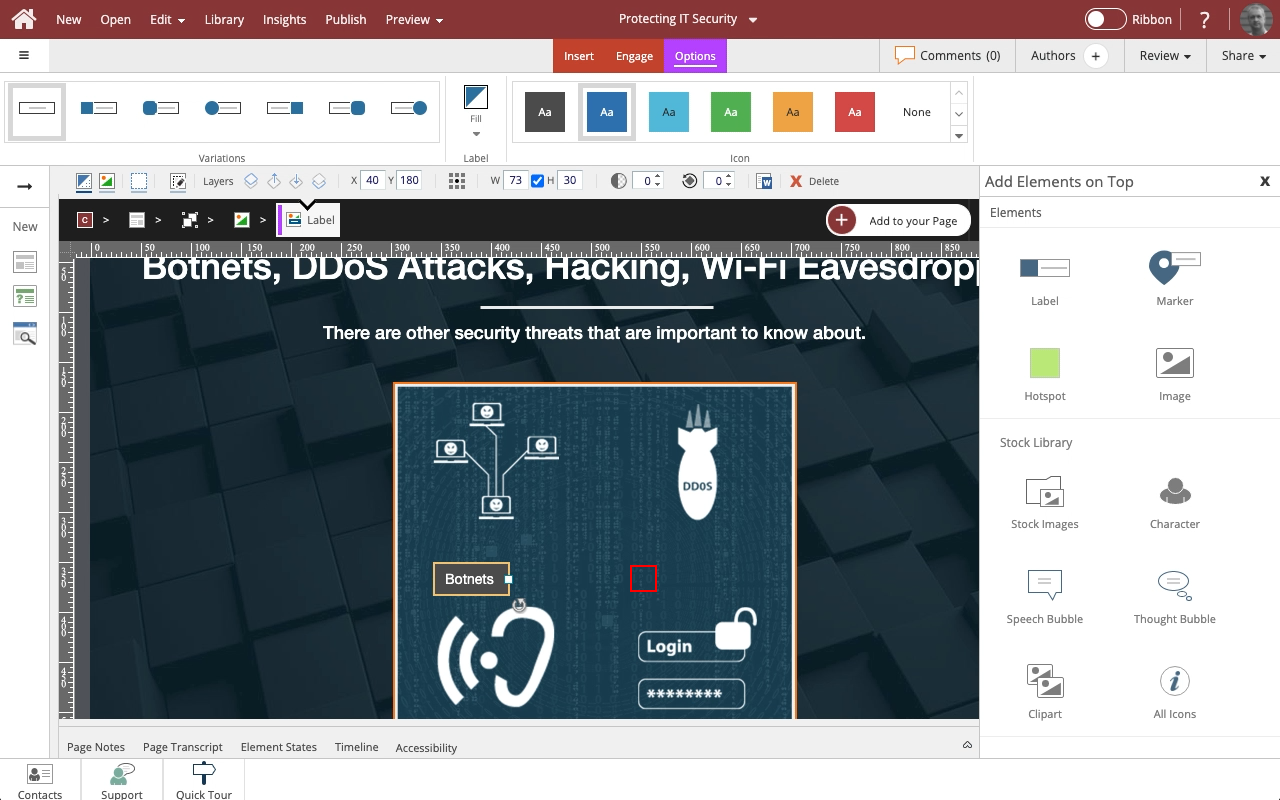
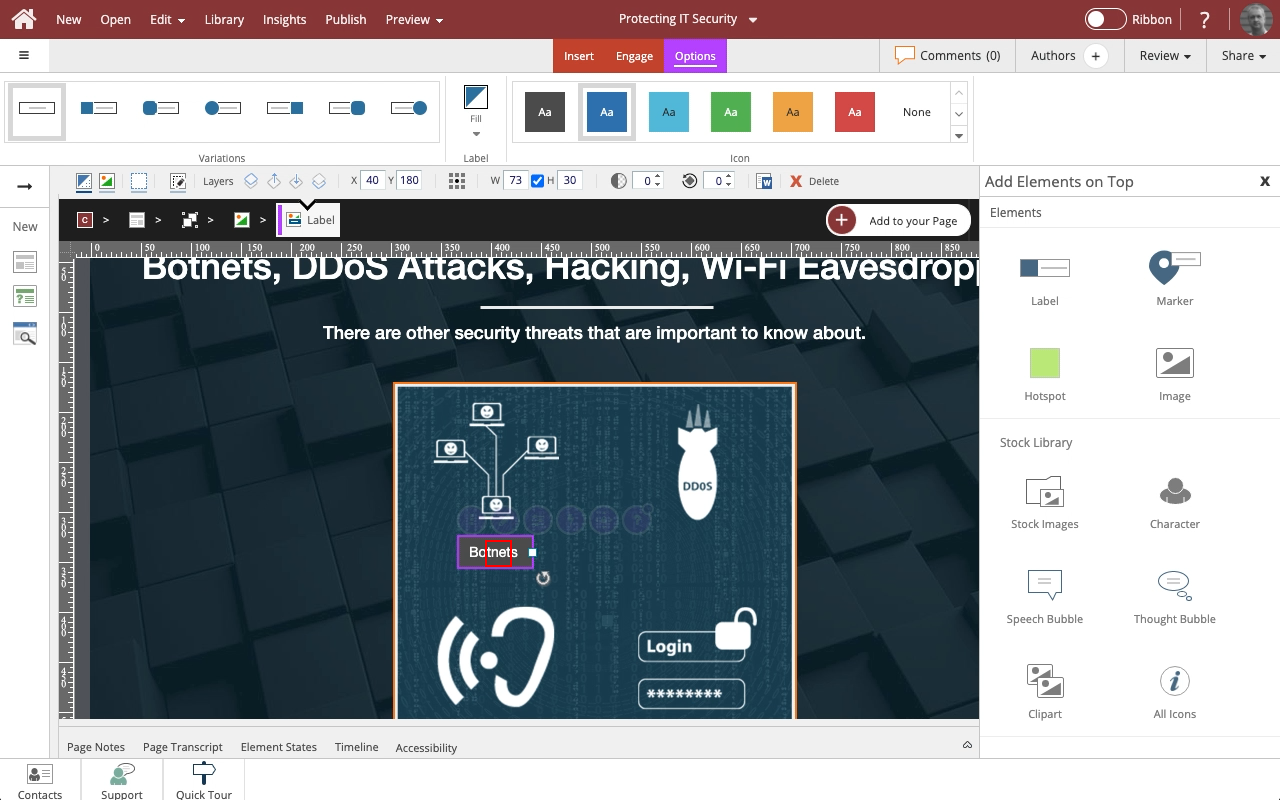
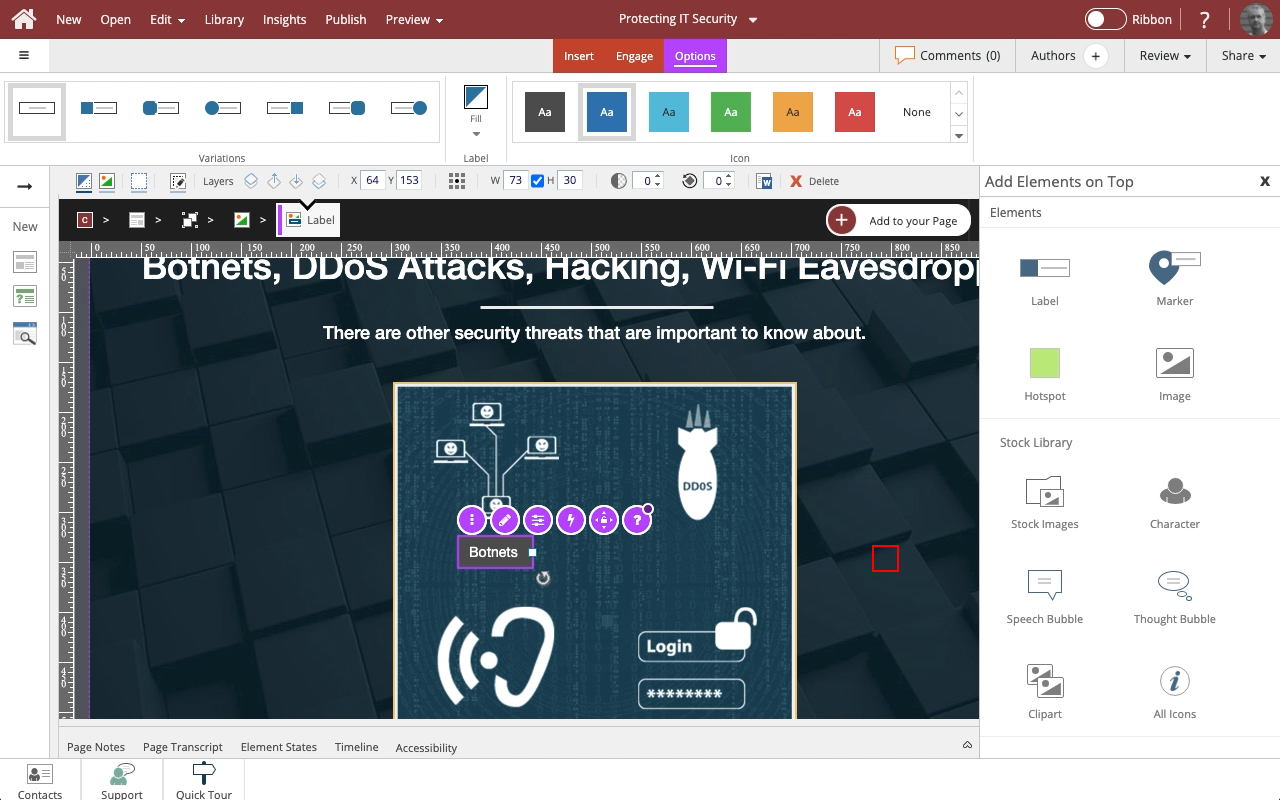
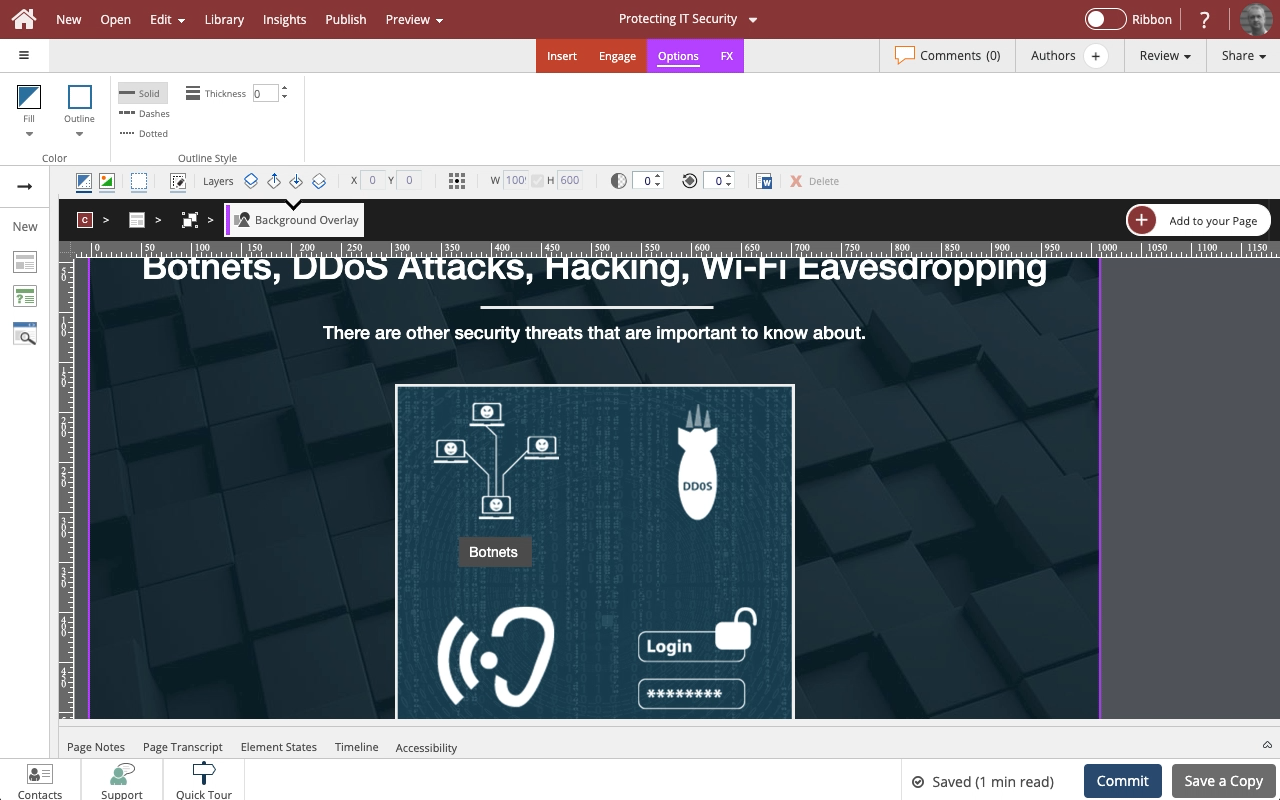
The label is added as a layer within the image element.
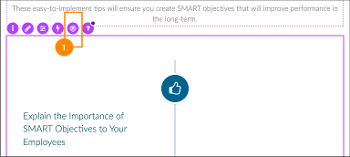
If you move the element on the page, the label will move as well and remain in its location above the image.
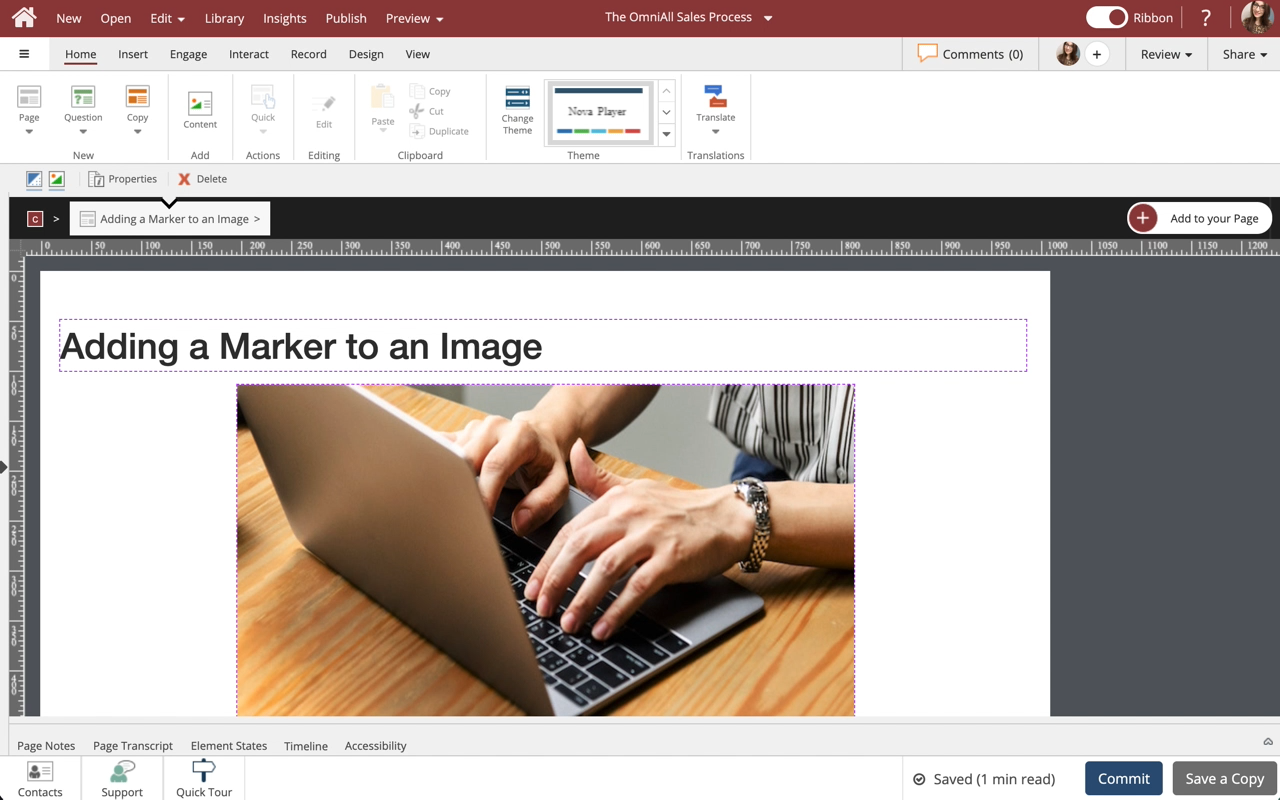
You can also use these instructions to add and edit Labels on Video elements.

Product: dominKnow | ONE | Version: 7.4
Applies to: Flow, Claro
Applies to: Flow, Claro


Comments ( 0 )
Sign in to join the discussion.