dominKnow | ONE’s Resources feature helps you provide learners with downloadable documents including Office files, PDFs and media files

There are a lot of use cases for providing documents or files for learners to download or open as part of a learning experience.

Here are just a few examples:

  • A PDF job aid to help learners transfer new processes on the job
  • A copy of a policy document that they can refer to offline
  • Audio files to help them practice learning a new language


In dominKnow | ONE these files are stored in the Media Library, and we have a feature called Resources to help you provide and manage them.
What files types are supported?

Basically, any file you can add to the Media Library can be added as a Resource to any Project.

This includes PDFs, Microsoft Office documents plus their Mac equivalents and media like image, audio and video files. You can also add website links (URLS) as Resources.

Here’s a link to the FAQ that lists out all the specific file types supported by dominkKnow | ONE. 

Adding Resources to a Project

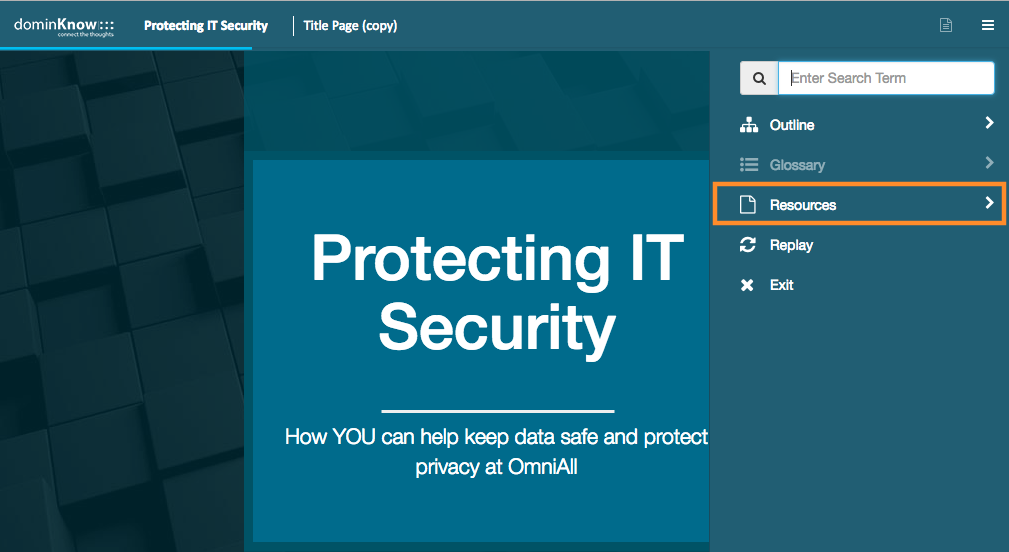
Many of our dominKnow | ONE themes have a Resources option available under the Menu.

Here’s an example:


There are two ways to add files as Resources for a Project:

  • Add a Link to File action to an element on a Page
  • Attach the Resource to the Project.


Which route you choose will depend on what you want to achieve.

Add a Link to File action to an element on a Page

When you set a button (or other element) with a Link to File action the file is automatically added as a Resource.

If the learner doesn’t download it on the page where the button is, it’s always available under the Resources on the Menu. This is handy if they don’t complete the content all in one session. When they relaunch the Project they won’t have to go back to find the page where the link is – they can just re-open the file from the Resources under the Menu.

Here are the steps to add a Link to File action to an element on a Page. 


Attach a Resource to a Project

You can also attach a Resource to the Project, so it’s included under the Resources option on the Menu. In this case, you'll likely want to include information to tell the learner where to look if they need or want the file.

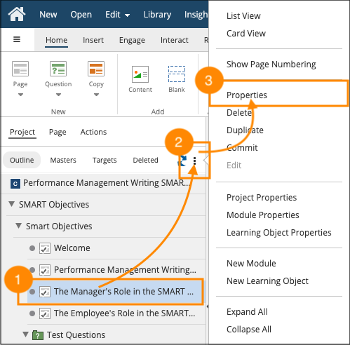
Here are the steps to attache a document as a Resource to a Project. 


Some final things to think about

Here are a few things to keep in mind as you plan how you'll use the resources feature for your next Project:

  • Not all Themes have the Resources option under the Menu (and not all Themes even have a Menu)
  • You can't upload a zipped file as a resource
  • There's a Publishing Profile setting that controls if learners are allowed to download a Resource document. It's turned on by default. 
  0     0

Similar Projects

Questions  ( 0 )